If you’re getting ready to smoke your first Thanksgiving or Christmas turkey, this turkey smoking guide will walk you through the steps for cooking a turkey with confidence, even if this is your first try.
Or if you have already smoked a few turkeys, but are struggling to perfect your technique, we’d be happy to help you gear up for smoking a turkey that your guests will still be talking about in a year from now!
Did you know we are much more than a BBQ store? One reason we open our doors each day is to help ordinary people cook the best barbecue they've ever tasted! Feel free to call us at (717) 355-0779 or visit our store at 140 W Main Street in New Holland, Pennsylvania to talk with one of our knowledgeable staff who will be happy to help you with your outdoor cooking questions.

Do you need help cooking your holiday turkey? We believe amazing barbecue is not just for celebrities. Visit our store for everything you need to cook outdoors, including free and friendly advice from fellow barbecue enthusiasts. Call us at (717) 355-0779 or visit us at 140 W Main Street in New Holland, PA.
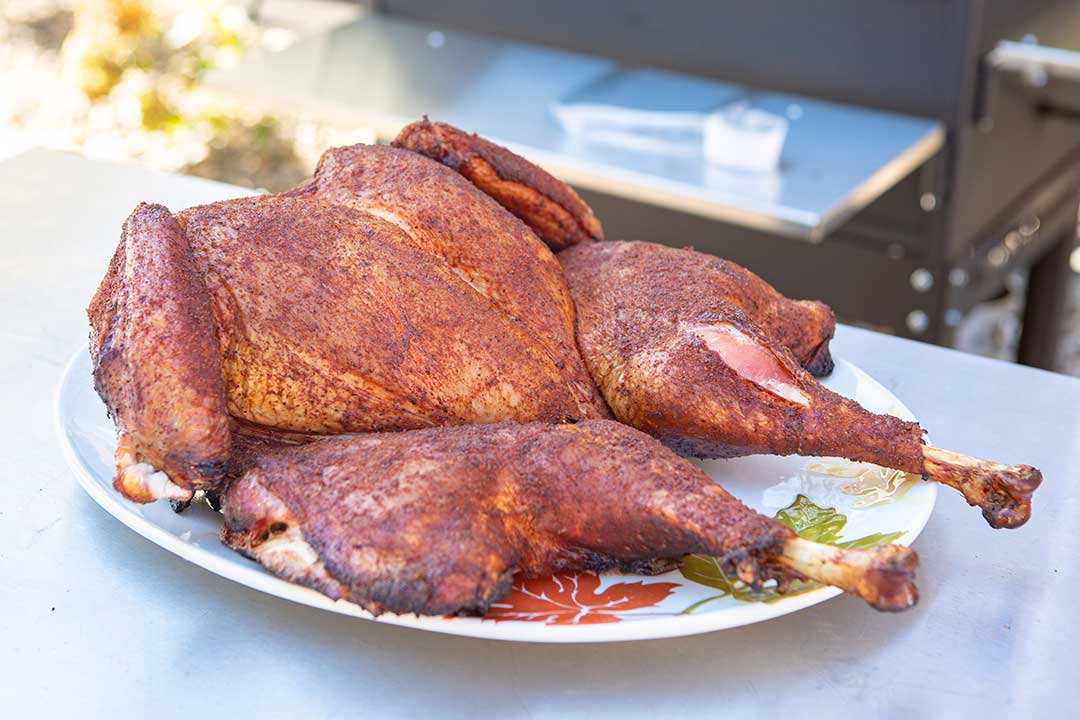
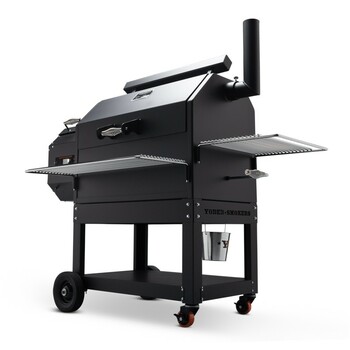
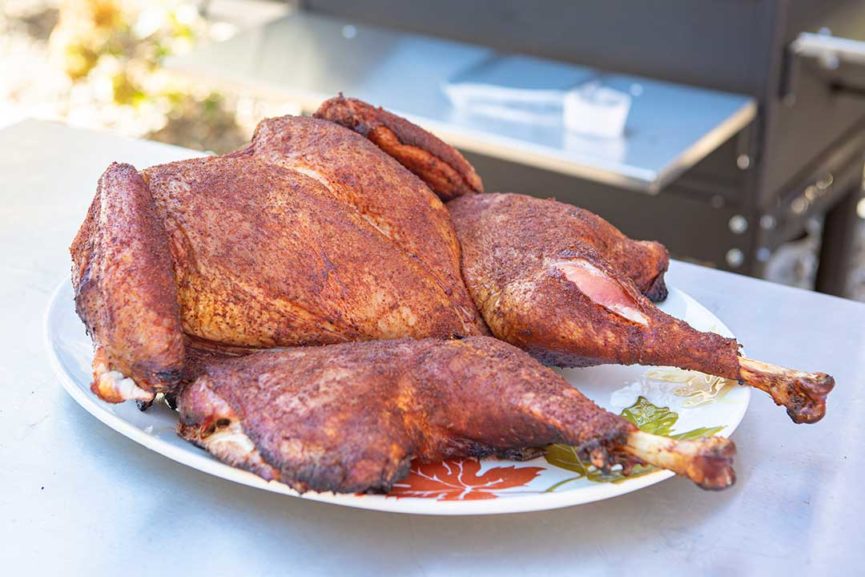
In this cook I am cooking a 16-pound heritage breed turkey from Fossil Farms. I am using my Yoder YS640s pellet smoker fired with pecan pellets. I spatchcocked, dry brined, and seasoned the turkey, then smoked it until it reached my target temperature. It’s too bad it wasn’t Thanksgiving day with the whole family gathered around, because it was certainly a wonderful-tasting turkey.
Keep reading for a step-by-step guide to help you smoke a turkey just like this.
Buy the Turkey
Around Thanksgiving, some stores price turkey below their cost to get people into their stores. You can smoke an excellent turkey from Butterball or Honeysuckle, but there’s also a lot of value in going with a heritage breed or minimally-processed turkey. One of the advantages of cooking a turkey that hasn’t been injected with a solution is that you have more control over the level of saltiness in the meat.
Seasonally Available: Nicholas Breed Heritage Turkeys
From Fossil Farms
Fossil Farms’ Nicholas Breed Turkeys are exceptionally juicy and tender, a delicious alternative to conventional turkeys raised on factory farms.
Why these turkeys are better:
To find out more or to check seasonal availability, email or call us at 717-355-0779. Or visit our store at 140 W Main Street in New Holland, PA.
What size turkey should I cook? I prefer turkeys in the 12-16 pound range for smoking. If you need more meat, cook multiple turkeys instead of getting a bigger one. Figure roughly one pound of raw weight per person unless you want leftovers or are feeding big eaters.
If you buy a frozen turkey, plan ahead so you won’t be stressed over thawing and prepping it in time. It takes approximately 24 hours for every 5 pounds to thaw a turkey in the fridge.
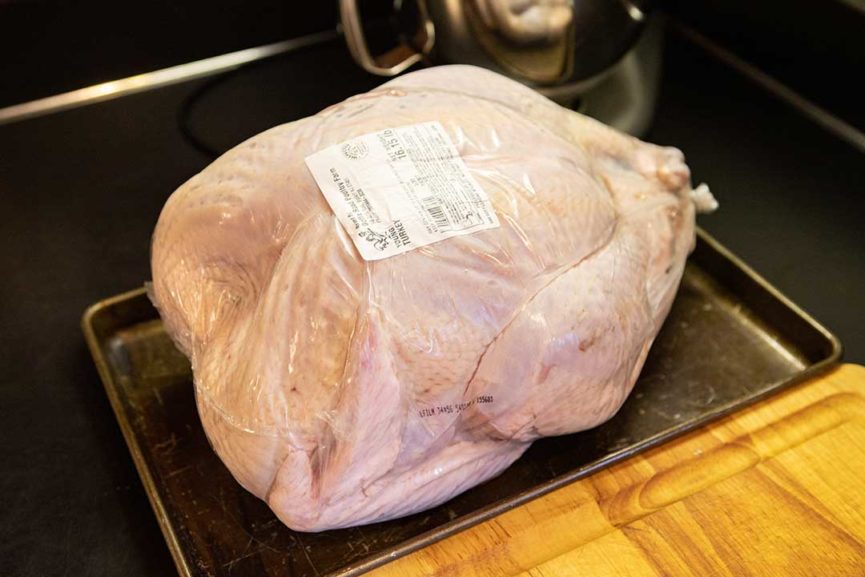
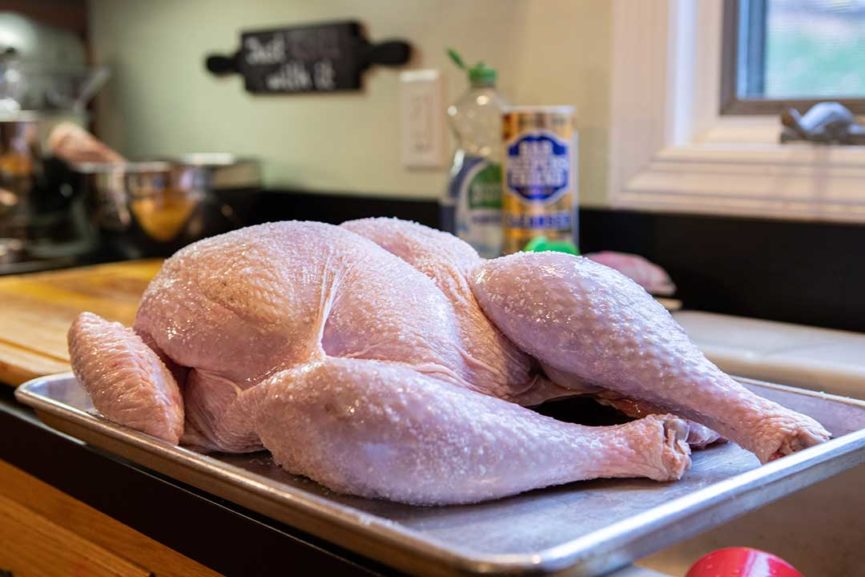
Here is the 16-pound heritage breed turkey I am cooking.
Trim the Turkey
Remove any packaging, including any pop-up thermometer, leg tie, or giblet bag.
Cut off the wing tips.
Trim the neck skin back, being careful to leave enough skin to cover the meat. Turn the breast up for trimming, because this posture pulls the skin back.
Trim the flaps of skin and fat by the rear cavity and remove the tail.
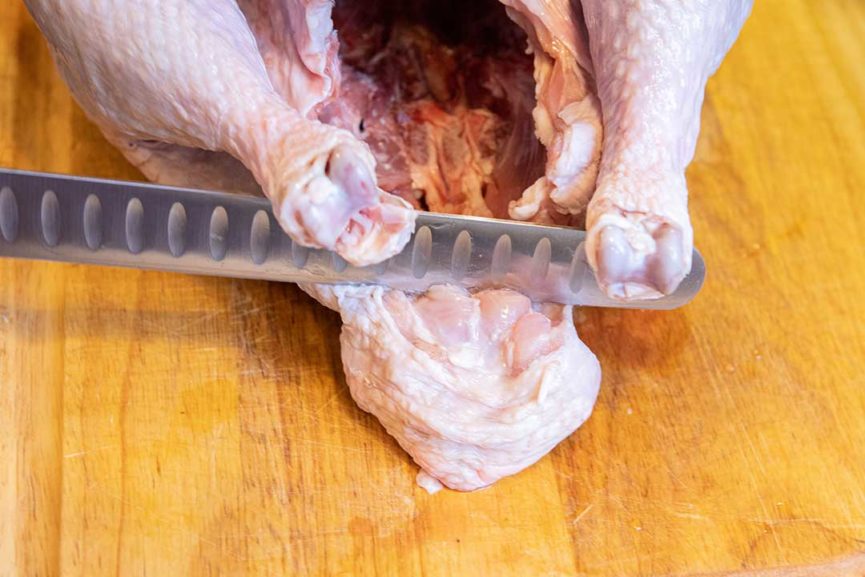
Spatchcock the Turkey
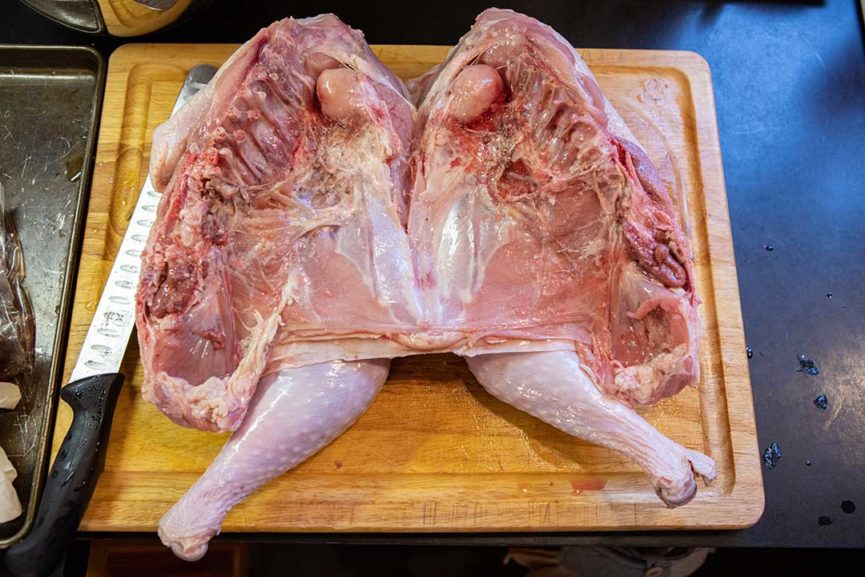
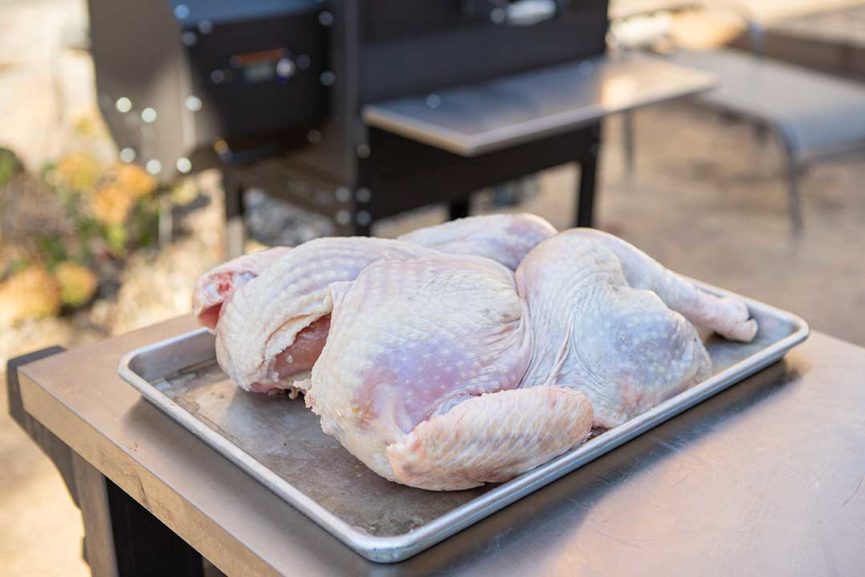
I like to cook turkeys spatchcocked. This simply means you remove the backbone with shears and flatten the entire bird into a flat surface.
This method is supposed to cut down on the cooking time, making the meat more juicy. I am not quite sure what I think about that claim myself. I cooked another turkey whole at the same time on a different grill and it took the same amount of time, but I haven't done enough testing to know for sure.
However, I like having all the skin on one side and the turkey spread out more uniformly. You might also use this method if the spacing between your smoker shelves is too tight for an entire turkey or you want to split it in half to cook it on two different racks.
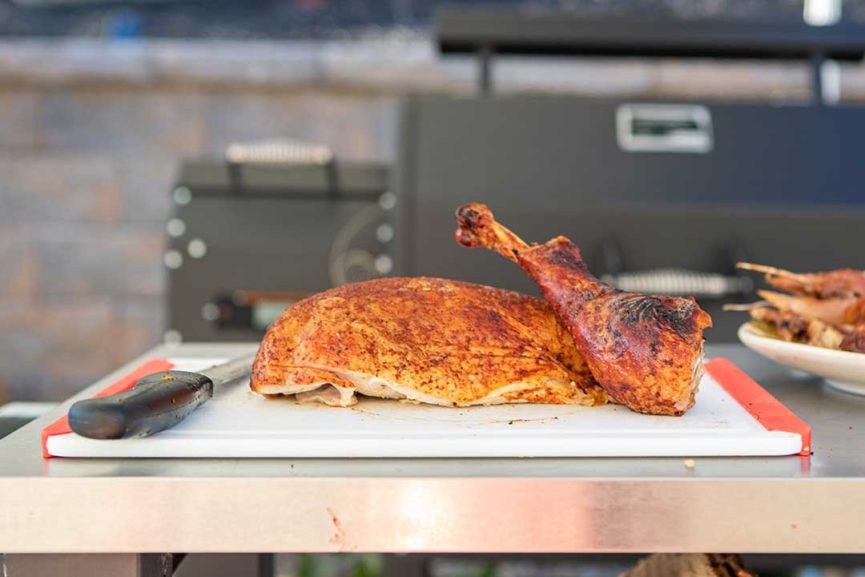
Side benefit to spatchcocking: This method also makes it easy to remove the leg quarters from the breast if one part gets done before the other, since it’s mostly skin that holds the two together once the backbone is removed. I will explain more about finishing temperatures below.
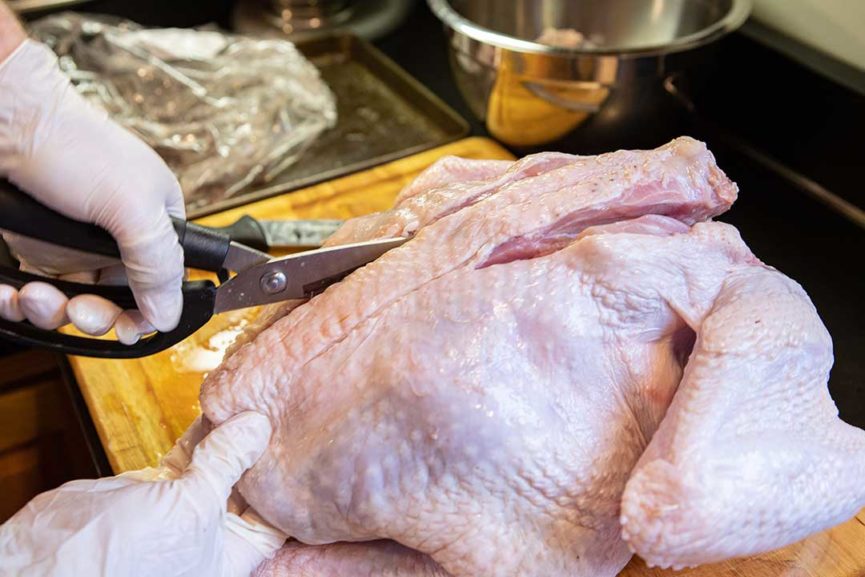
Set the turkey on a pan or cutting board with the spine facing up. Using a kitchen shears, cut the entire length of the backbone on both sides. I like to start it with a meat knife, but part of it will require a meat cutting shears.
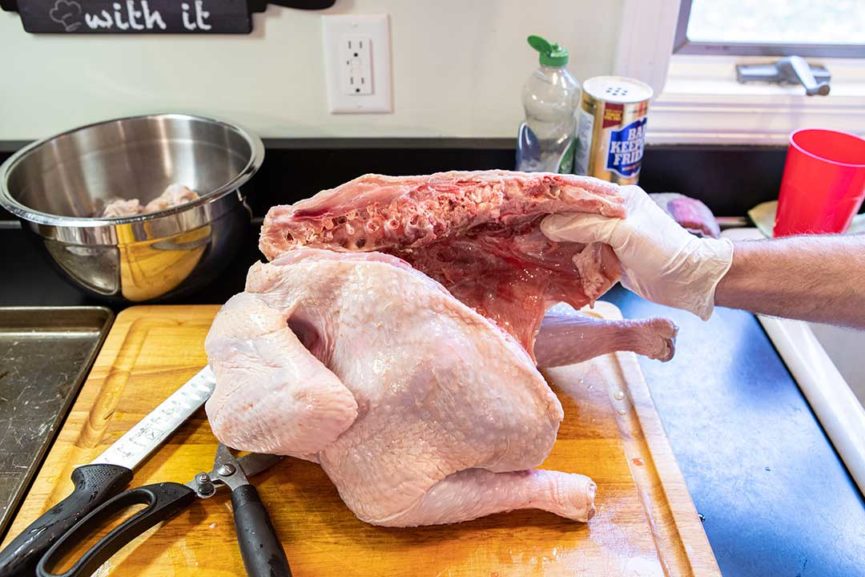
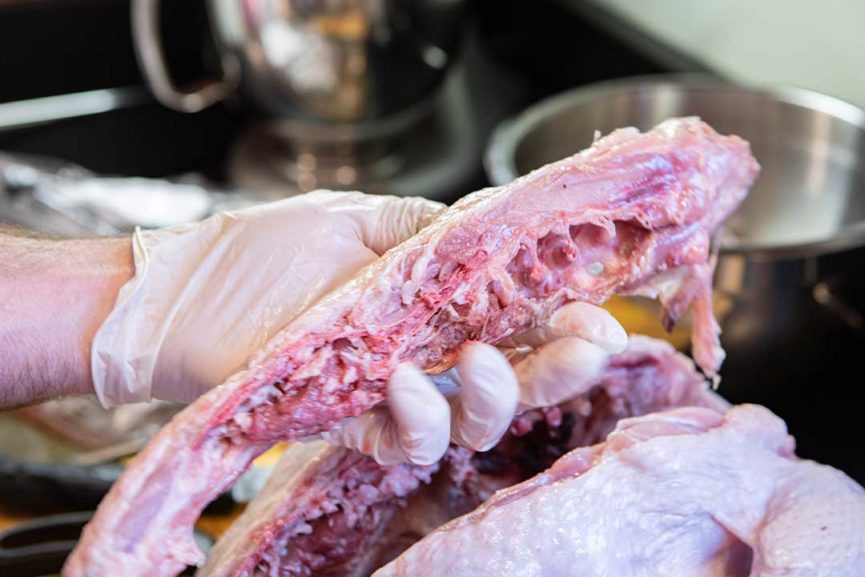
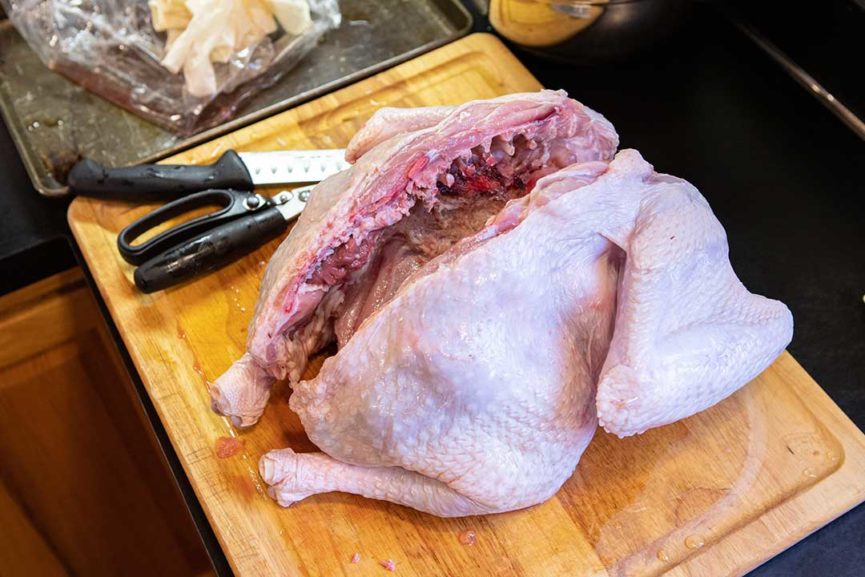
Cut through the breast bone an inch or two until you can push the sides of the turkey into a flattened shape.
Brine the Turkey
Most turkeys from the grocery store have already been injected with a salt solution, so we don’t recommend brining those. If you are cooking one that is minimally processed, such as from Fossil Farms, a local butcher or a specialty grocery store (Whole Foods), brining is a real game changer. I won’t attempt to explain the science behind it, but it does tenderize the meat and make it more juicy.
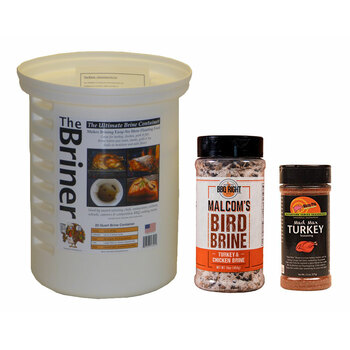
You can either inject your turkey or brine it, and there are two methods of brining—wet brining and dry brining. As I said above, in this story, I’m dry brining the turkey.
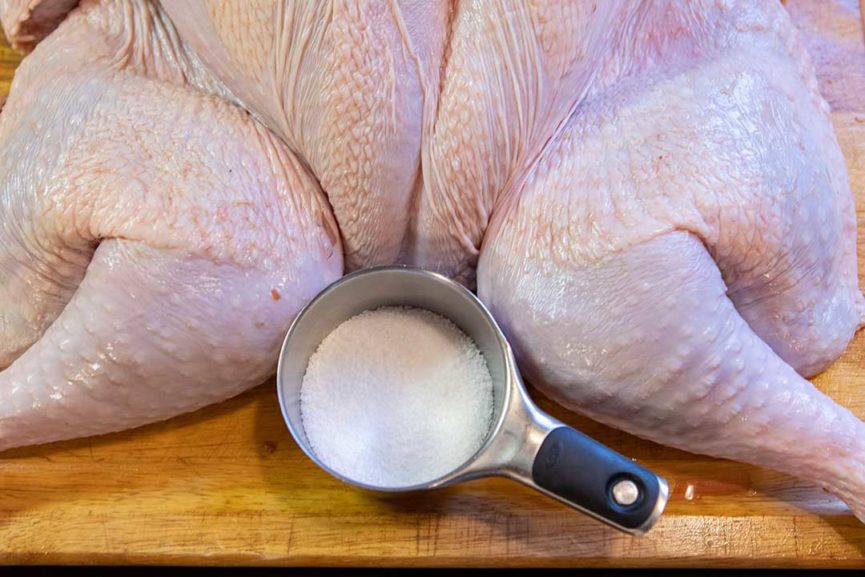
For dry brining, sprinkle the entire surface of the turkey with kosher salt. It takes about 1 teaspoon per pound, but the amount is not critical if you make sure you have a decent coating over the skin. Don’t worry about working it under the skin the salt will pull through the skin without a problem.
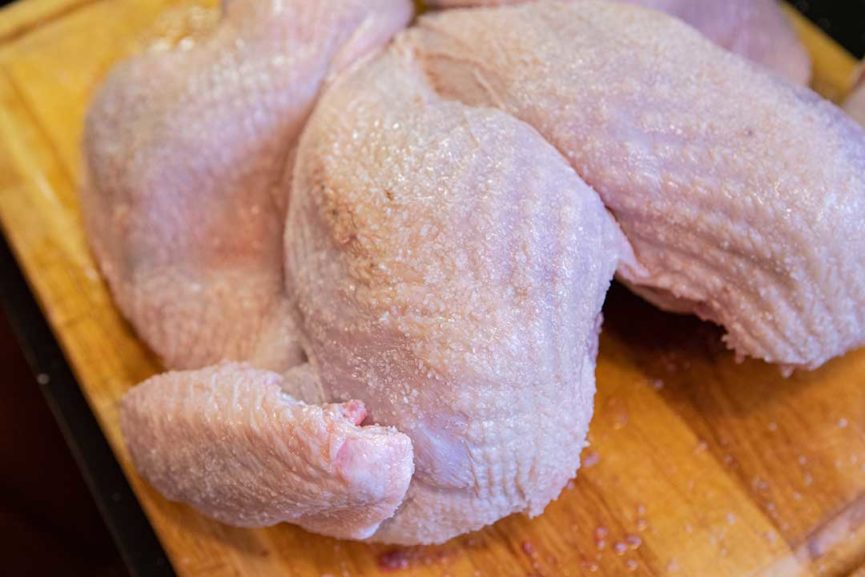
Set the turkey in the fridge on a large pizza pan or anything with an edge to hold the liquid for 12 to 24 hours. If you are running out of time, you can shorten this step, but be aware that it might have less effect on the meat.
Season the Turkey
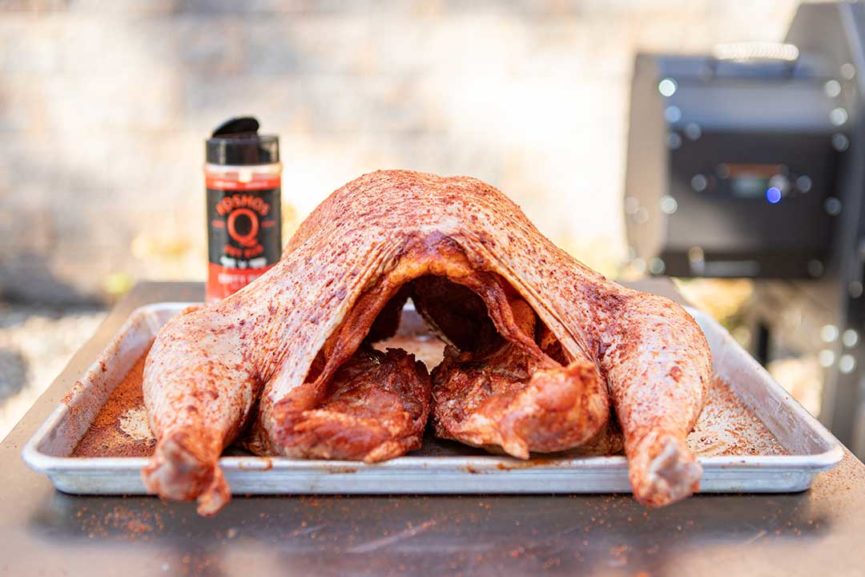
I am using Kosmos Q Dirty Bird to season this turkey. This is a delicious rub on turkey and any poultry.
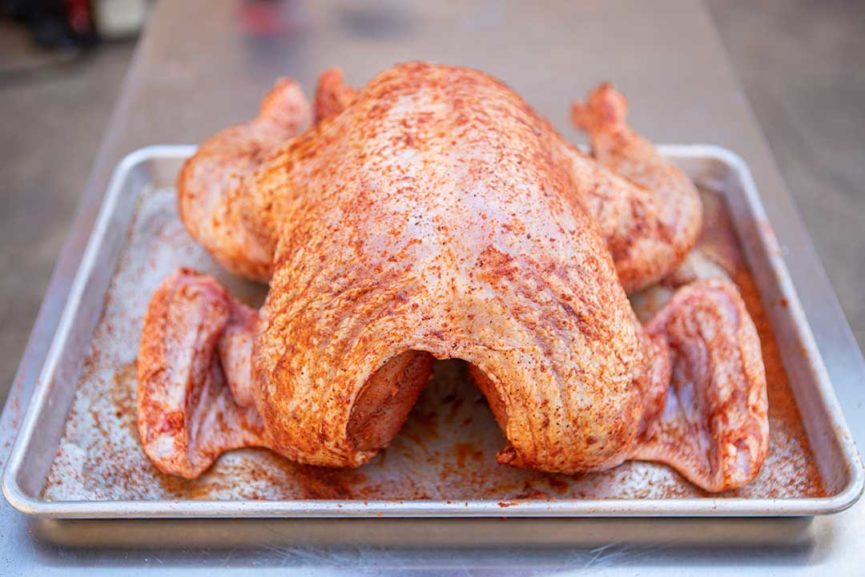
Season the entire bird with a moderate layer of the rub.
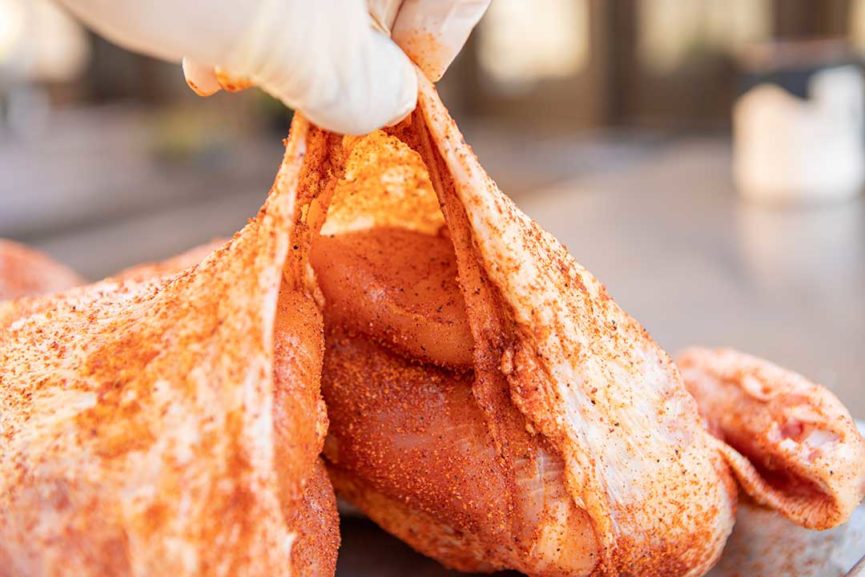
Carefully loosen some of the skin over the breast and uniformly work some of the seasoning directly onto the meat, being careful not to tear the skin.
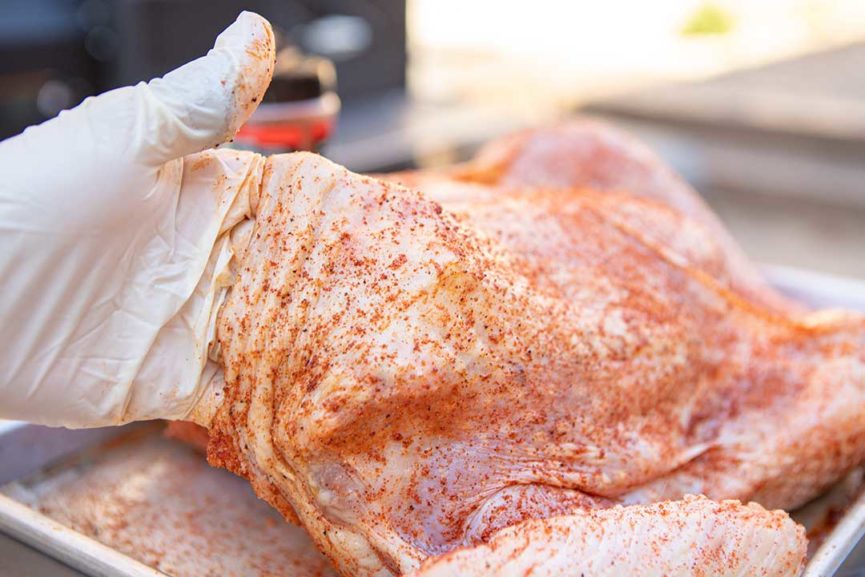
Flip the turkey over and do the same on the inside of the legs. Carefully loosen the skin between the edge of the rear cavity and the leg, then shake a little bit of seasoning into the cavity you just opened. Be careful not to add too much and use your fingers to spread the seasoning around.
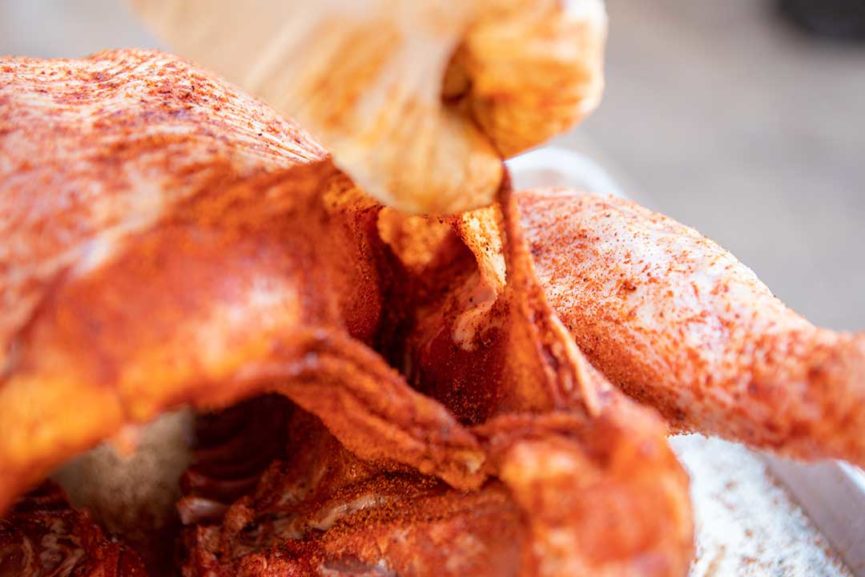
This is what the turkey should look like at this point:
Cook the Turkey
Fire your smoker at 325 degrees F. Turkey doesn’t benefit from low and slow cooking, and the higher temperature will give you a more crispy skin.
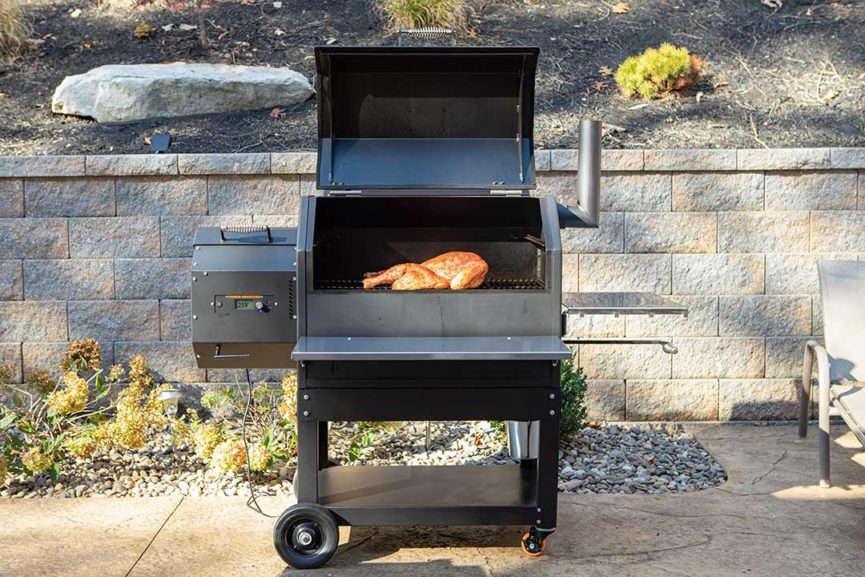
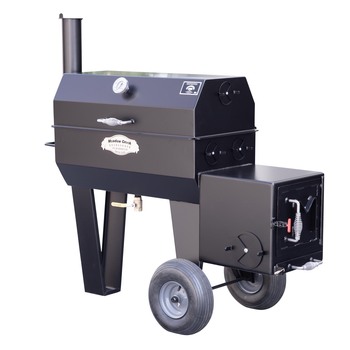
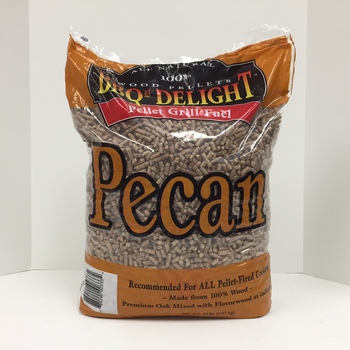
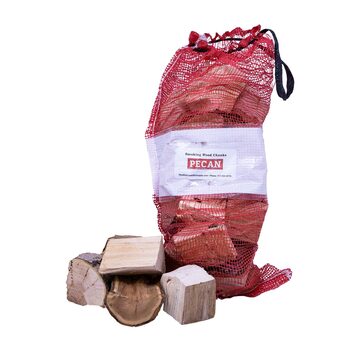
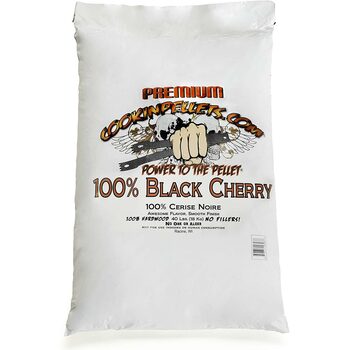
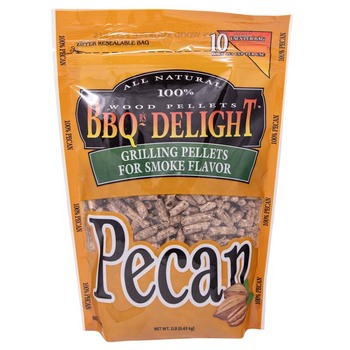
In this cook I’m using my Yoder YS640s Pellet Smoker and have it fired with BBQr’s Delight Pecan Pellets. I also inserted one of the food temperature probes from the control panel into the thickest part of the breast so I could monitor it on my phone.
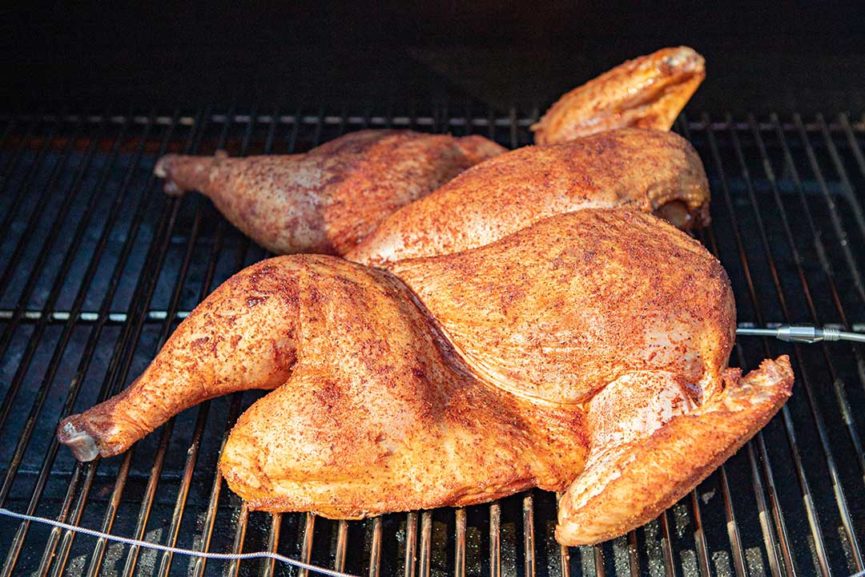
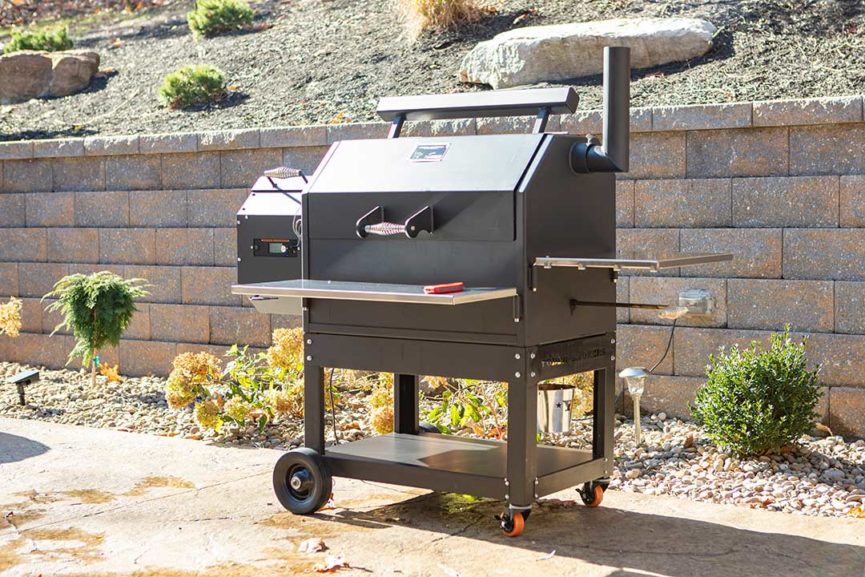
The USDA minimum recommended temperature for turkey and chicken is 165 degrees F. You can safely cook the turkey breast until it reaches 160 degrees and let carryover cooking take it up the rest of the way. Breast meat is very lean, so if you take the breast meat higher than that, it will not become better, but start drying out instead.
We prefer cooking the dark meat (legs and thighs) to at least 180 degrees for a better texture and appearance. It’s okay to remove it from the smoker once the thickest part of the thigh reaches the recommended temperature, but you’ll find that, while the meat is safe to eat, it will usually still be clinging tightly to the bone.
One of the keys to cooking the ultimate turkey is to not overcook it. Yet, the white and dark meat are two different types of meat and they probably won’t both reach their ideal temperature at the same time. So how can we hope to cook the perfect turkey?
Most articles on smoking a turkey don't address this problem, but here are some tips and tricks to help you overcome it:
- The easiest way to cook a turkey with perfectly predictable results is to separate the two meats and cook them independently to the ideal target temperature.
- Brining widens the window of perfection, so the meat is more forgiving, whether you are cooking the turkey whole or in parts.
- To give the legs a head-start during the cook, you can take the bird out of the fridge one hour before cooking and put a bag of ice over the breast. The thighs will start warming up a bit, and the breasts will stay cold. This sounds odd, but it works!
In this recipe we are cooking it all together, but we've brined the meat, so we're aiming to get the whole thing done without overcooking any part of it.
Here is an example of how you can use a hot spot in your smoker to your advantage—turn the legs toward the hottest part of the smoker. In my pellet smoker, the hottest area is directly over the burner so I positioned the turkey with the breast facing the opposite side of the smoker.
How long does it take to smoke a turkey? Cooking at 325 degrees F, it will take around 10 minutes per pound. My 16-pound turkey took 2 hours and 45 minutes, almost exactly 10 minutes per pound. This time estimate should hold out for different size turkeys, but remember that it could take longer, so try to keep the serving time a bit flexible.
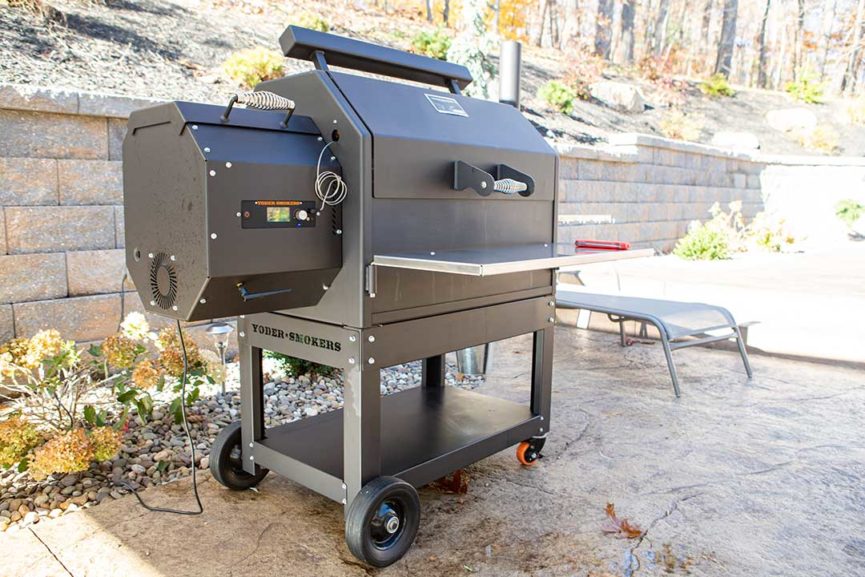
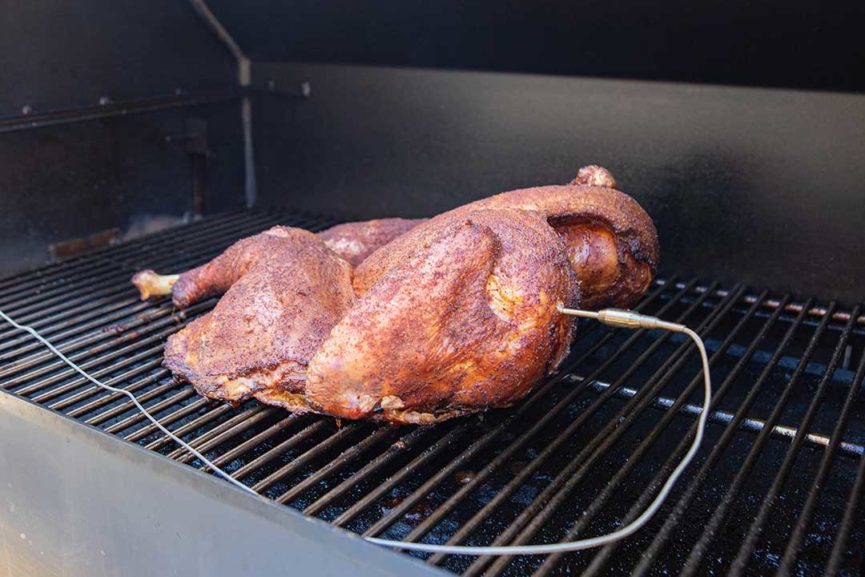
In this cook, the dark meat rose above the temperature I was looking for, but the brine helped to keep everything juicy. I could have 1) rotated it partway through the cook to help balance it out or 2) removed the leg quarters at a lower temp, but sometimes it’s better not to overthink stuff and just have fun, so that's what I did, and it was awesome, even though the dark meat got hotter than it should have.
Serve the Turkey
As soon as the turkey was transferred to a platter, I had to sample it—pitmaster privilege, you know.
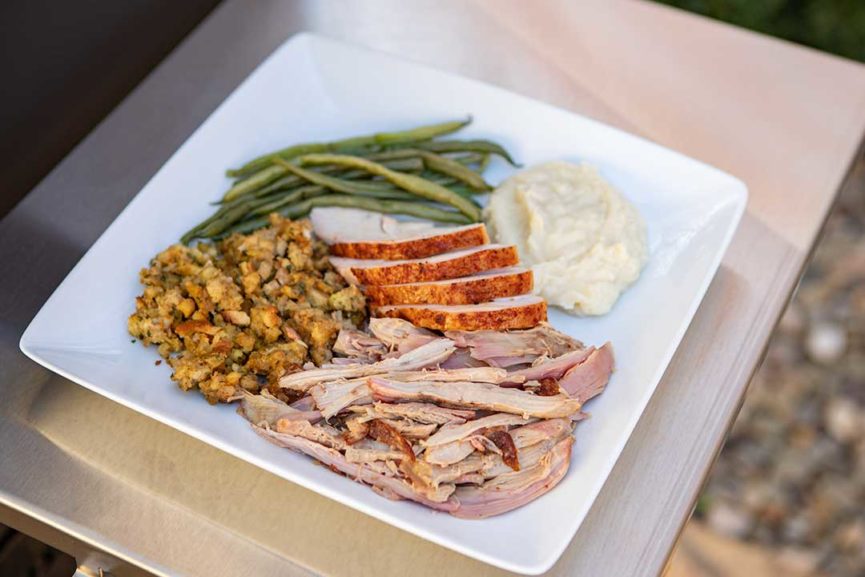
The skin was crispy, and the meat was tender, juicy, and flavorful — in other words, it was fabulously amazing!
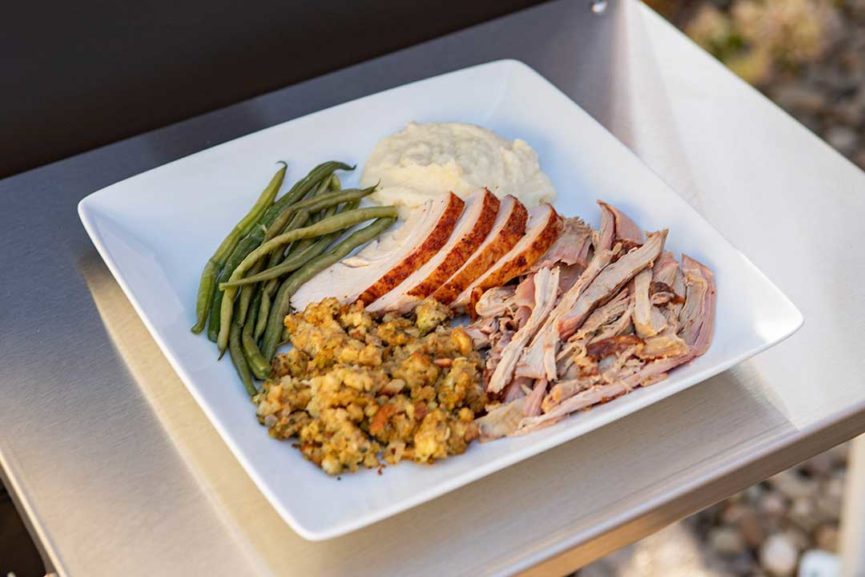
Are you looking forward to cooking a turkey that will get great reviews from everyone around your holiday table? It’s not rocket science, and if you put some effort into planning your cook, it just could be the best turkey you've ever cooked!
Did you know we are much more than a BBQ store?
One reason we open our doors in the morning is to help ordinary people discover how to cook amazing barbecue! Feel free to call us at (717) 355-0779 or visit our store at 140 W Main Street in New Holland, Pennsylvania to talk with one of our knowledgeable staff who will be happy to help you with your outdoor cooking questions.
Also, if you haven’t yet, make sure you check out our supplies and equipment guide for cooking a turkey here.
Turkey Tools
Here is a list of products we recommend for cooking your turkey:
-
Turkey Tools
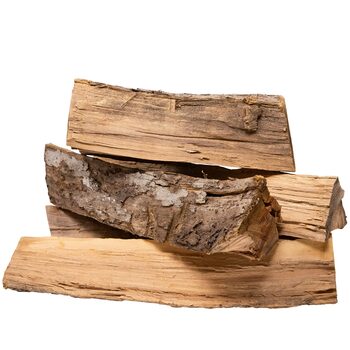
Smoking Wood – Box
$22.00 Select options This product has multiple variants. The options may be chosen on the product page -
Accessories
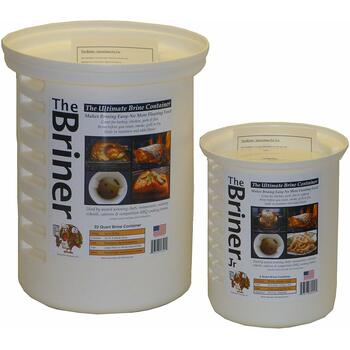
Turkey Tom Briner Buckets
$25.99 – $43.99 Select options This product has multiple variants. The options may be chosen on the product page -
Accessories
Flame Boss FB500 Wifi Kit
$399.00 – $419.00 Select options This product has multiple variants. The options may be chosen on the product page -
Turkey Tools
Smoking Wood – Skid
$185.00 – $195.00 Select options This product has multiple variants. The options may be chosen on the product page -
Accessories
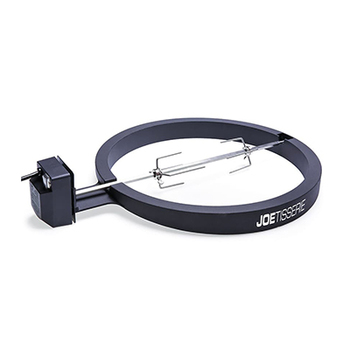
Kamado Joe – JoeTisserie
$299.99 – $349.99 Select options This product has multiple variants. The options may be chosen on the product page -
Accessories
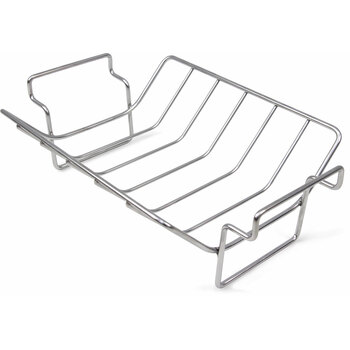
Big Green Egg – Stainless Steel Rib & Roast Rack
$32.99 – $44.99 Select options This product has multiple variants. The options may be chosen on the product page
Do you need help cooking your holiday turkey? We believe amazing barbecue is not just for celebrities. Visit our store for everything you need to cook outdoors, including free and friendly advice from fellow barbecue enthusiasts. Call us at (717) 355-0779 or visit us at 140 W Main Street in New Holland, PA.
Thanksgiving Recipe Library
About the author: Lavern Gingerich is a writer and the digital marketing manager for Meadow Creek Barbecue Supply.

