Credit for this delightful pumpkin cheesecake recipe belongs to Reagan Cawley. Reagan and her parents have taught workshops at our annual turkey fest, and their dedication to cooking and attention to detail is always outstanding.
Since a very young age, Reagan has been making great impressions on her family and guests with her baking skills, such as baking a perfect soufflé at age 10 for her mom’s birthday party! Reagan surprised our 2020 turkey fest attendees with this pumpkin cheesecake, and we loved it so much we decided to share it here on the blog.
Instead of cooking this cheesecake in the oven as it’s usually done, I cooked it in my Big Green Egg to give it a wood-fired flavor. The crust picked up a subtle smoke flavor that elevates this amazing cheesecake to a remarkable level. If you haven’t tried smoking a dessert yet, you are missing out on a delicious treat!
Because of all the pumpkin in this cheesecake recipe, it is less dense than a typical cheesecake, but rich enough to make an elegant dessert for your Thanksgiving holiday meal or any fall season meal.
The maple glaze perfectly complements the buttery crunch of the crust and the smooth pumpkin-flavored filling for a tantalizing combination that makes tastebuds sing!
This recipe yields one 10-inch cheesecake.
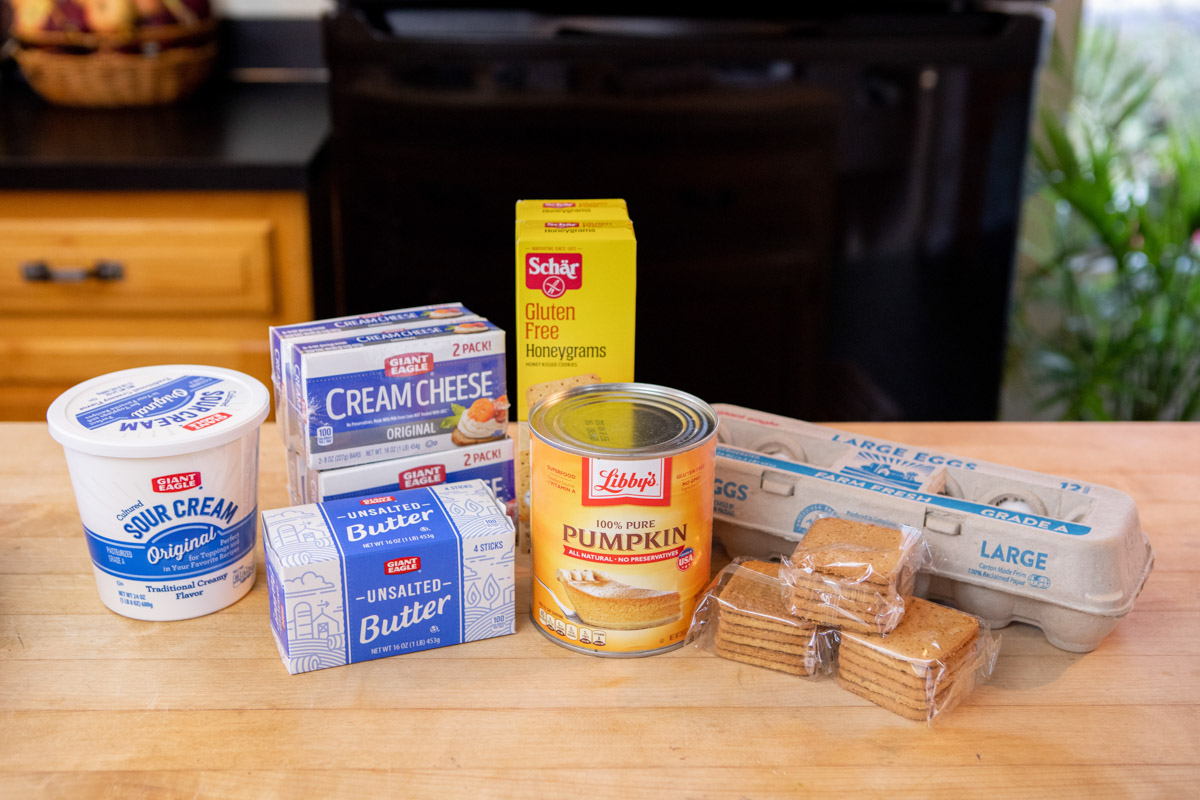
Ingredients
Crust Ingredients
Filling Ingredients
Glaze Ingredients
Regan’s original recipe was intended for cooking the cheesecake in an oven, but today we're smoking it in the Big Green Egg.
Do you need any supplies or tools for your outdoor cooking? Call us at 717-355-0779 or visit us at 140 W Main Street in New Holland, PA (store hours at the bottom of this page) for rubs, sauces, thermometers, gloves, gadgets, charcoal, pellets, and everything else you need to cook outdoors. You can also browse hundreds of products in our online catalog.
Directions
Step 1: Preheat Your Smoker to 325 Degrees F
If using a pellet smoker, use a pellet with a mild smoke profile, such as sugar maple or cherry. If using a charcoal smoker, burn high quality lump charcoal and do not add any wood chunks. Let your smoker preheat for one hour or until you see very thin blue smoke. You want a clean burning fire for this!
For this story, I'm using my XLarge Big Green Egg. To fire the Egg, I topped off my Kick Ash Basket with Rockwood Lump Charcoal and nestled two wax fire starter cubes into the charcoal. With the lid open and the top and bottom vents fully open, I lit the fire starters.
Next, let the fire burn for 10–15 minutes, then close the grill lid with the vents fully open. Once the temperature rises to within 25 degrees of your target temperature (in this case, 300 degrees), adjust the top and bottom vents to about 3/4” open.
Give it some time to settle in and adjust the top vent as needed to raise or lower the temperature. To lower the temperature, close the vent further; to raise the temperature, open the vent a bit wider.
Step 2: Prepare the Crust
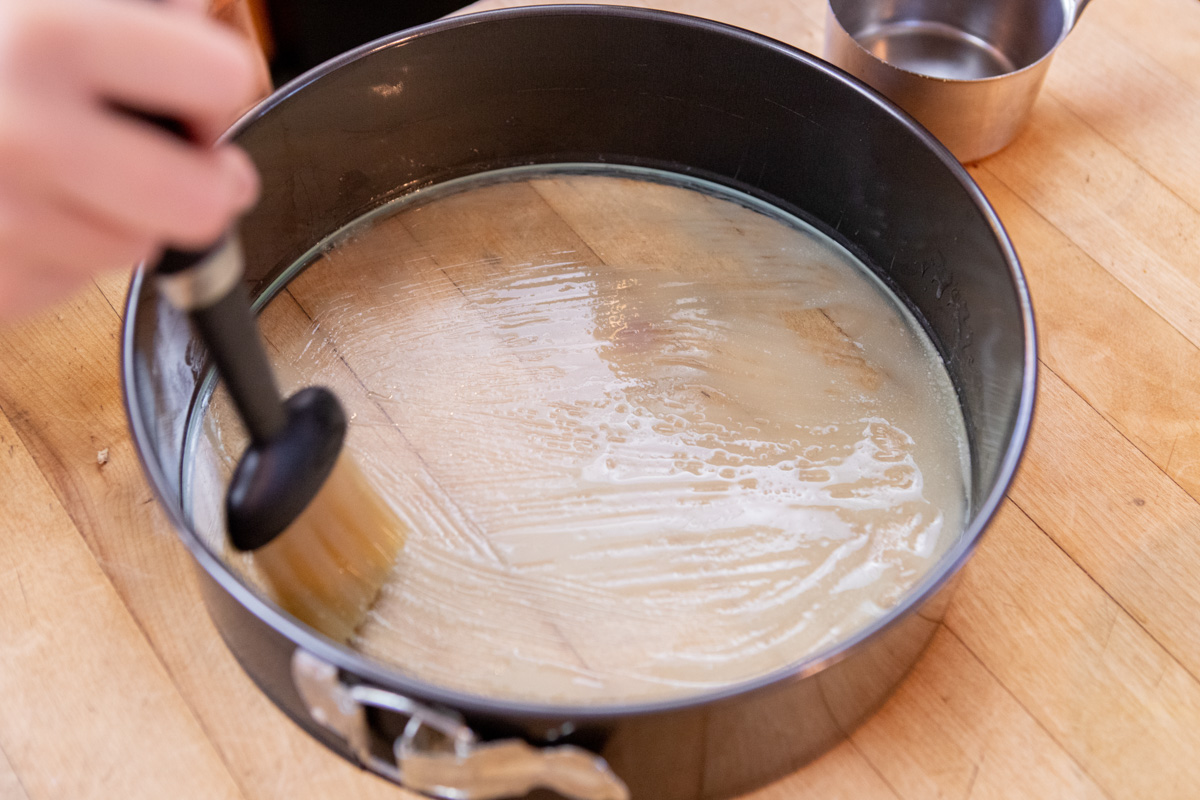
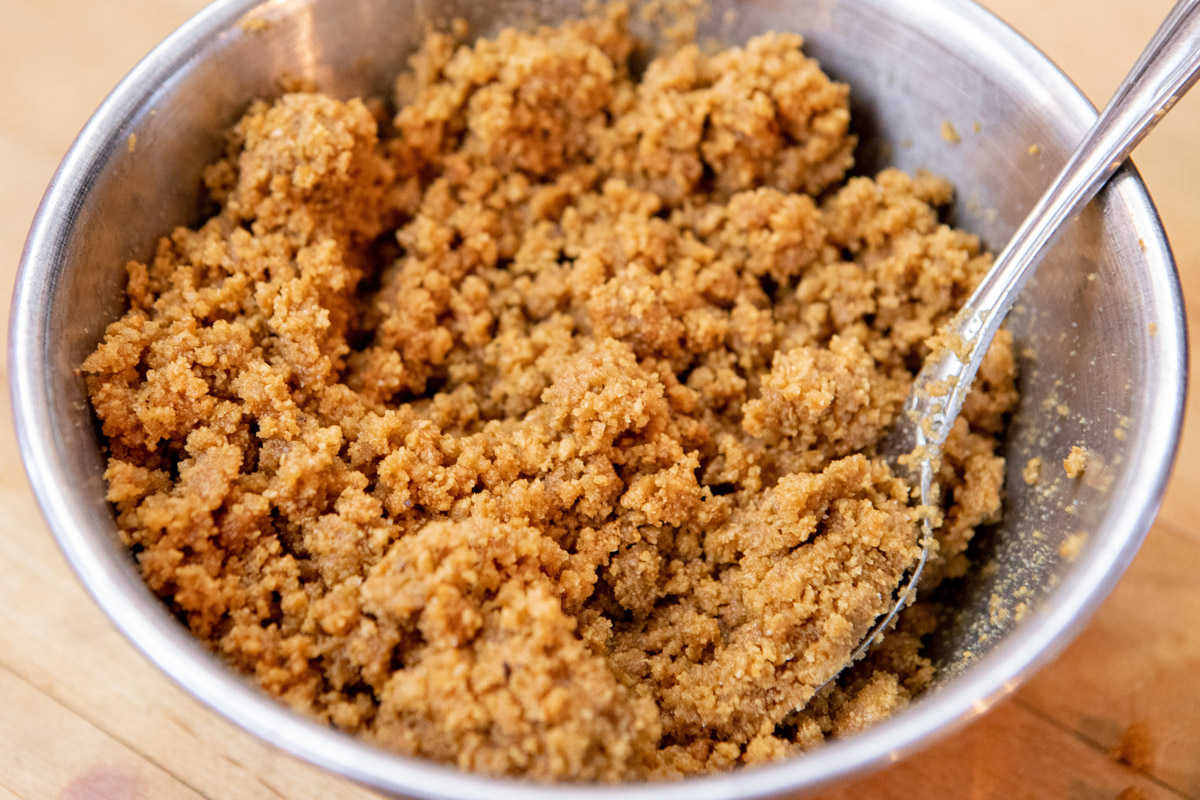
Wipe the inside of a ten-inch springform pan with a paper towel dipped in the melted butter. In a bowl, mix well the remaining butter with the crumbs, the quarter cup of sugar, and the pinch of salt. Press the crumb mixture into the bottom and slightly up the sides of the pan, packing it tightly and evenly.
No springform pan? If you prefer to use a cake pan instead of the springform pan, that’s fine too. You won’t need to wrap it in foil (step 6), but make sure you grease it well with the unsalted butter.
Are you gluten-free? To make this recipe gluten-free, I used Schar Honeygrams in the 5.6-ounce boxes. It took 5 packs of 6 crackers each to make 2-1/2 cups of crumbs.
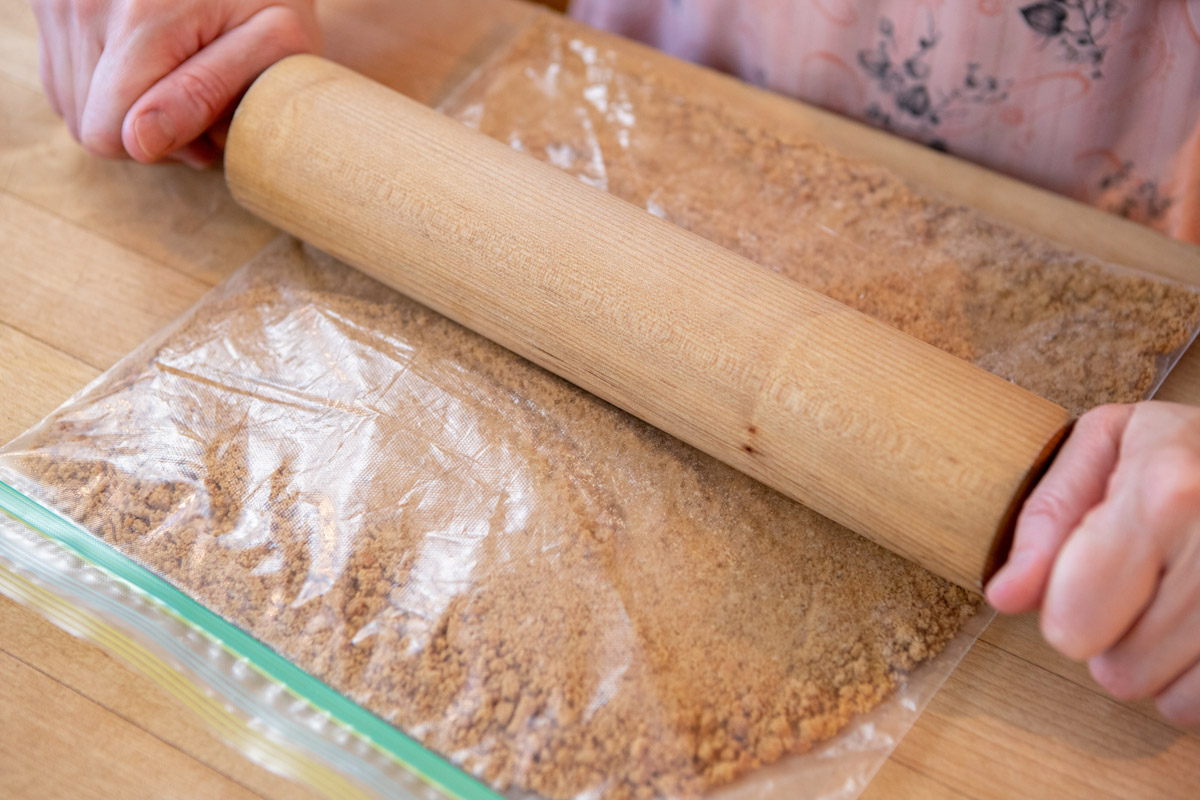
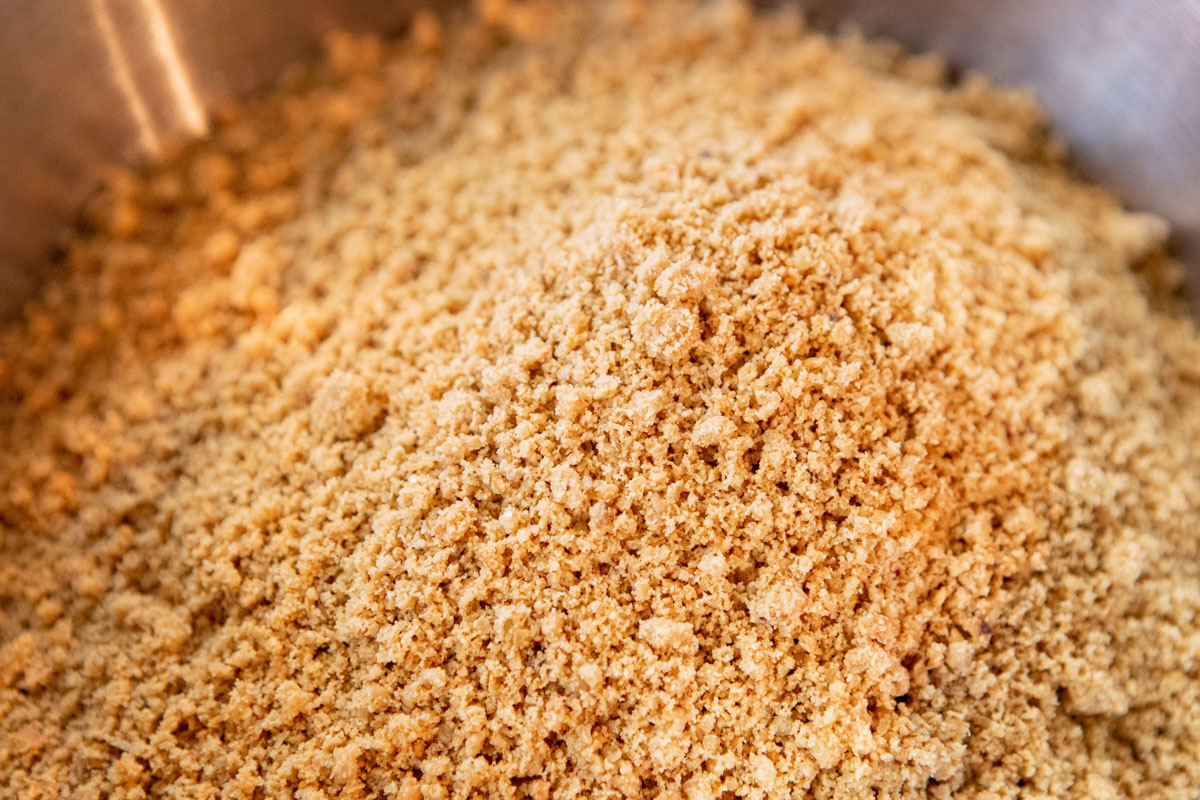
Put the crackers in a bag and crush them with a rolling pin or use a food processor.
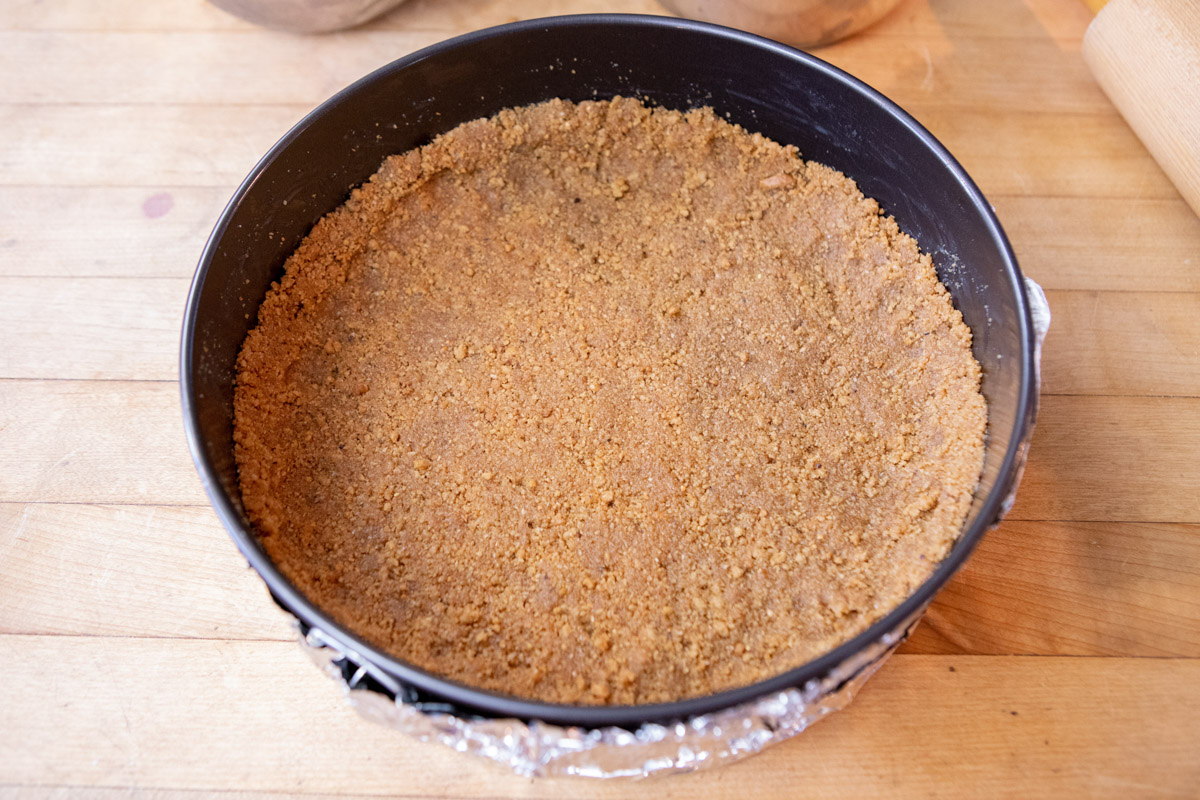
Step 3: Bake the Crust
Set the pan directly onto the cooking grate in your smoker and cook it until it turns golden brown, about 15–20 minutes. Remove it from the smoker and cool it on a wire rack for fifteen minutes.
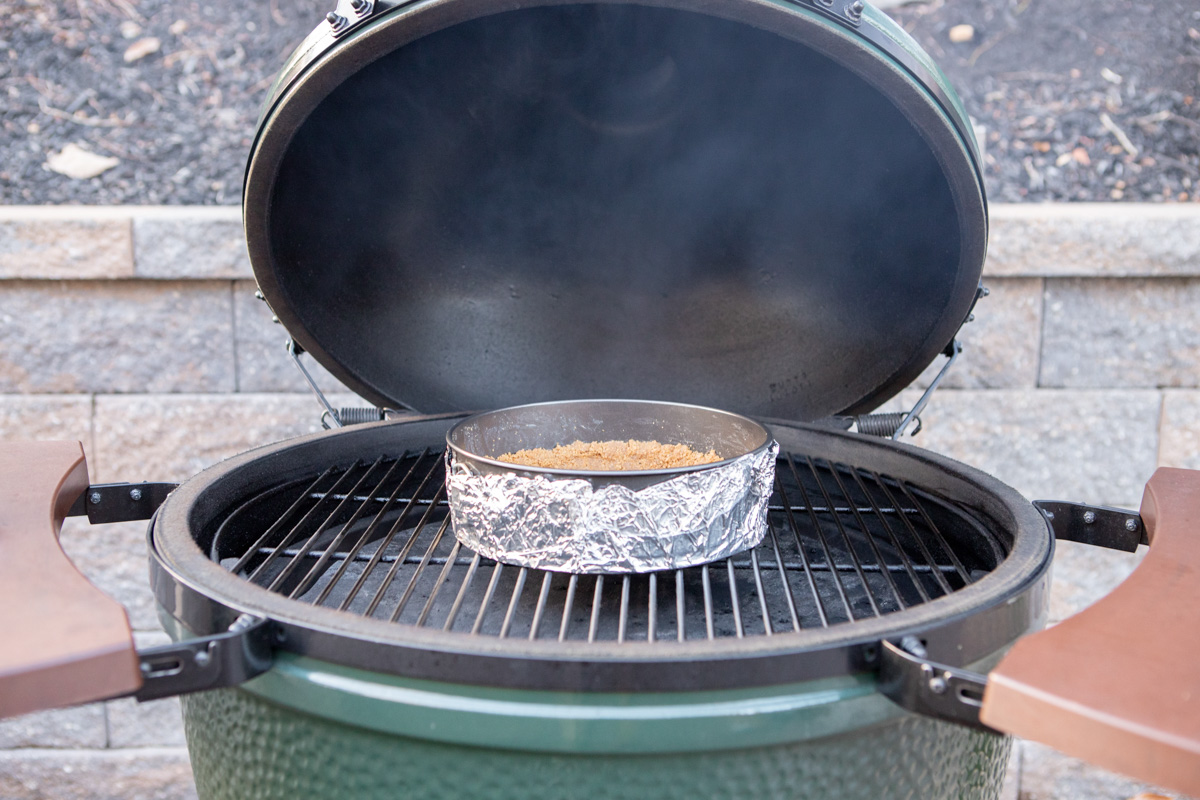
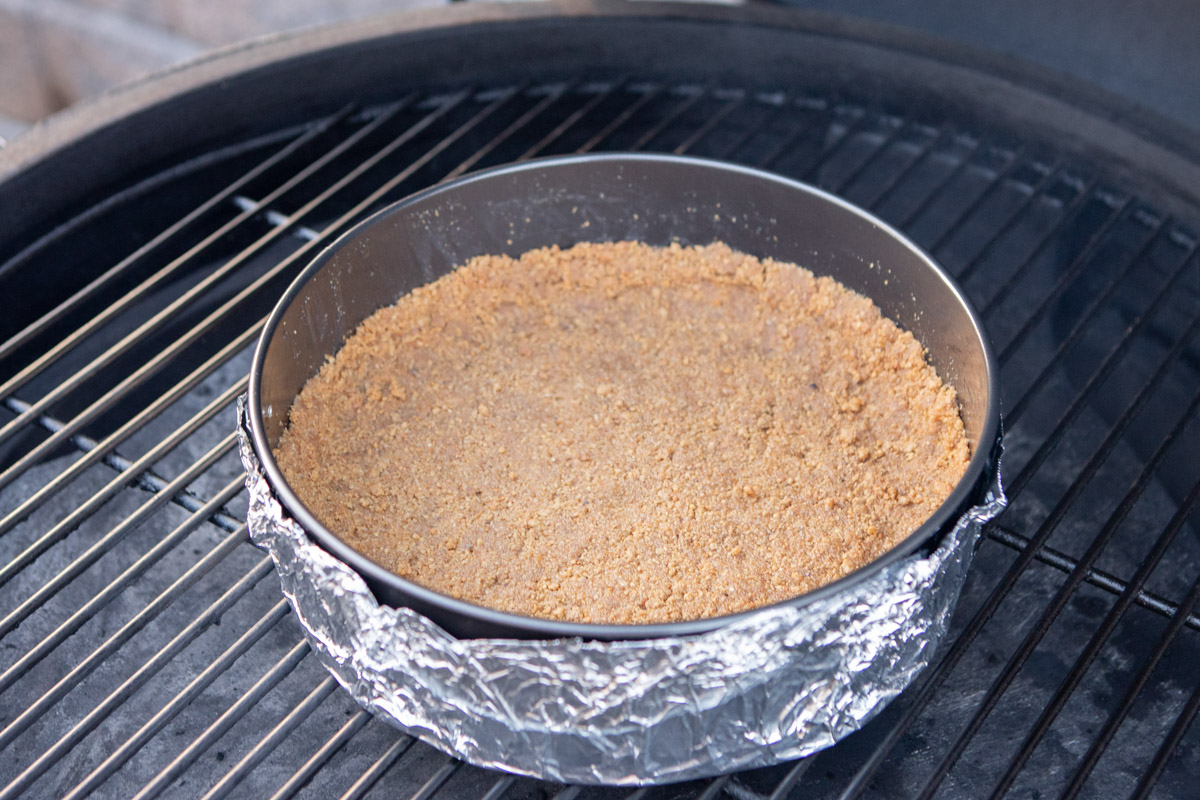
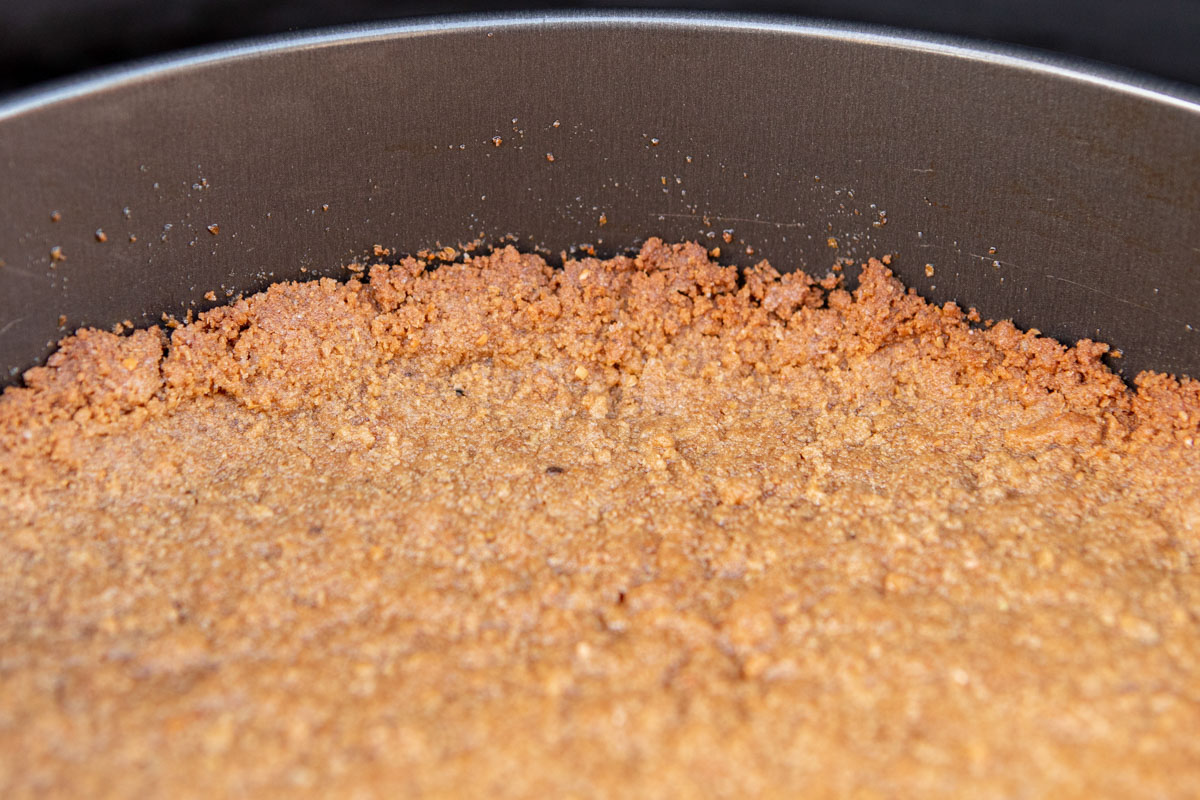
Step 4: Mix the Filling
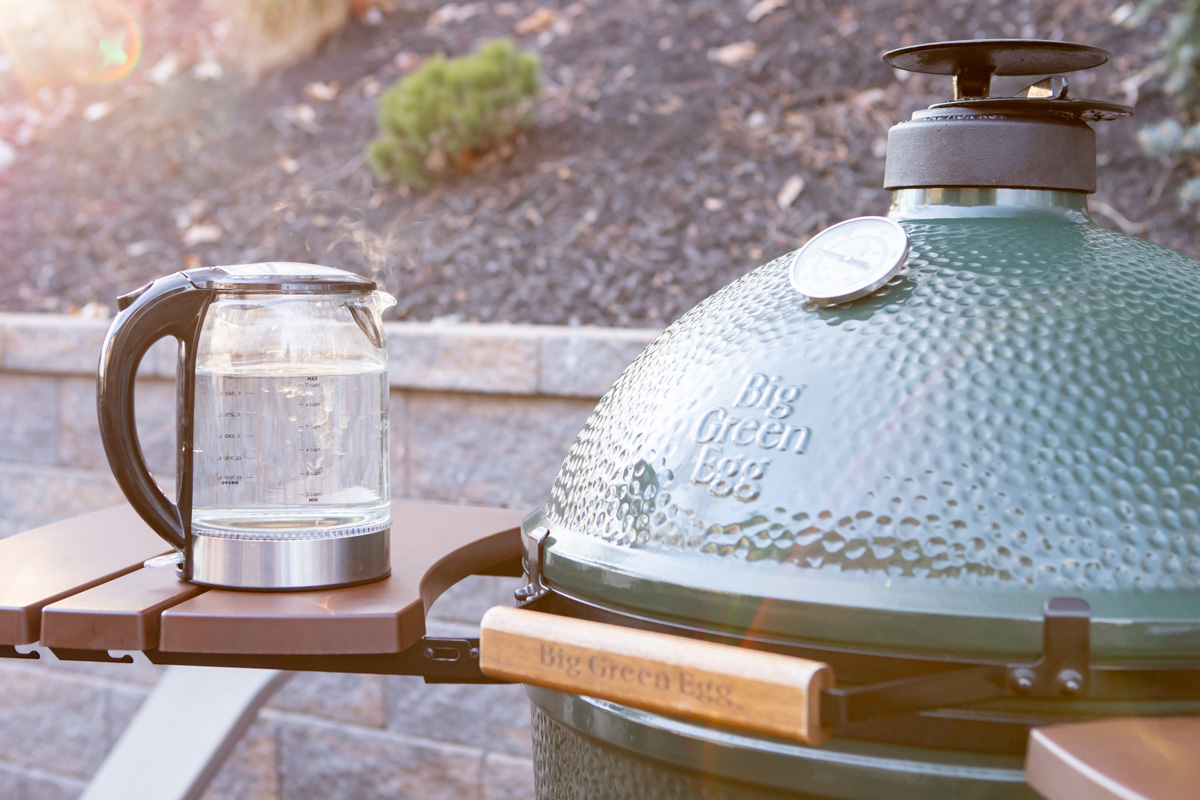
Bring a pot of water to a rolling boil for the water bath. I used a 7-cup electric teakettle.
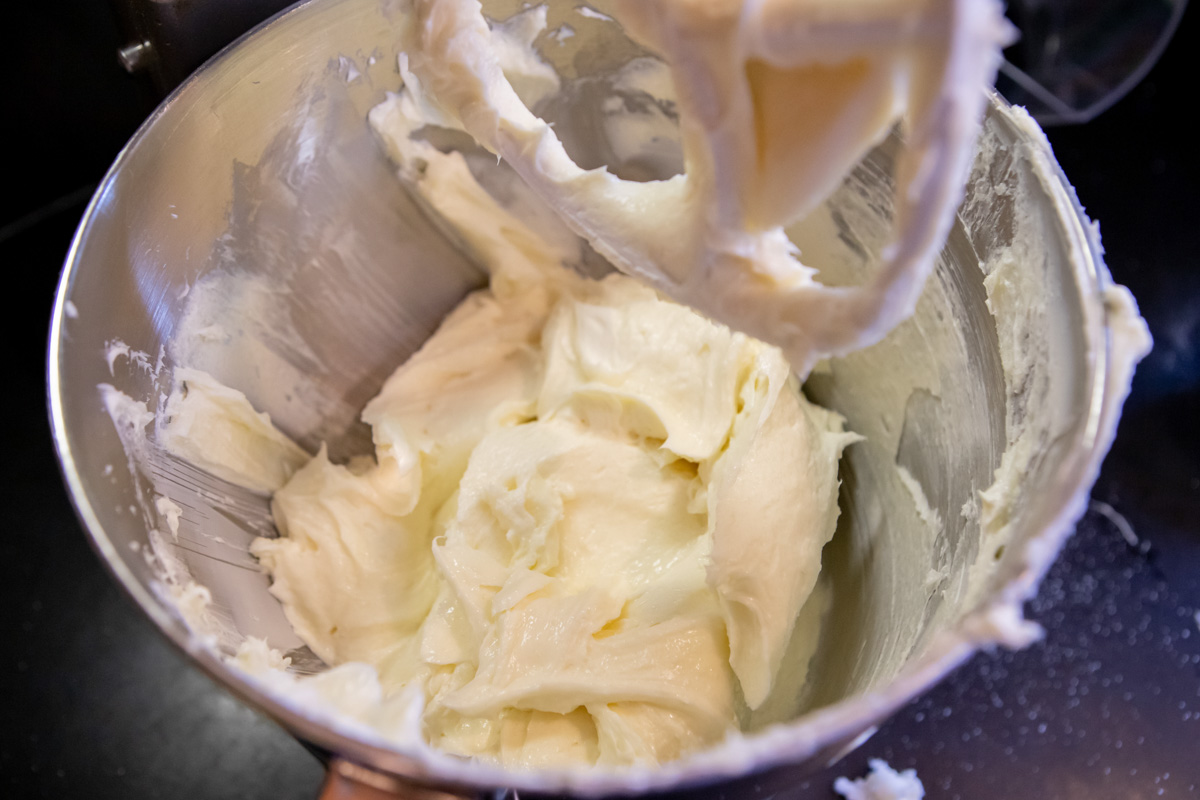
Meanwhile, beat the cream cheese with a mixer until smooth. Add the remaining 2-1/2 cups of sugar and the eggs, then beat it just until it’s light and fluffy. Scrape down the sides of the bowl and beaters as needed.
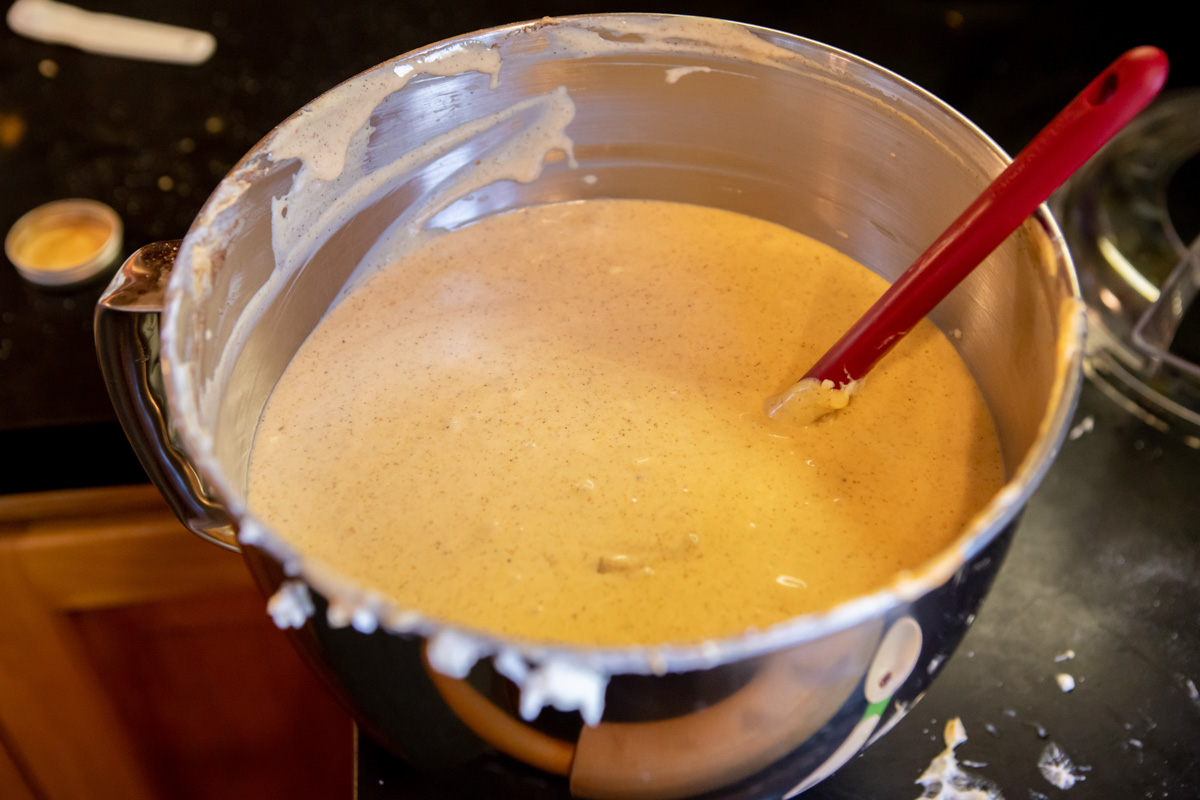
Beat in the sour cream, then add the pumpkin, vanilla, salt, and spices. Beat until combined very well.
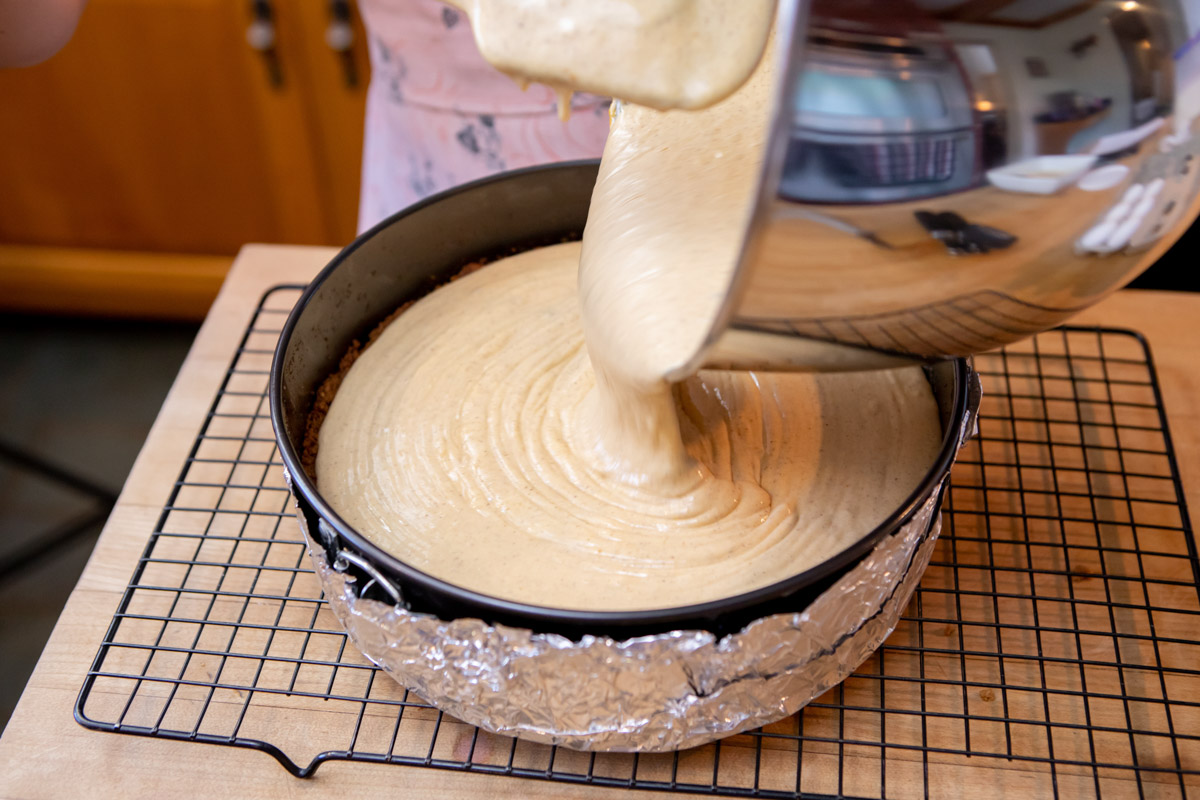
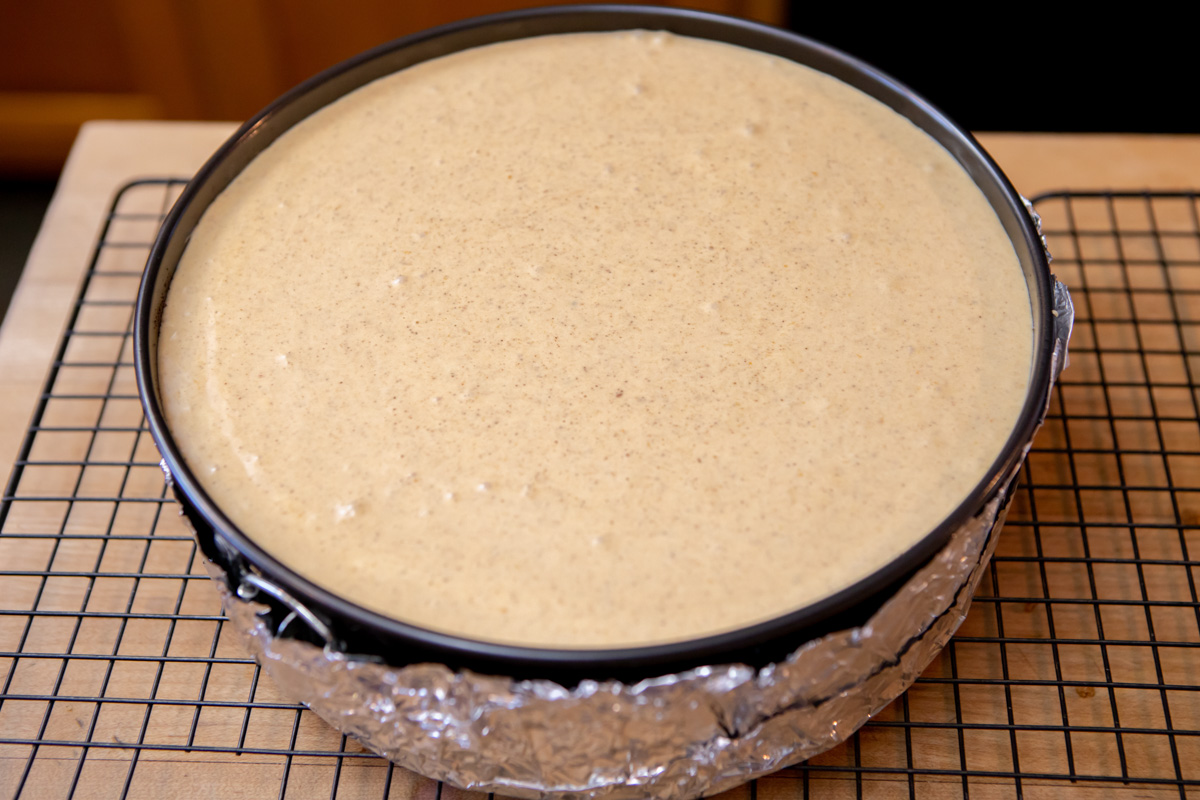
Pour the mixture into the cooled crust.
Step 5: Remove Air Bubbles
Hold the pan several inches above the countertop and let it drop evenly. Repeat 3–4 times. This slight jarring forces any large air bubbles to the surface of the cheesecake before baking. If a bubble comes to the surface during baking, it will create an unsightly dark spot.
Step 6: Wrap the Springform Pan in Aluminum Foil
Wrap the springform pan in two layers of heavy duty aluminum foil to protect your pan from getting colored from the smoke. The foil is also necessary for the water bath you will be putting the pan into. Fold the sides of the foil to form a sheet just wide enough to reach the top edge of the pan. Be extremely careful not to tear the foil because even a pinhole will let water seep into the cheesecake.
Step 7: Bake the Cheesecake
Set a full-sized aluminum pan (or a large roasting pan) on the smoker’s cooking grate, then set the springform pan into the center of it. Pour the boiling water into the foil pan. The water should cover at least one-third of the cake pan’s height.
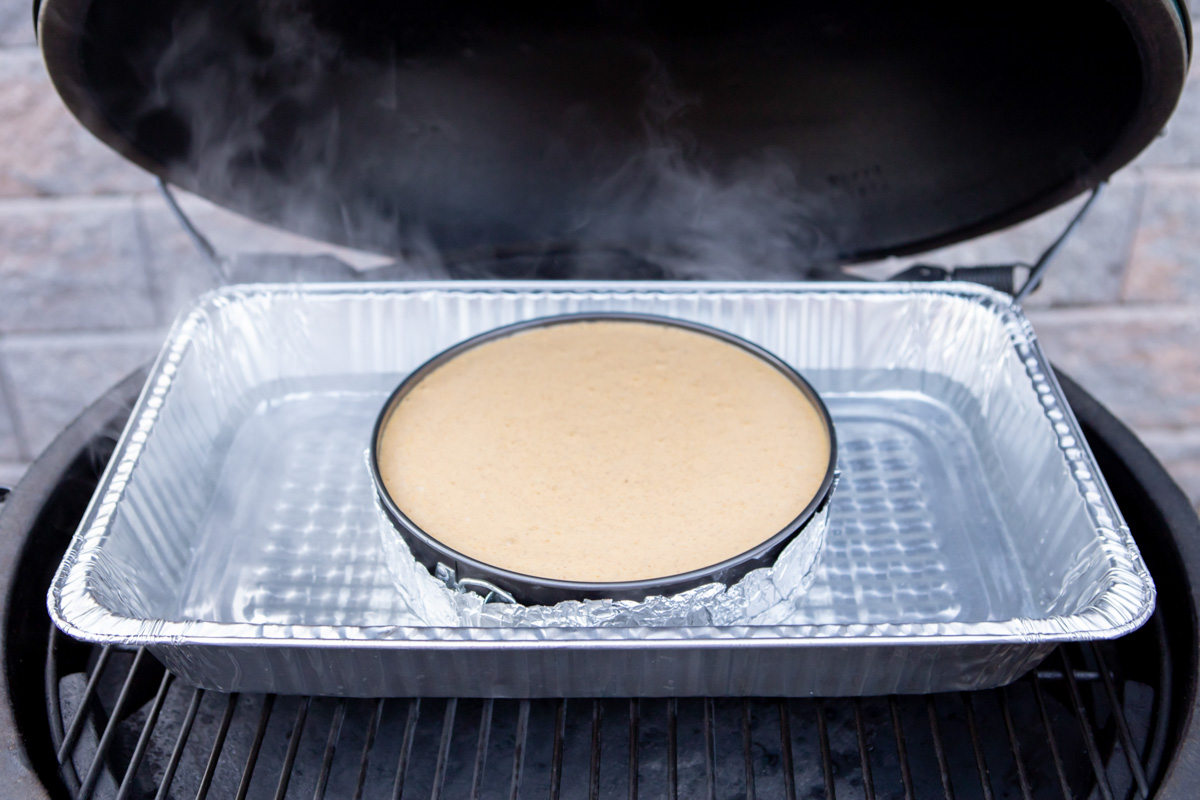
If you’re using the oven, set the cake pan into a roasting pan and gently place the roasting pan in the oven without sliding the oven rack out, then pour the boiling water into the roasting pan.
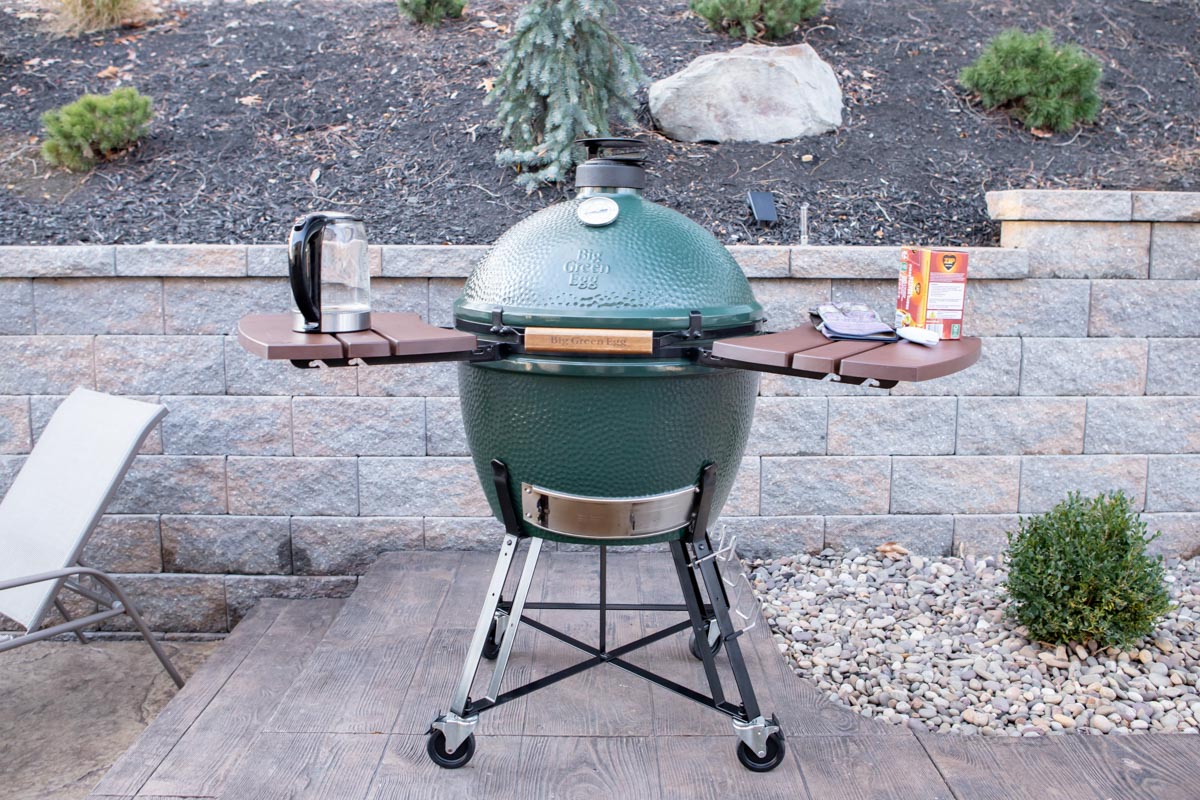
Bake the cheesecake until the outside of the cheesecake sets, and a thermometer probe inserted comes out clean, with a reading from the center of the filling of 175–180°. This should take about 1-3/4 to 2 hours. If baking multiple cheesecakes in the same smoker, it may take up to 3 hours.
Step 8: Make the Glaze
Meanwhile, simmer the glaze ingredients in a small pot over medium heat for fifteen minutes, stirring constantly, then remove from the heat. Let it cool on the counter for thirty minutes, then pour it into a glass measuring cup and refrigerate it.
If making the cheesecake more than several days ahead of time, leave this step until the day you serve the cheesecake.
Step 9: Cool It
Remove the cheesecake from the smoker and the water bath, tightly tent the top in foil, and set the cheesecake on a wire rack to cool at room temperature for two hours.
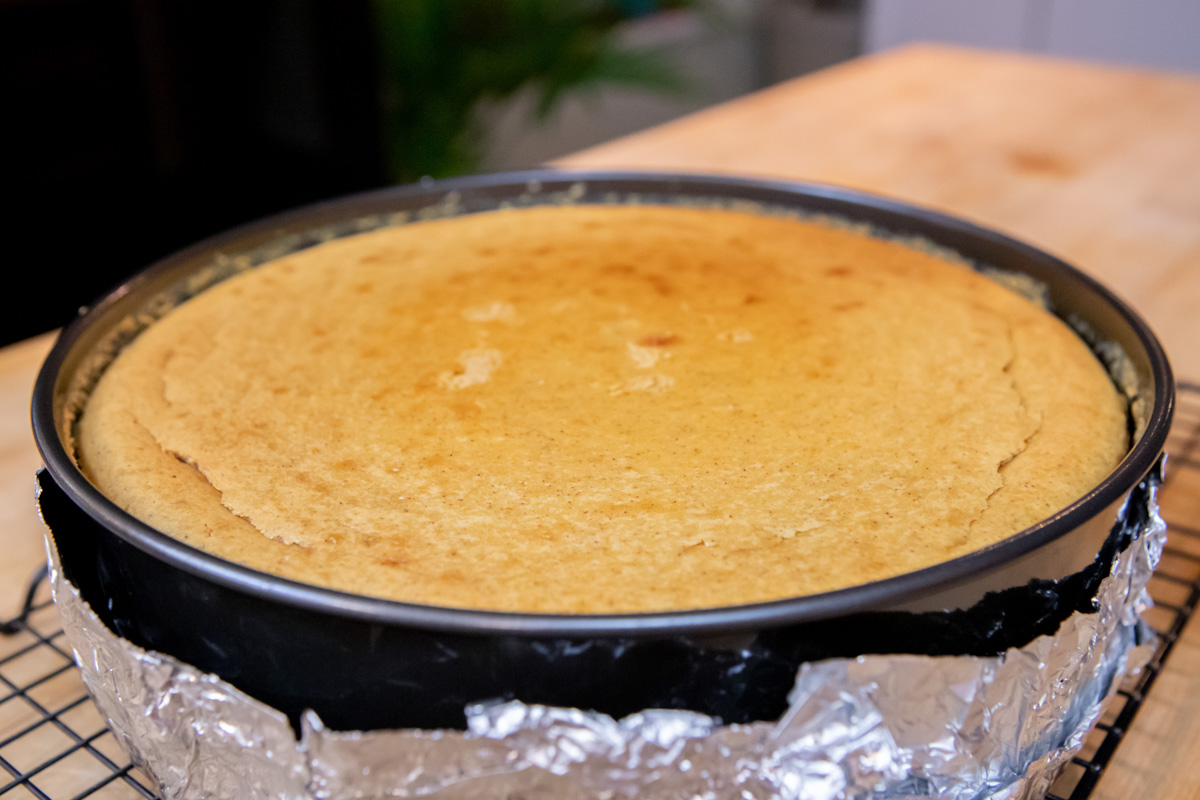
A cheesecake can collapse in the center if you cool it too quickly, so if you’re baking it in an oven, turn off the oven and open the door briefly to let out some heat (or prop the door open with a spoon). Leave the cheesecake in the oven for 1 more hour, before cooling it on a rack at room temperature.
Step 10: Glaze It
Warm the glaze slightly if needed. Run a blunt knife around the edge to loosen the cheesecake from the ring (do not unclasp the springform ring!).
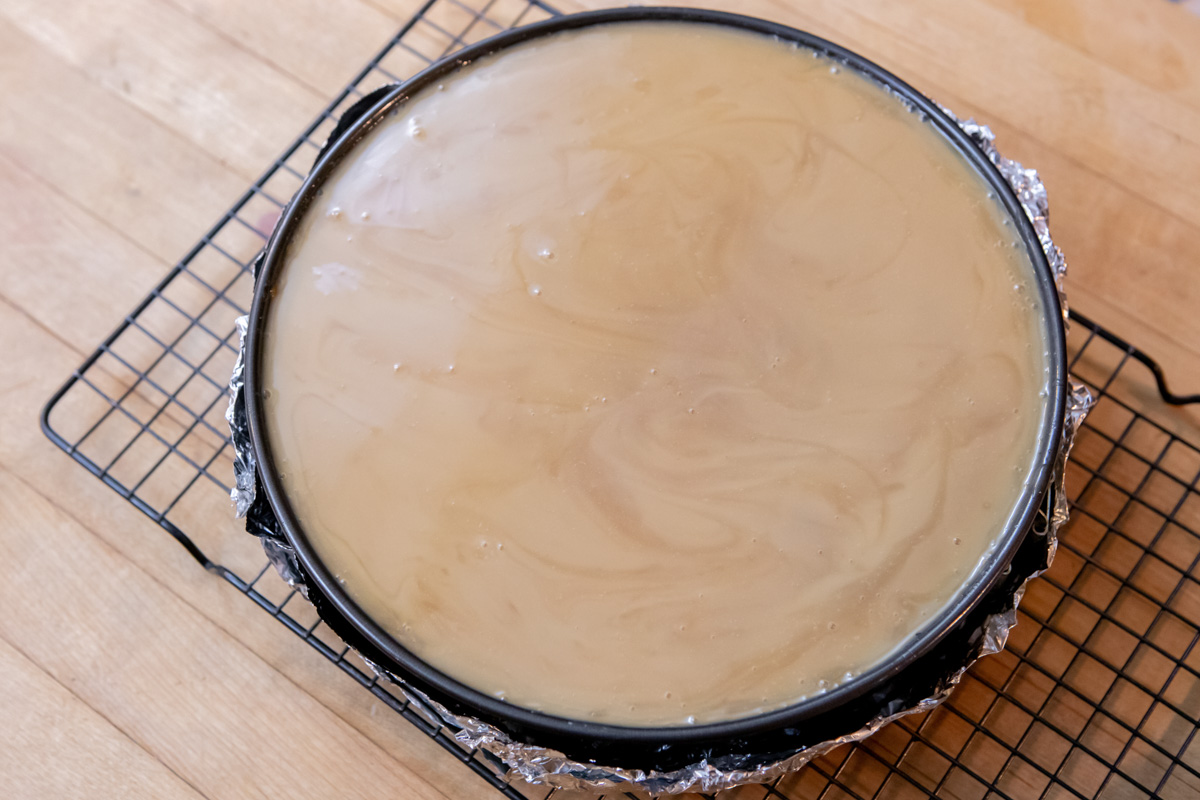
Pour the glaze over the top of the cheesecake. Some of the glaze will run into the crack around the outside edge if you loosened it properly.
Step 11: Freeze It
After glazing, refrigerate the cheesecake for 3–4 hours or overnight. Then, cover the cheesecake with aluminum foil and freeze it for eight hours or overnight. To keep the foil from dipping into the glaze, place a round dinner plate upside-down on top of the springform pan before wrapping it in foil. Keep it frozen until you’re ready to slice it.
For long term storage: Skip the glazing until sliced and ready to serve. After the cheesecake has been in the freezer for at least eight hours, unlock and remove the springform ring and the bottom of the pan (instructions below). Wrap the cheesecake in a layer of heavy duty aluminum foil, flip it over and wrap it in another layer of foil. Alternating the foil folds eliminates the slight risk of freezer burn. The cheesecake can now be stored for up to six months in the freezer.
Step 12: Serve It
Remove the cheesecake from the freezer just before slicing it. By the time you get the slices plated and served, it should be thawed perfectly.
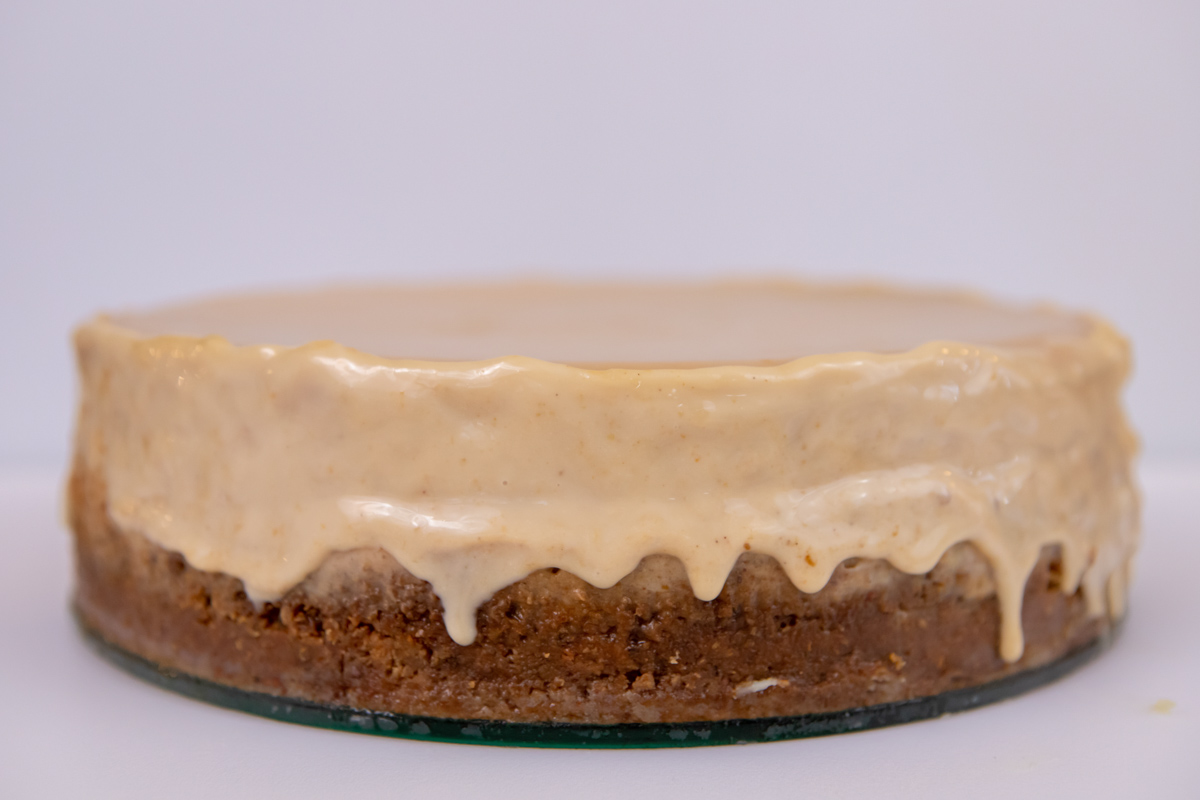
Very briefly run hot water over the sides of the springform ring, making sure to angle it so the hot water doesn’t run onto the top of the cheesecake. If the ring doesn’t release easily, run more hot water over it. Remove the springform ring and the bottom of the pan.
If you used a regular cake pan instead of a springform pan, dip the pan briefly into very hot water, then turn the pan upside down and shake it, using your fingertips to catch the cheesecake as it slides out (repeat as needed until it slides out).
If desired, place a dollop of whipped cream on each slice.
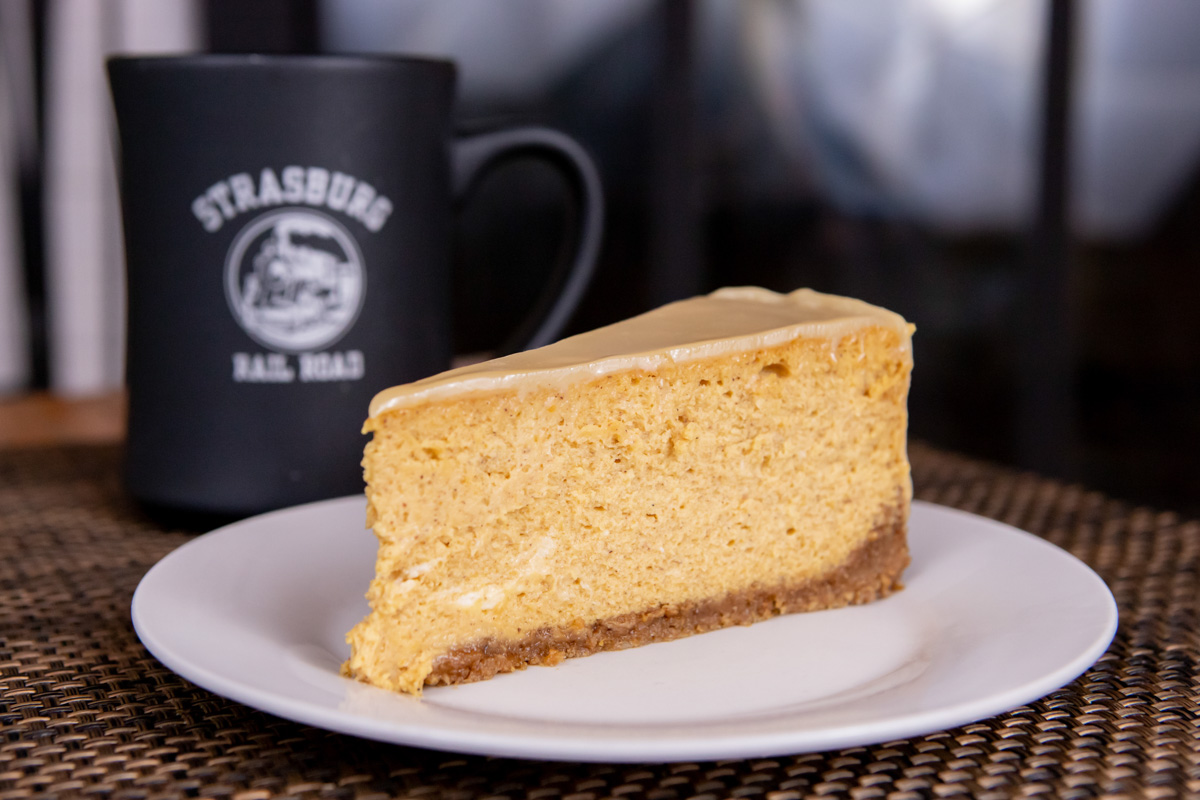
Professional Slicing Tricks
Making a cheesecake sounds complicated, but it’s worth every ounce of effort required. Whether you’re a cheesecake master or this is your first time making cheesecake, I hope you’ll give this recipe a chance. I think you’ll be surprised with how easy it is to completely wow your family and guests with a smoked pumpkin cheesecake.
Thanksgiving Recipe Library
About the author
Lavern Gingerich is the digital marketing manager at Meadow Creek Barbecue Supply. He enjoys helping barbecue enthusiasts avoid making mistakes on the smoker or grill and master amazing barbecue quickly.

