There’s hardly any food more “American” than burgers and fries, and in this blog post I'm sharing three impressive grilled burger recipes to make your next party memorable.
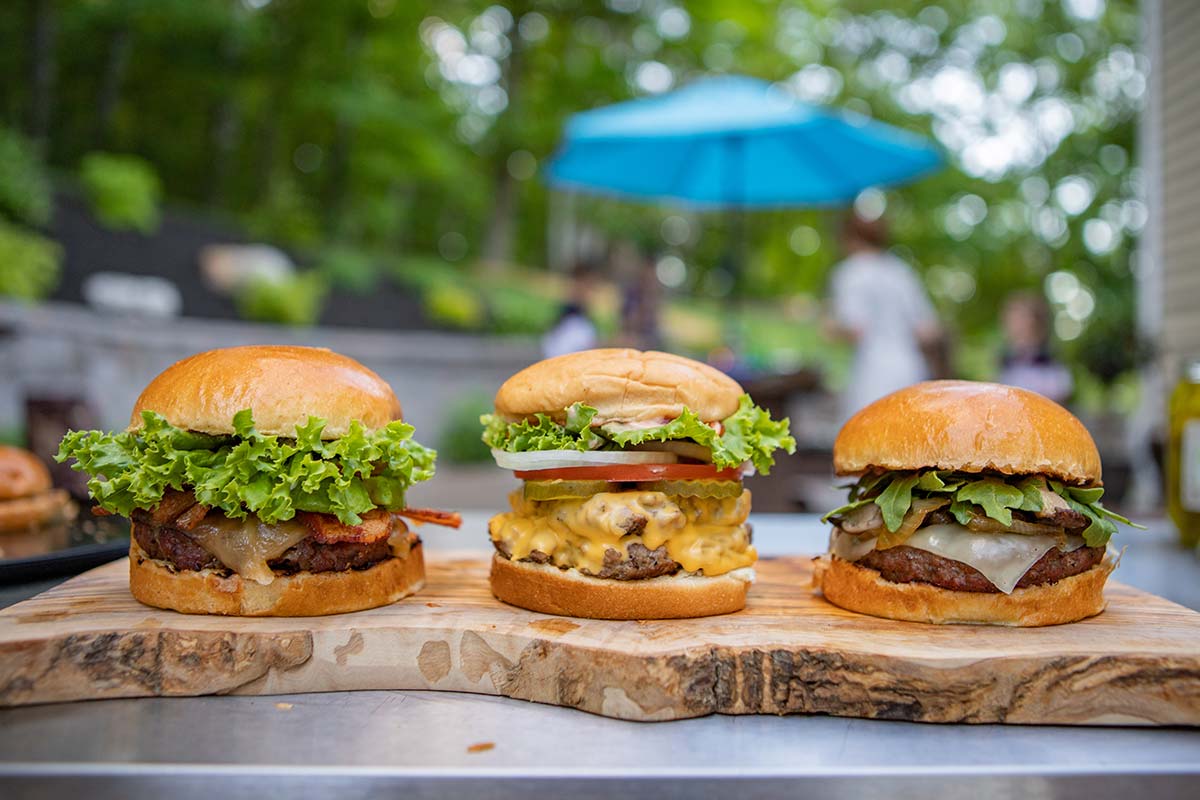
Keep reading to learn how to make these three mouth-watering burgers:
- American Smashburger. Double-stacked smashburger with American cheese, lettuce, tomato, onion, and fry sauce, etc.
- Swiss Onion Cheeseburger. Caramelized onions, sauteed mushrooms, and Swiss cheese, etc.
- Avocado Bacon Burger. Slices of bacon, avocado, and tomato, a drizzle of ranch, and a slice of gouda cheese, etc.
If you don’t like my combination of toppings, you know what to do. My goal is to inspire you with some ideas to help you make a burger your guests will thoroughly enjoy!
Do you need any supplies or tools for your summer barbecues? In our retail store we carry a wide variety of smokers, grills, charcoal, pellets, sauces and seasonings, and many other outdoor cooking supplies to help you cook for your guests with 100% confidence. Call us at 717-355-0779 or visit us at 140 W Main Street in New Holland, PA (store hours at the bottom of this page).
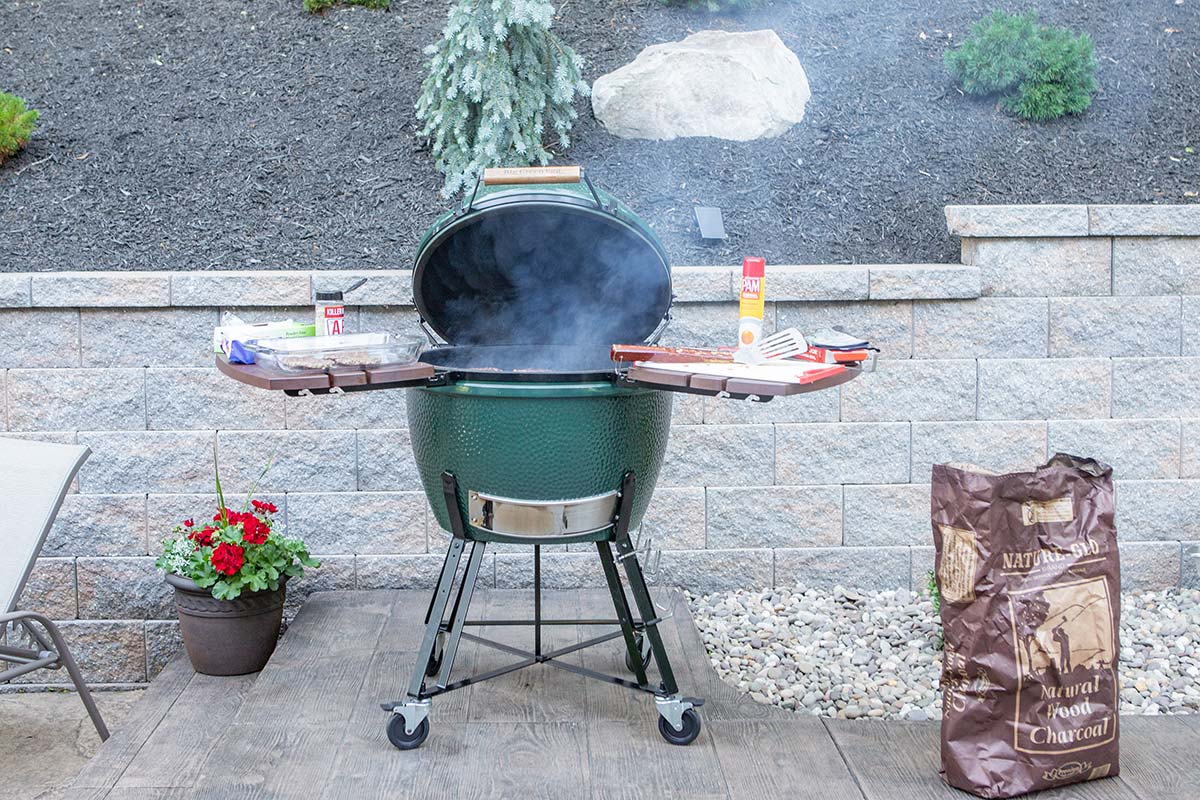
For this cook, I'm using my XL Big Green Egg fired with Nature-Glo Lump Charcoal and a handful of Myron Mixon Orchard Blend Pellets.
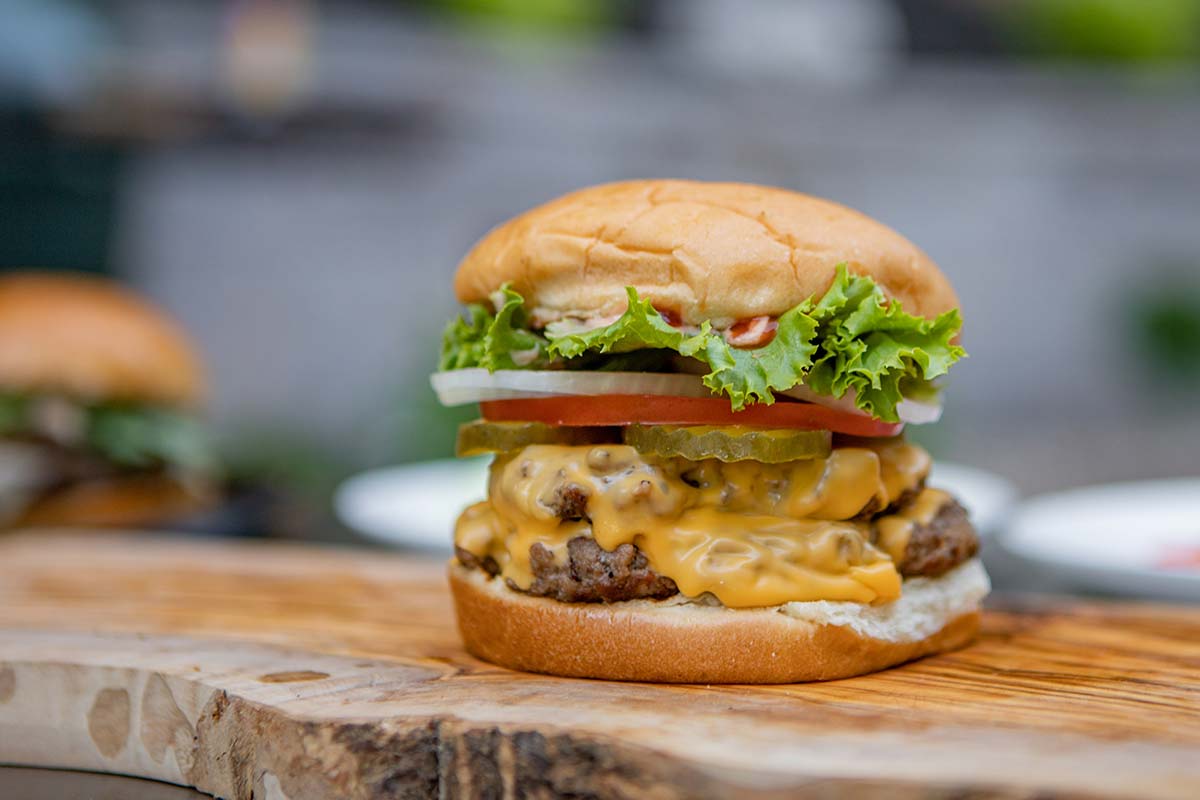
American Smashburger
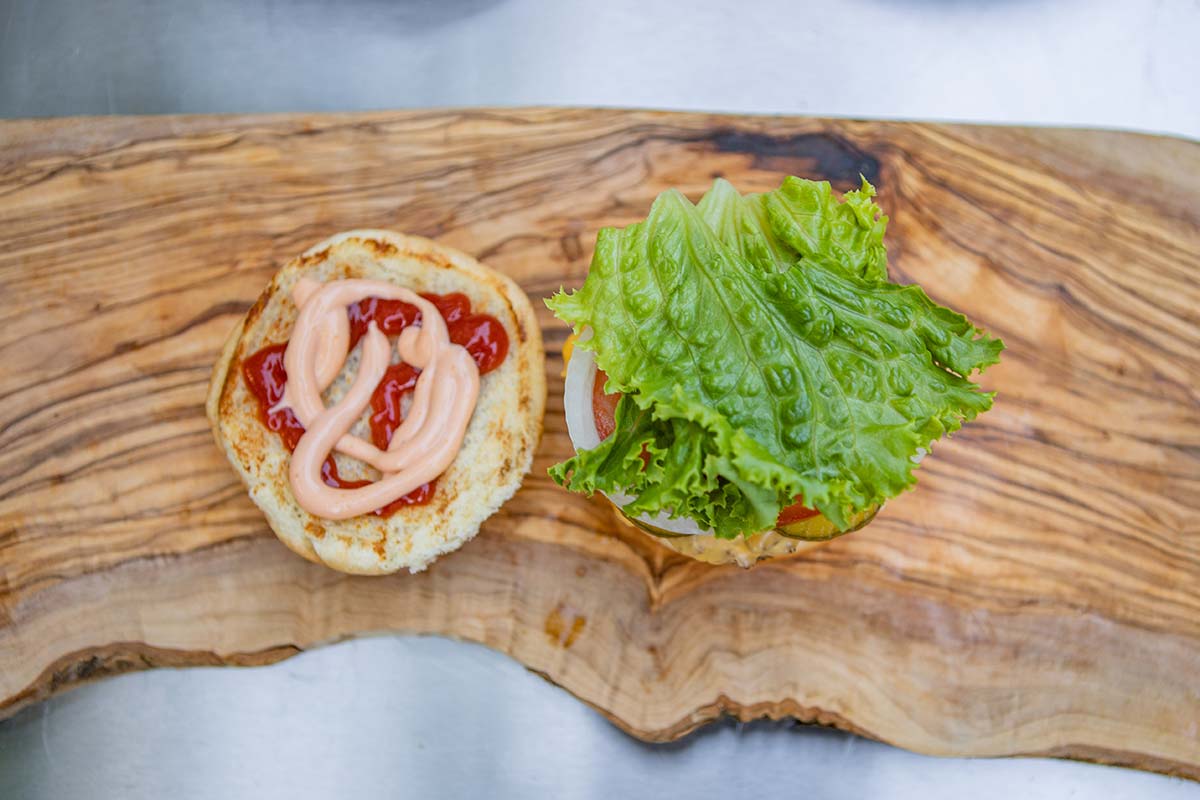
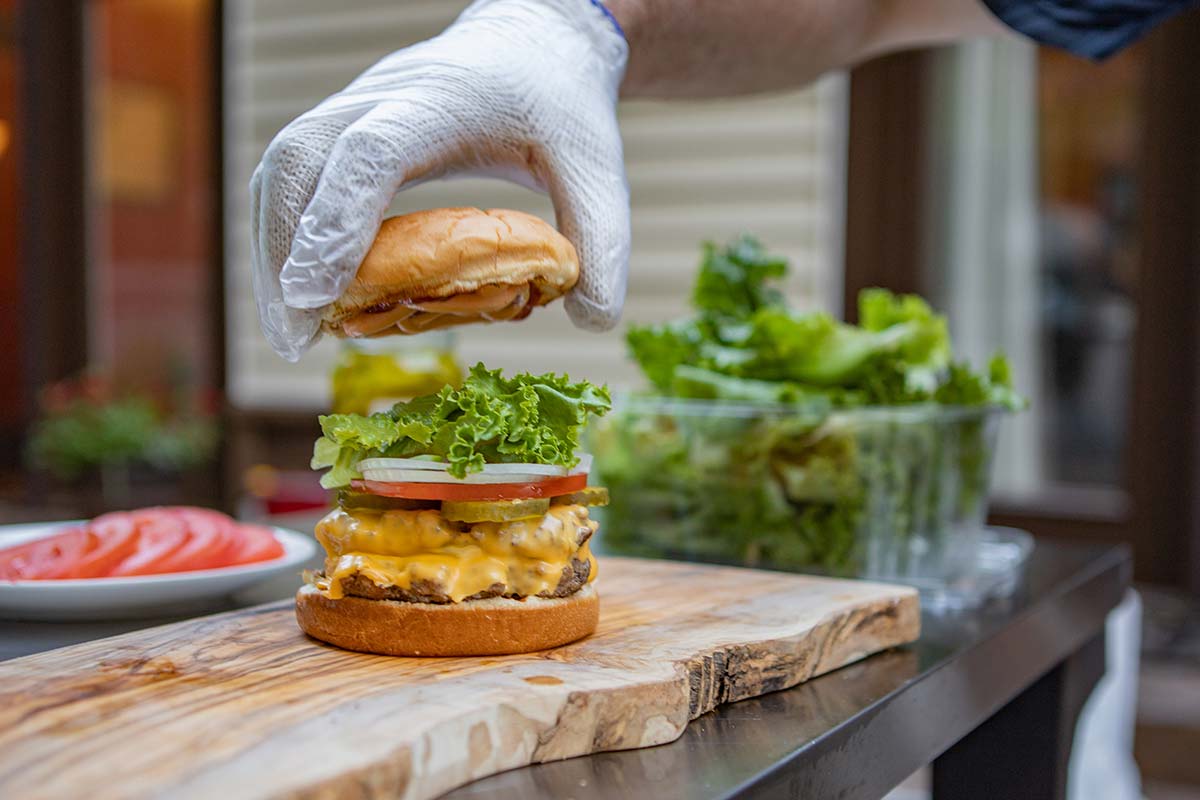
This burger punches a lot of flavor, covered in melty American cheese, then finished with several classic burger toppings.
The big idea with a smashburger is the more intense flavor added by griddle cooking them with jagged edges. Frying the burger browns the entire surface of the meat, which ramps up the flavor, and the jagged edges provide even more surface for browning. Build a double-stacked burger for twice the amount of that awesome, crispy deliciousness in one sandwich!
- Burger: 1/4-pound ball of ground beef seasoned with Killer Hogs AP Rub
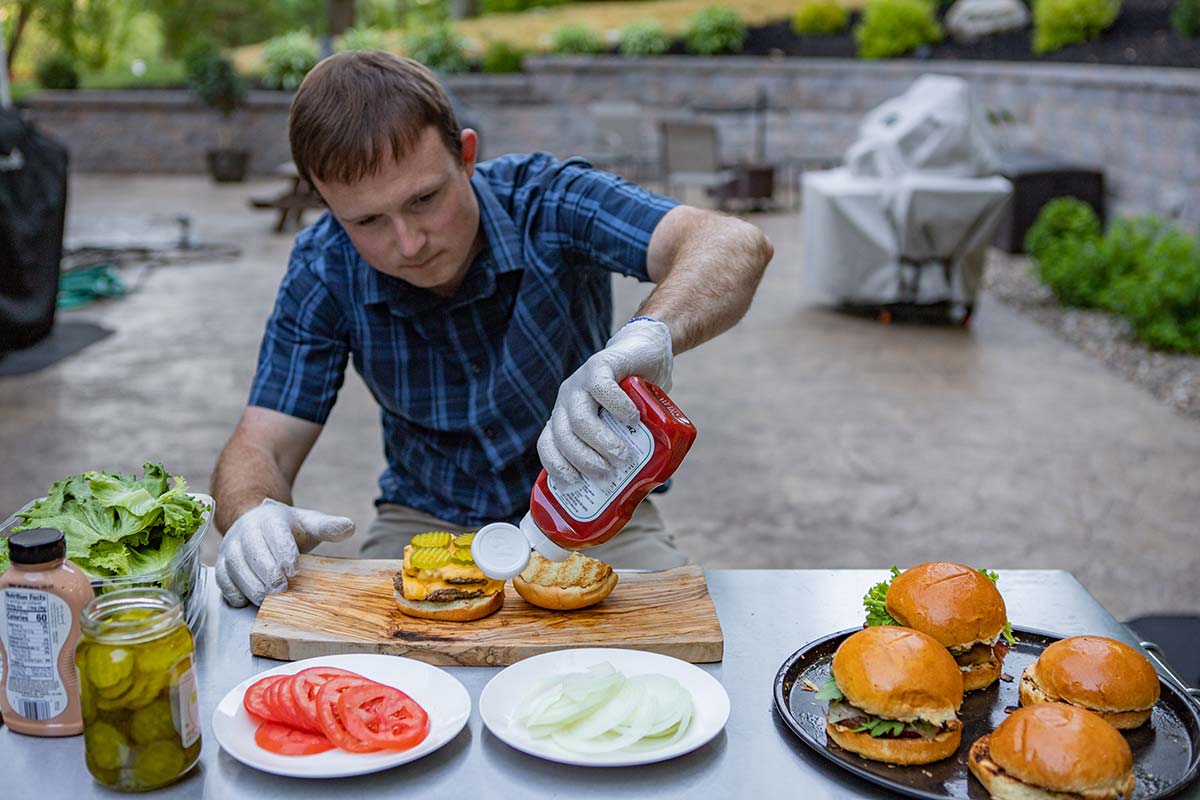
- Toppings: American cheese, pickles, tomato, onion, lettuce, fry sauce, and ketchup
- Bun: Conventional burger bun
You might have noticed that my smashburgers got a bit thick for stacking. If you can keep them at 1/4" thick, the double burger will be more practical for stacking and give you that higher browned meat to inner meat ratio we’re looking for.
See "Cooking the Burgers" below for my notes on grilling the burgers.
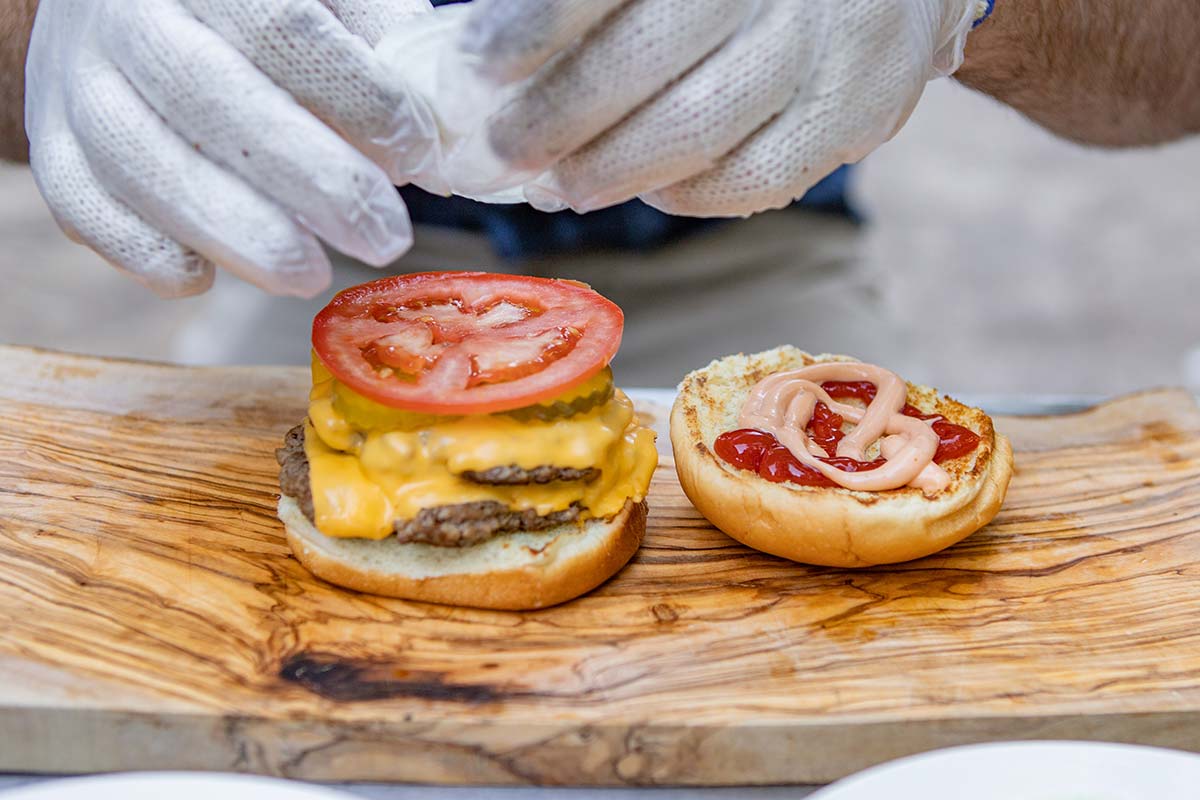
Homemade Fry Sauce
You can purchase a premade fry sauce or mix up your own using this recipe:
- 1 cup mayonnaise
- 1/2 cup ketchup
- 1/4 cup prepared yellow mustard
- 2 teaspoons dried onion
- 1/4 teaspoon dried garlic
- 1/8 teaspoon white vinegar
Whisk all the ingredients in a small bowl and season it with salt and pepper to taste. Add some heat with a dash or two of hot sauce if you'd like. Set the sauce in the fridge for at least an hour before serving.
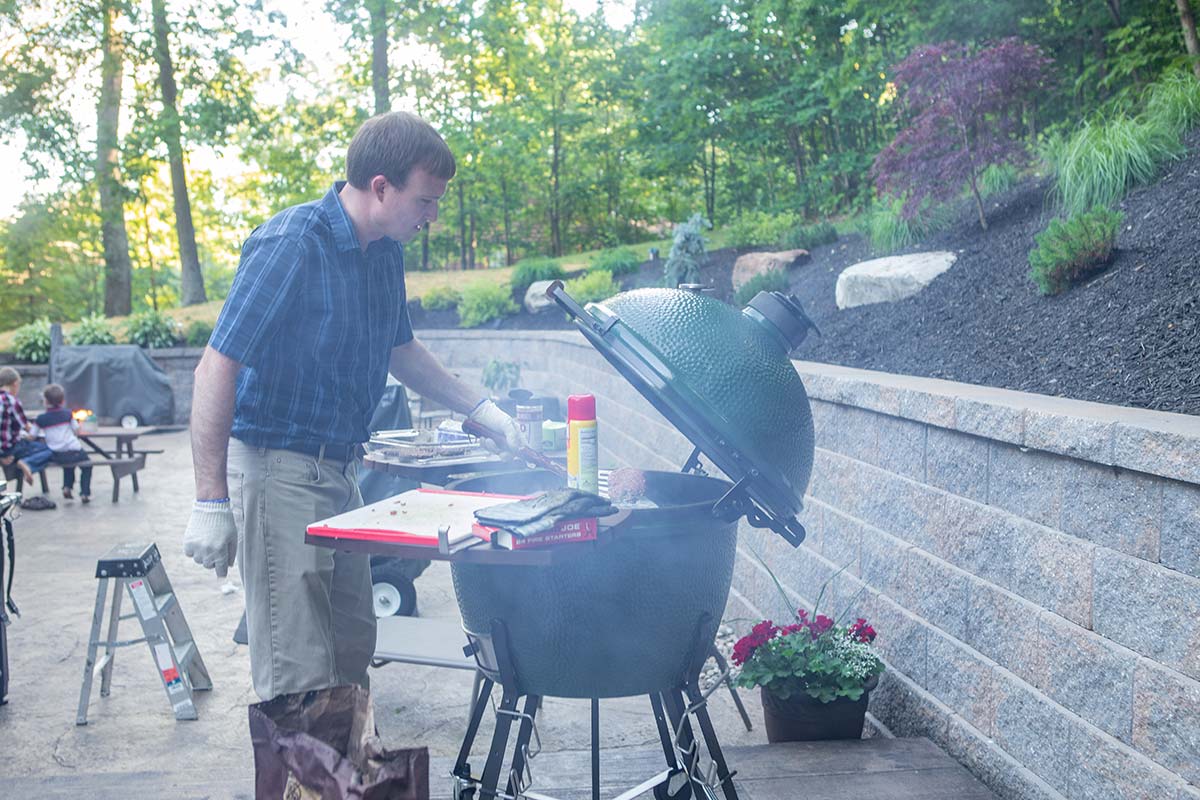
What sets the Big Green Egg apart from other types of cookers is how efficient and easy to use it is. It uses very little charcoal and enables you to cook using any cooking style you want all on the same grill!
Here at Meadow Creek Barbecue Supply we're a platinum Big Green Egg dealer which means we keep all 7 sizes in stock along with more than 100 Big Green Egg-branded accessories to expand the capacity and functions of the Eggs.
Swiss Onion Cheeseburger
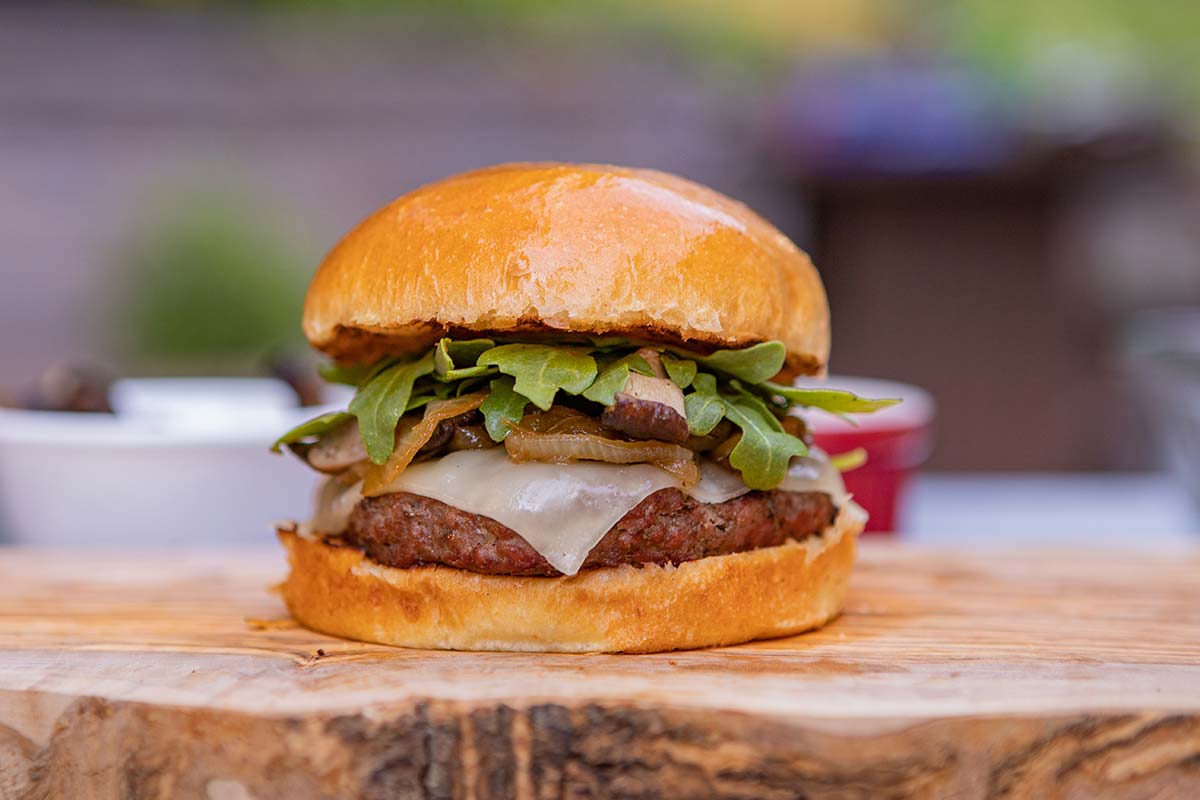
If the American smashburger is the guy at your party who’s the center of attention, always making people laugh, this Swiss onion and mushroom burger is the person who doesn’t say much, but has earned the respect of everyone who knows him.
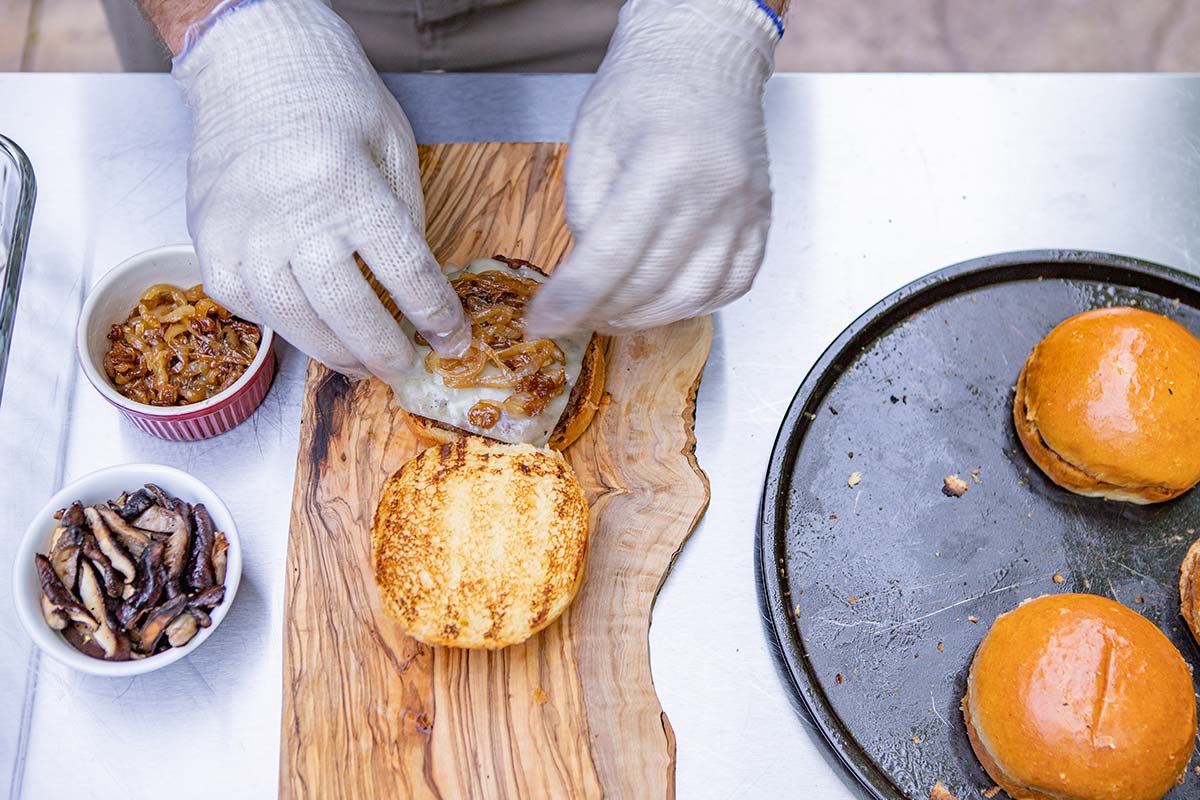
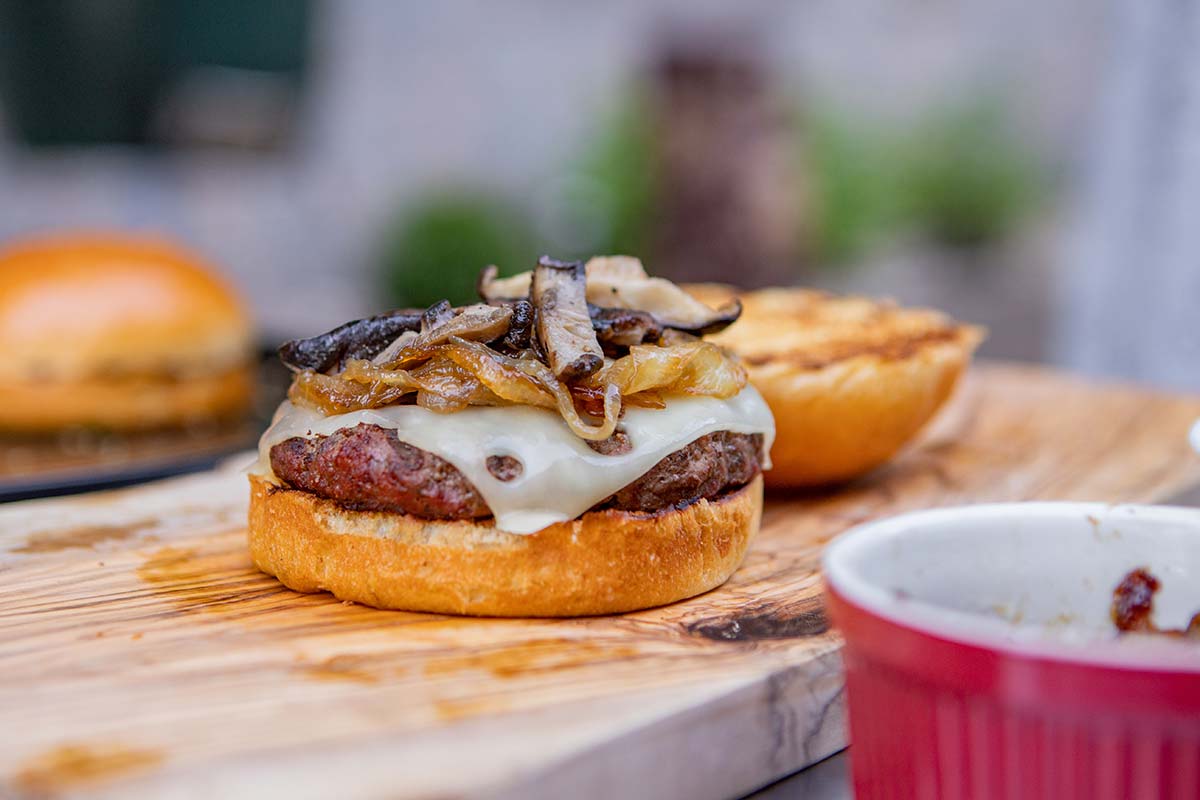
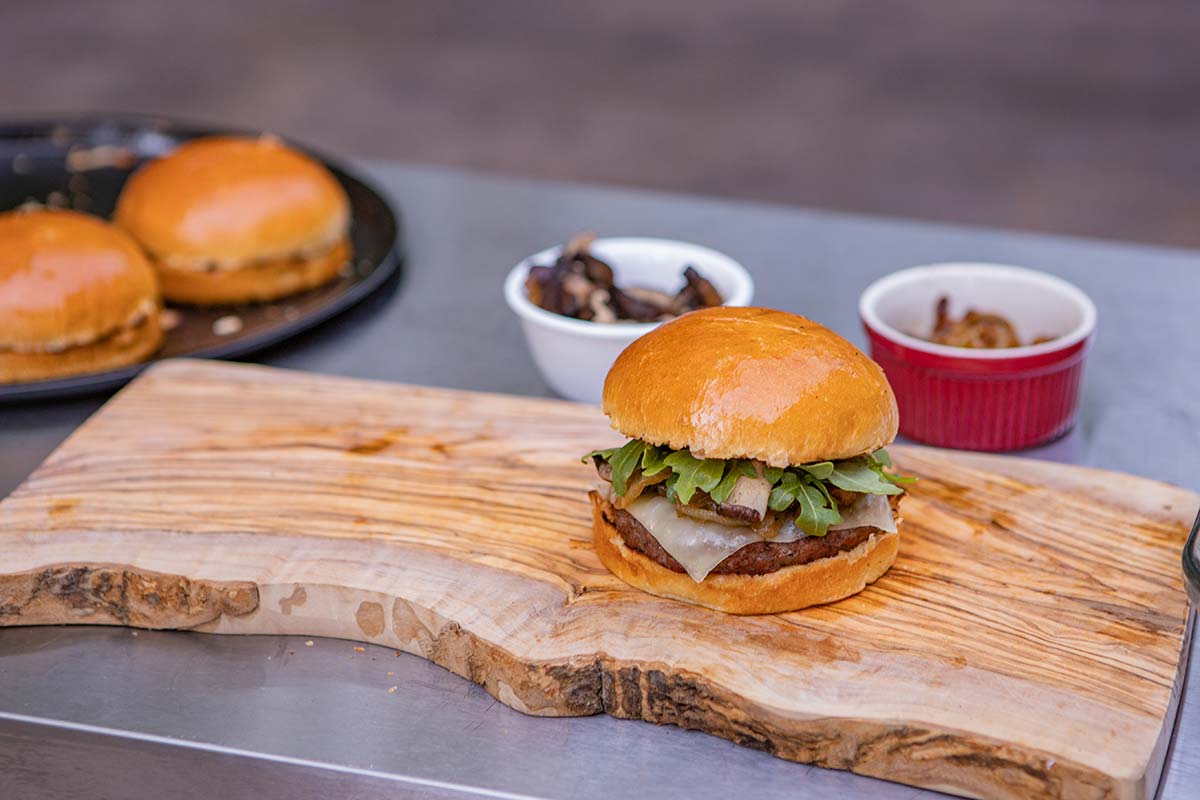
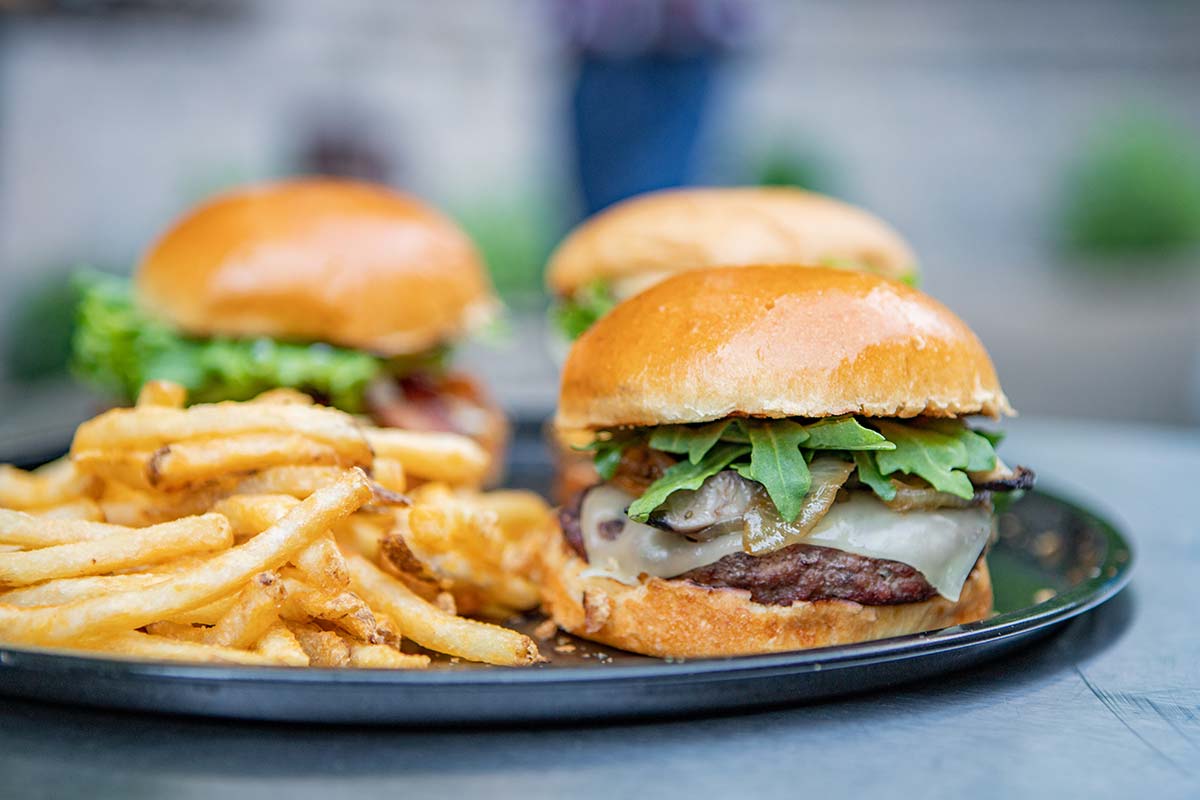
This burger could honestly be an entree without the bread. The sweetened onions and the mushrooms complement the meat so well, it's like eating a home-style meal between two pieces of bread, and the arugula gives it a perfect freshness.
- Burger: 1/3-pound burger patties seasoned with Butcher BBQ Grilling Addiction on both sides
- Toppings: A slice of Swiss cheese, caramelized onions, sauteed mushrooms, and arugula
- Bun: Brioche bun
Prepping the Toppings
Onions. Slice an onion and cook the rings in a skillet on the stove top with a teaspoon of sugar, a tablespoon of oil, and salt to taste. A medium-sized onion makes enough for at least 3 sandwiches, but don’t worry about them going to waste, as they are delicious on eggs and other foods too in case you have leftovers. Preheat the oil, then drop in the onions and the salt and sugar. Cook them over medium-low heat for 30–45 minutes, until they are as soft as you prefer. Stir them as needed to keep them from sticking.
Mushrooms. Saute sliced shiitake mushrooms with a tablespoon of oil and salt and pepper to taste. It will take 1–2 ounces of raw mushrooms per sandwich.
See "Cooking the Burgers" below for my notes on grilling the burgers.
Do you need any supplies or tools for your summer barbecues? In our retail store we carry a wide variety of smokers, grills, charcoal, pellets, sauces and seasonings, and many other outdoor cooking supplies to help you cook for your guests with 100% confidence. Call us at 717-355-0779 or visit us at 140 W Main Street in New Holland, PA (store hours at the bottom of this page).
Bacon Avocado Burger
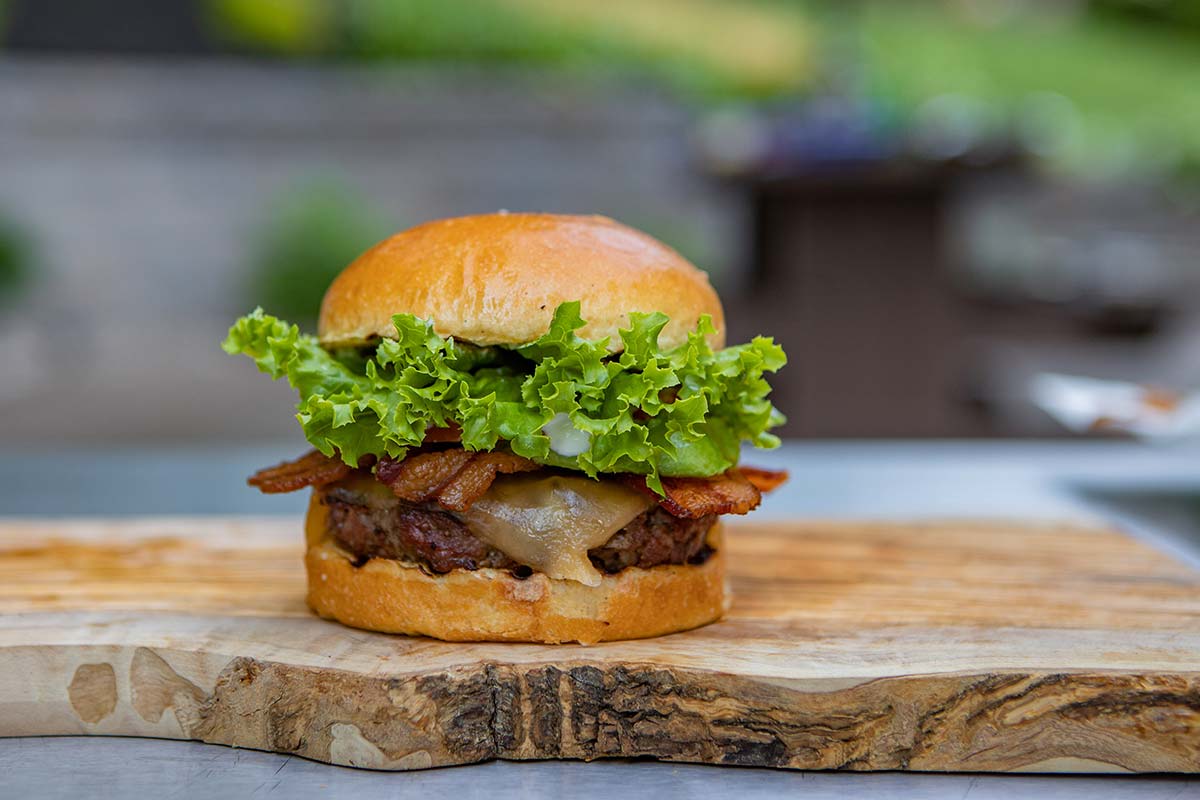
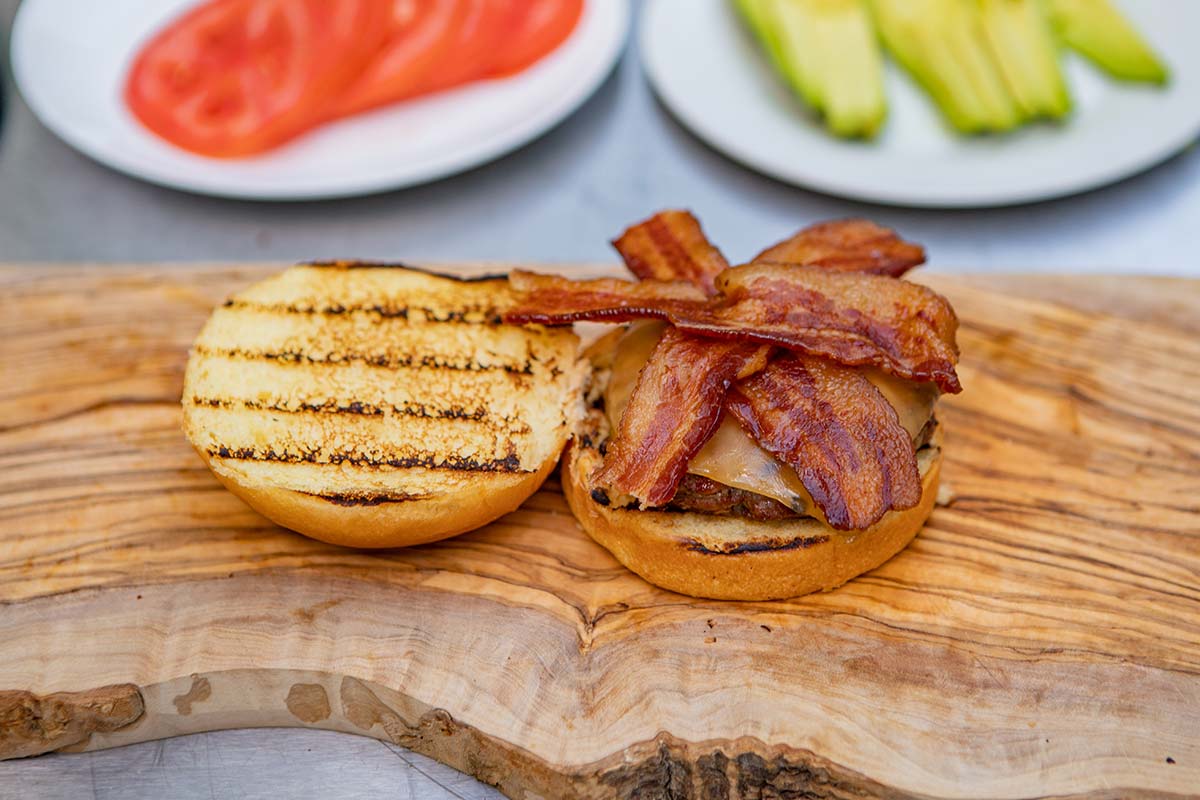
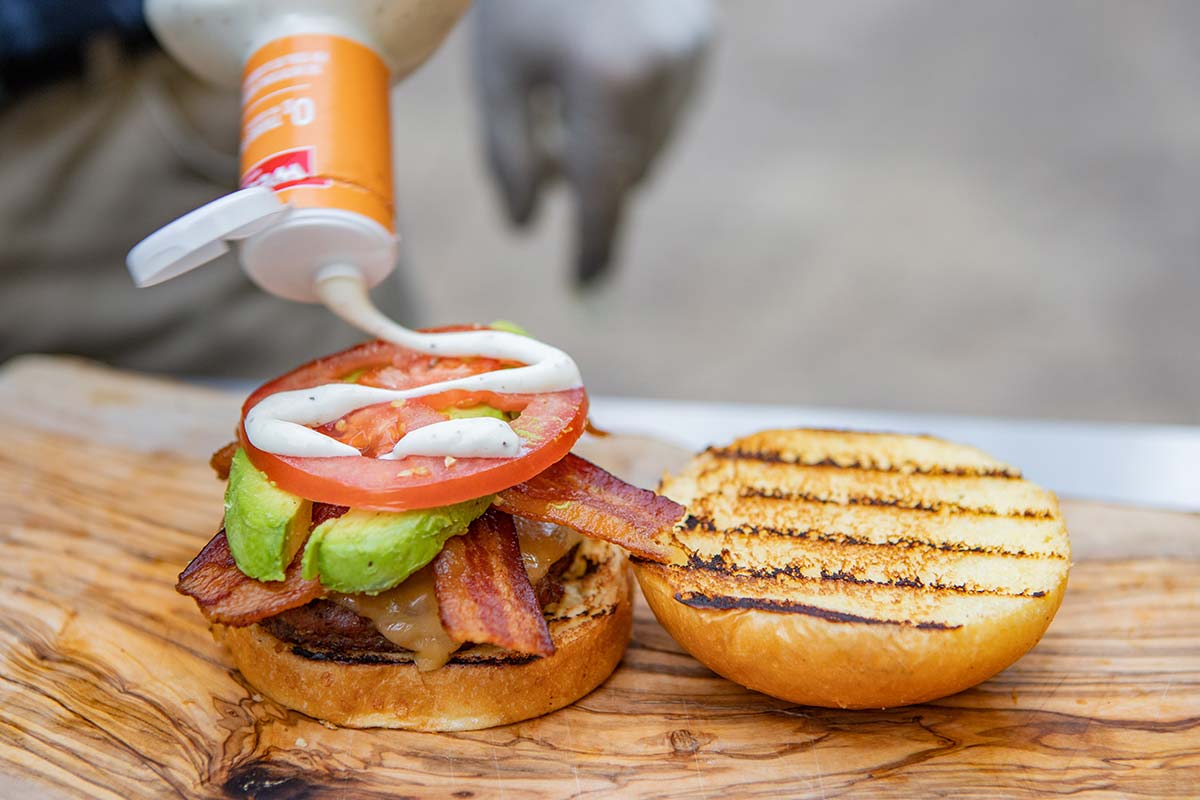
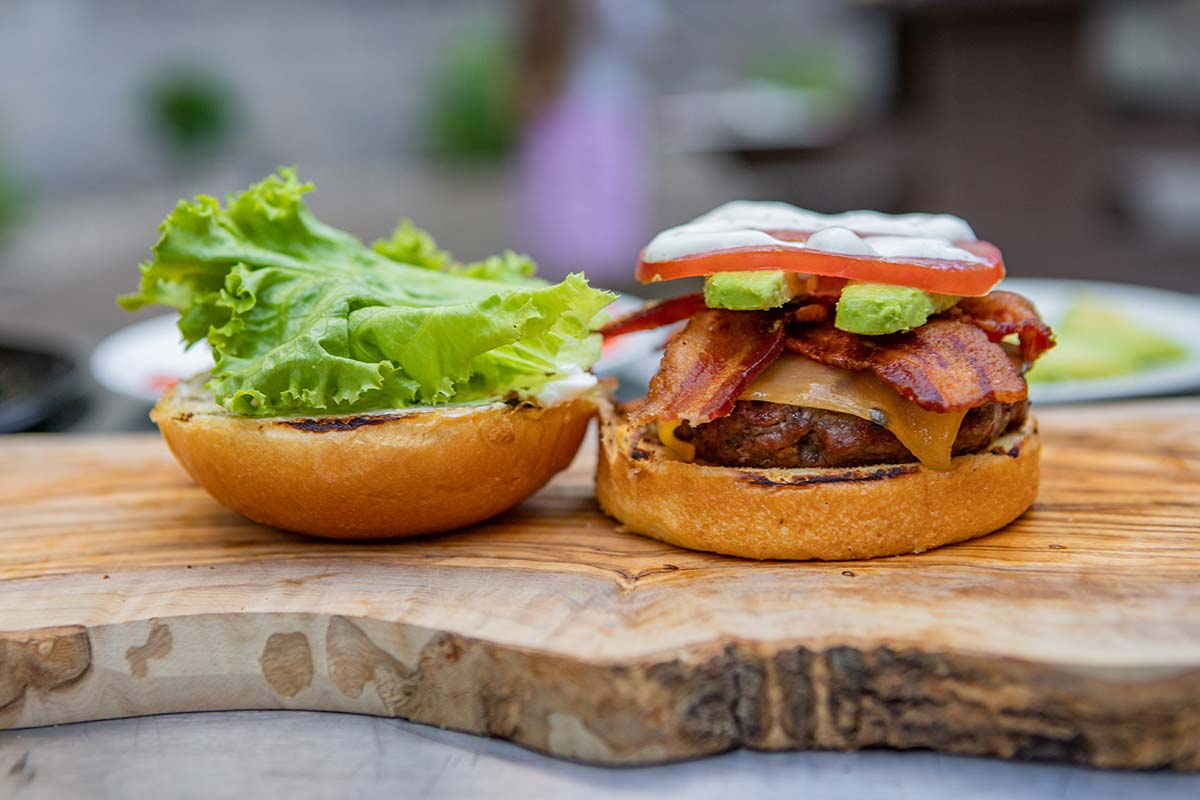
This burger is perhaps the “trendiest” one of all three. It has a lot going for itself—the smoothness of the avocado, crunchiness of the bacon, tangy notes of the ranch, and freshness of the lettuce and tomato really make this one memorable. The Gouda cheese is a touch of class too, but feel free to swap this out for pepper jack, Monterey Jack, or your favorite cheese.
- Burger: 1/3-pound burger seasoned with Butcher BBQ Grilling Addiction on both sides
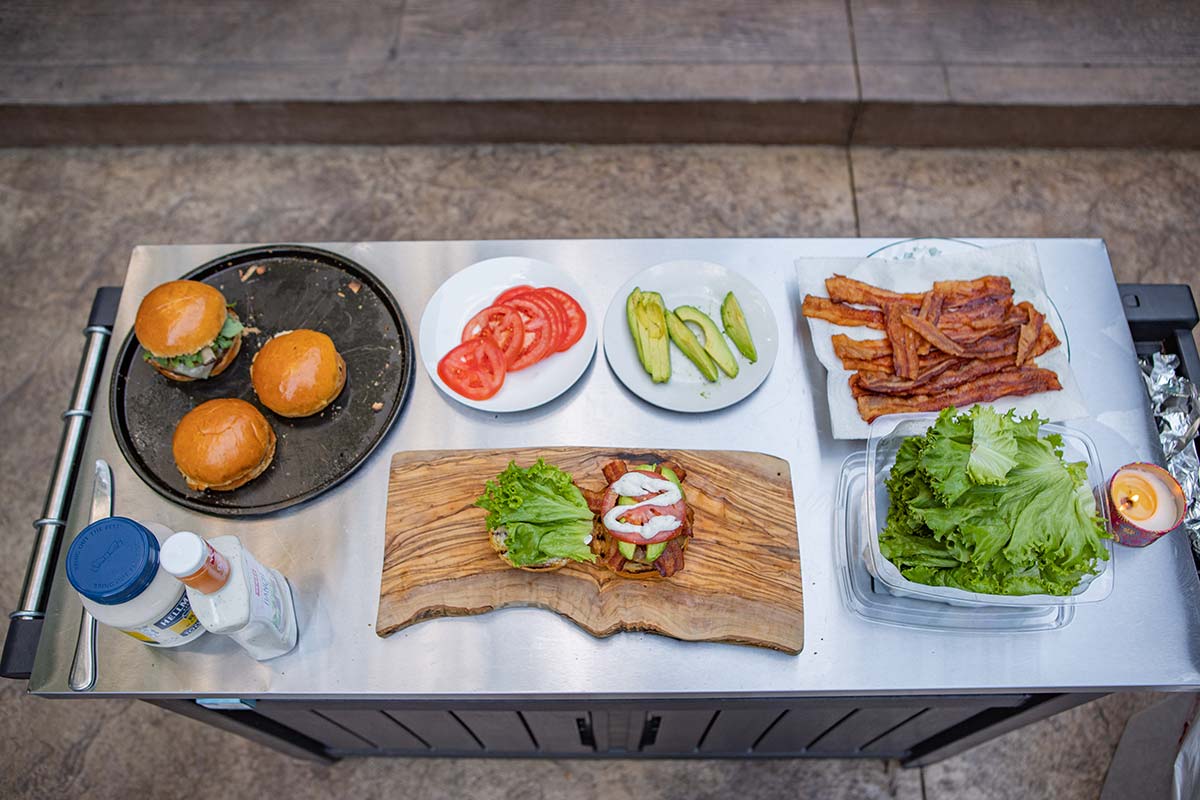
- Toppings: Gouda cheese, bacon, avocado slices, tomato, ranch dressing, lettuce, and mayonnaise
- Bun: Brioche bun
Prepping the Toppings
You’ll want to start cooking the bacon before you start grilling the burgers. Our favorite method of cooking bacon is on a pizza pan in the oven at 400 degrees F. Just fill the pan with slices, single layer, and cook it until it’s done to your preference. It takes about 1-1/2 slices of bacon per sandwich. Peel and slice the avocado just before serving so they don’t turn brown.
See "Cooking the Burgers" below for my notes on grilling the burgers.
Cooking the Burgers
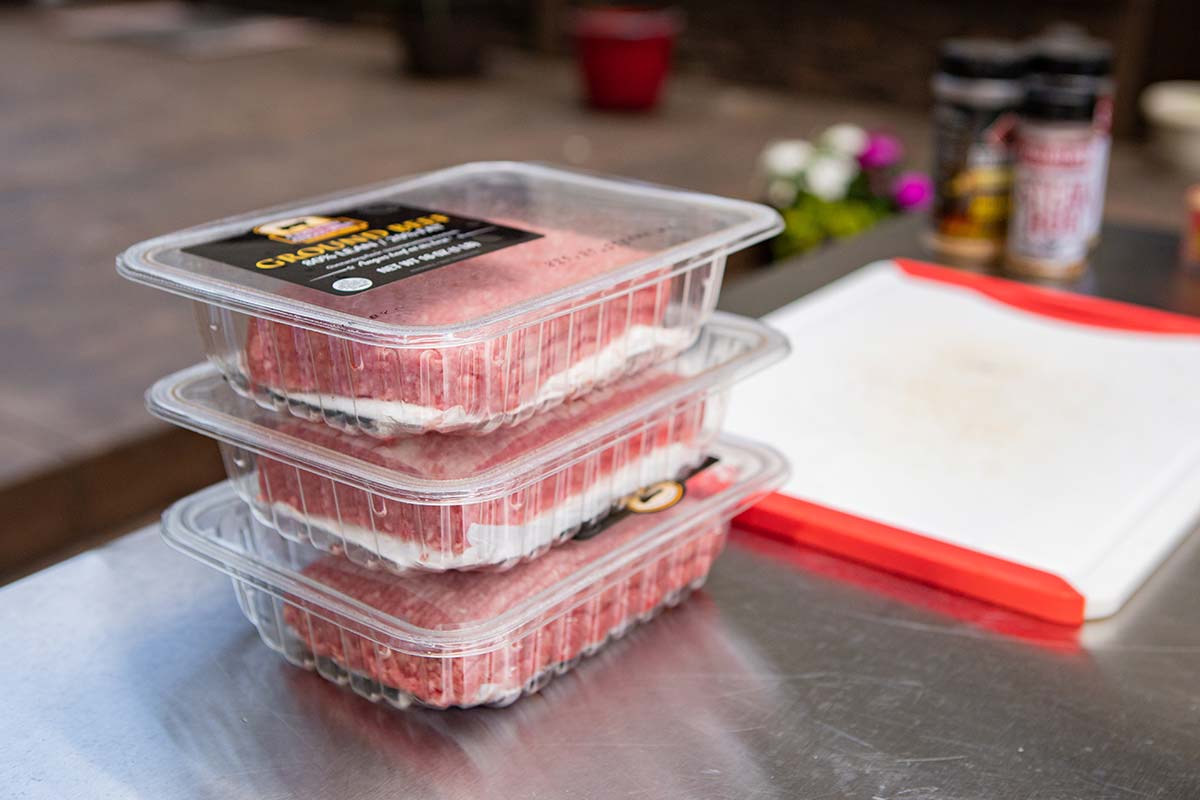
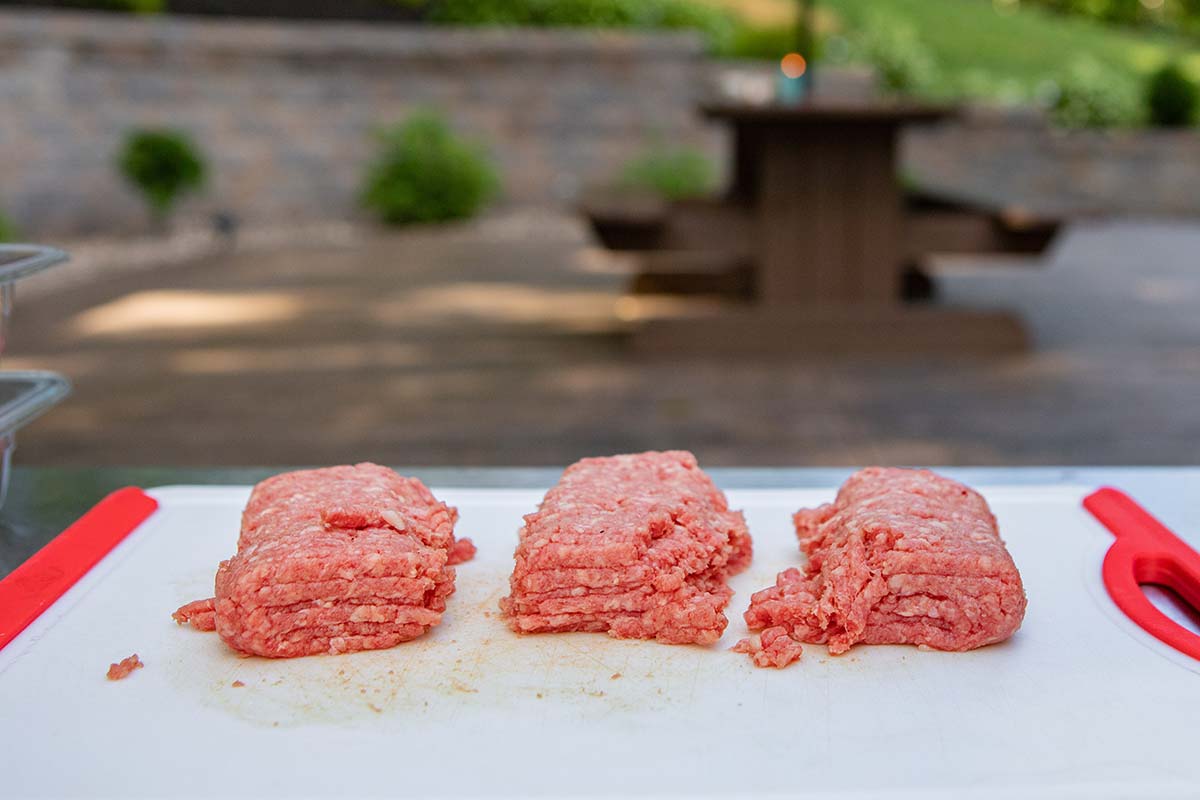
I picked up some fresh CAB 80/20 ground beef at my local grocery store for these. (Use ground beef with at least 15% fat for burgers). I didn’t mix anything into the meat to make the burgers. The meat came in 1-pound packages, so it was easy to divide each one into 1/3 and 1/4-pound portions.
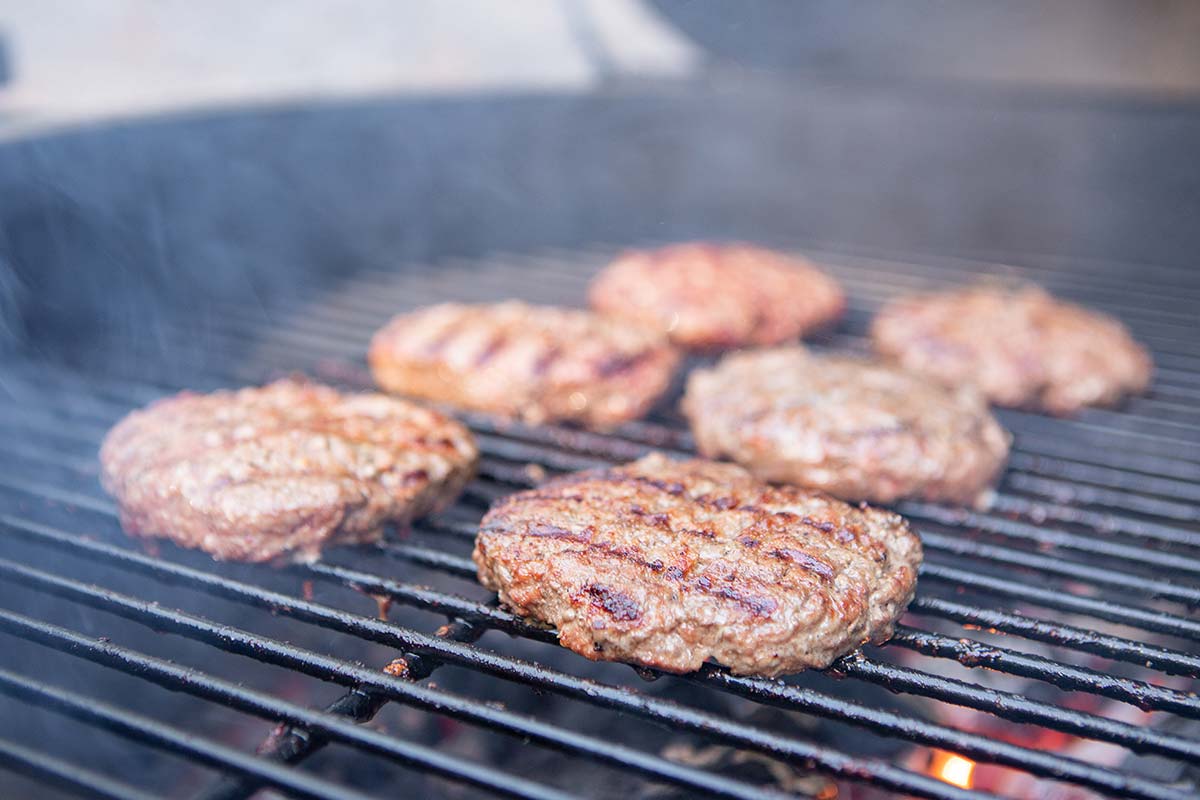
Grilling the 1/3-Pound Burgers
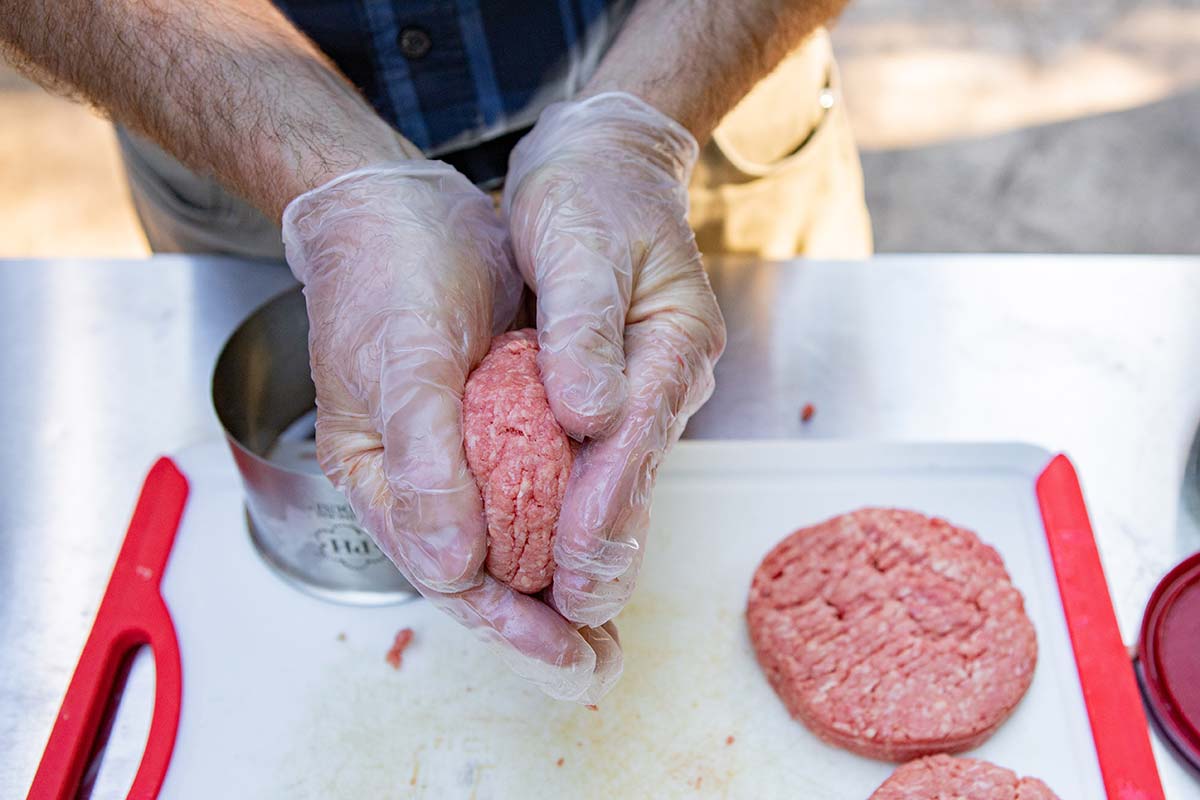
Divide the meat into 1/3 pound portions, then work the meat into a ball before you form the patties to help the meat hold together, but don’t overwork it. Then form them into patties with a burger press or by hand.
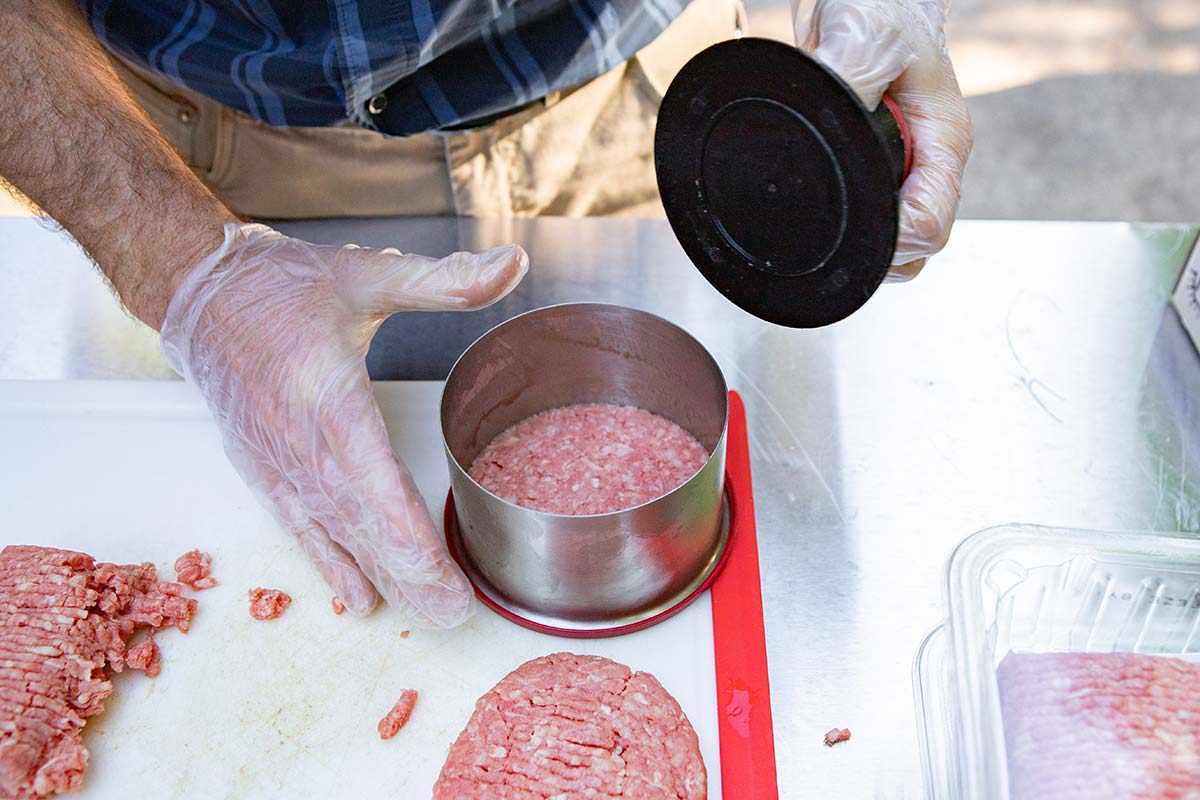
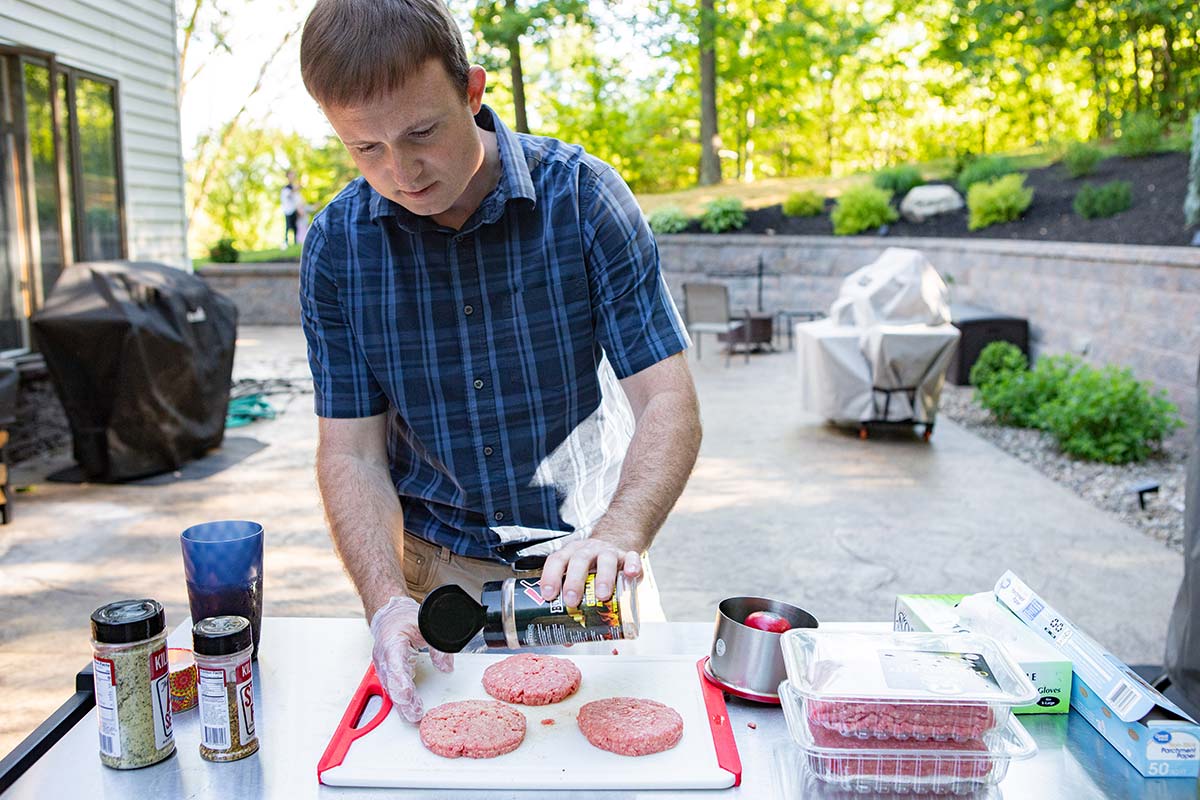
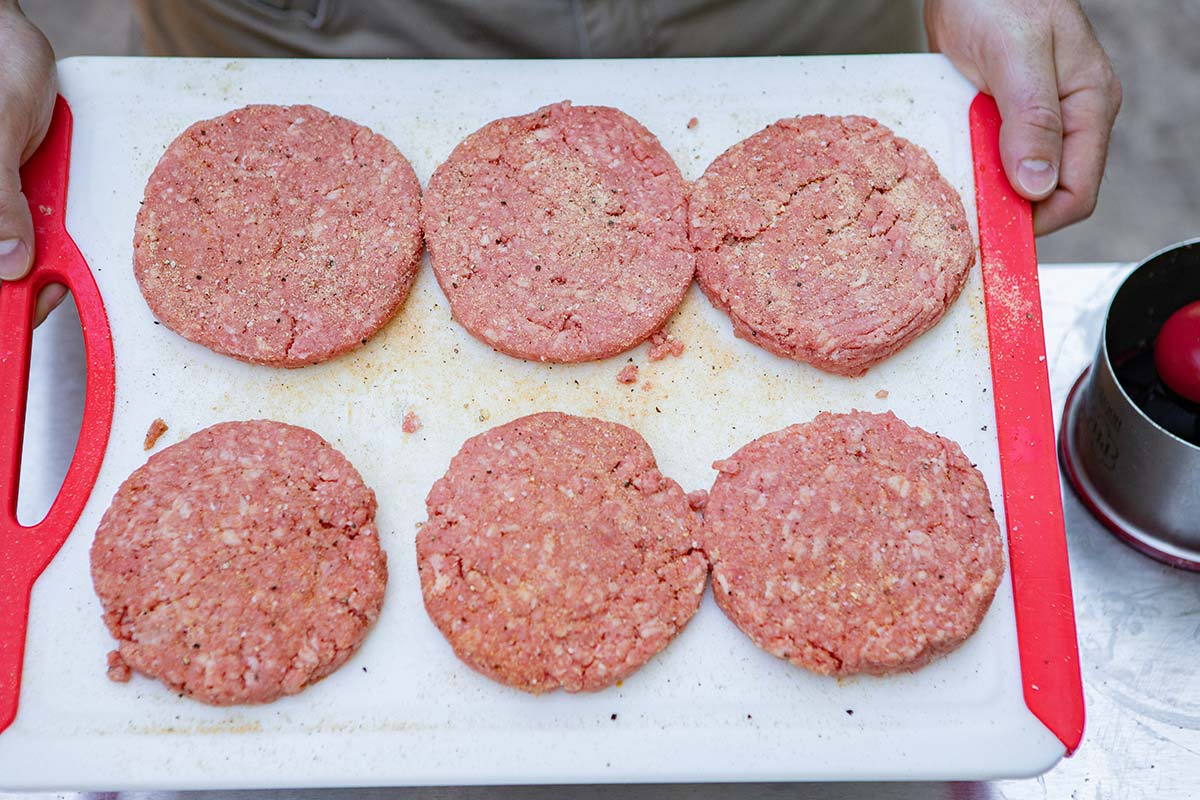
After the burgers are formed and seasoned, set them on the grill grate directly over the fire. After a few minutes, they should start forming a bit of a crust on the bottom side. Flip them over, and cook them until they are done to your liking. Transfer them to a pan for serving.
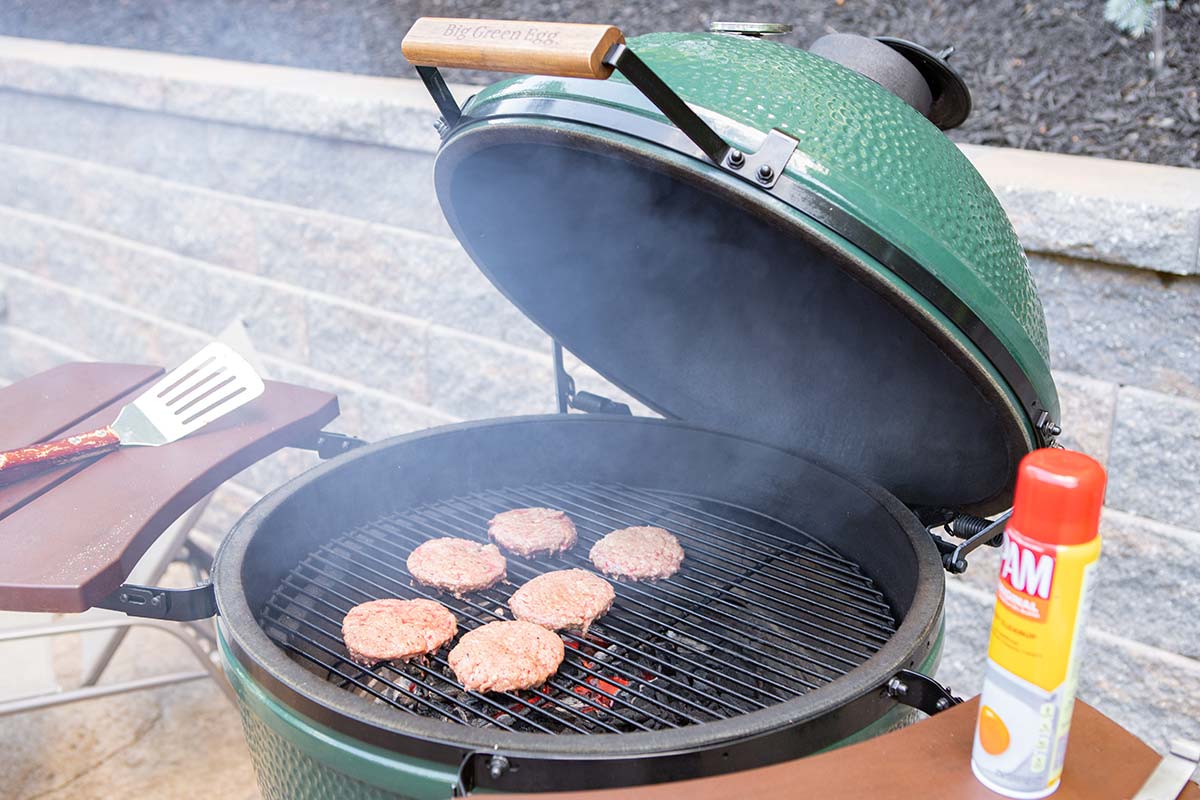
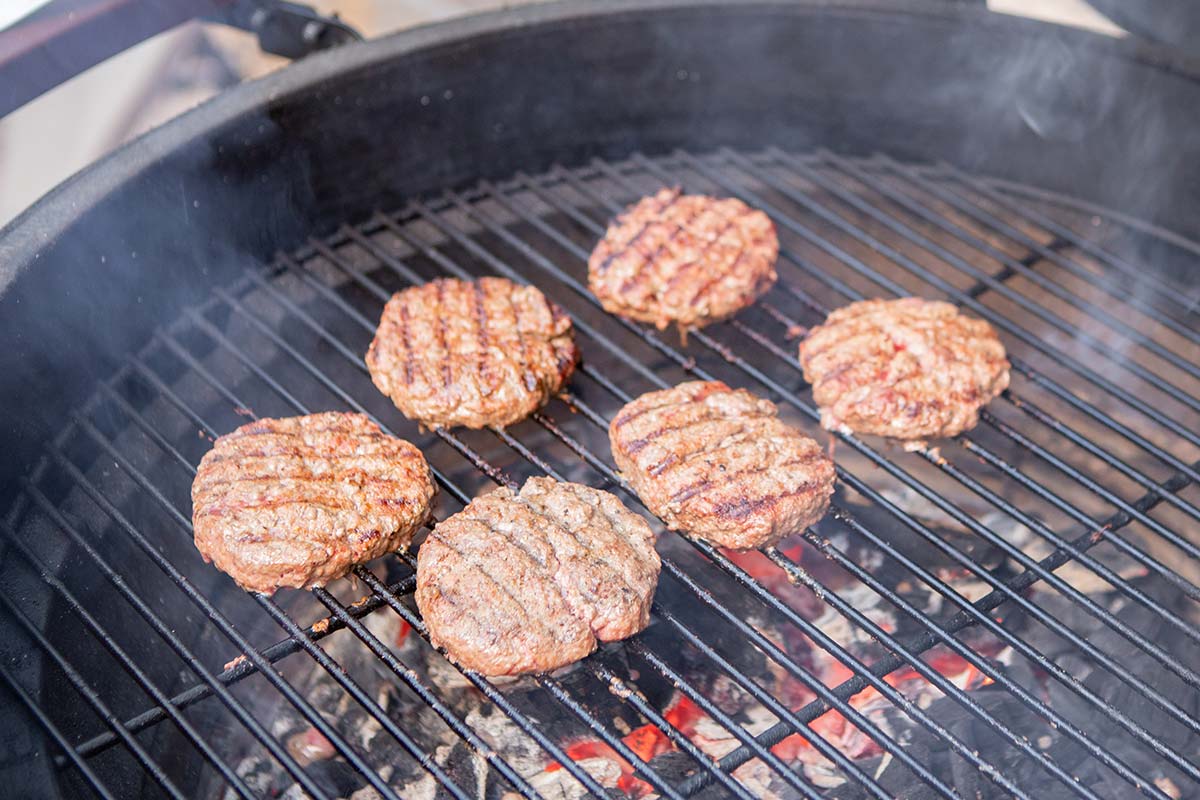
Cover the burgers with a slice of cheese as they are finishing on the grill or set the pan in an oven on low until the cheese is melted.
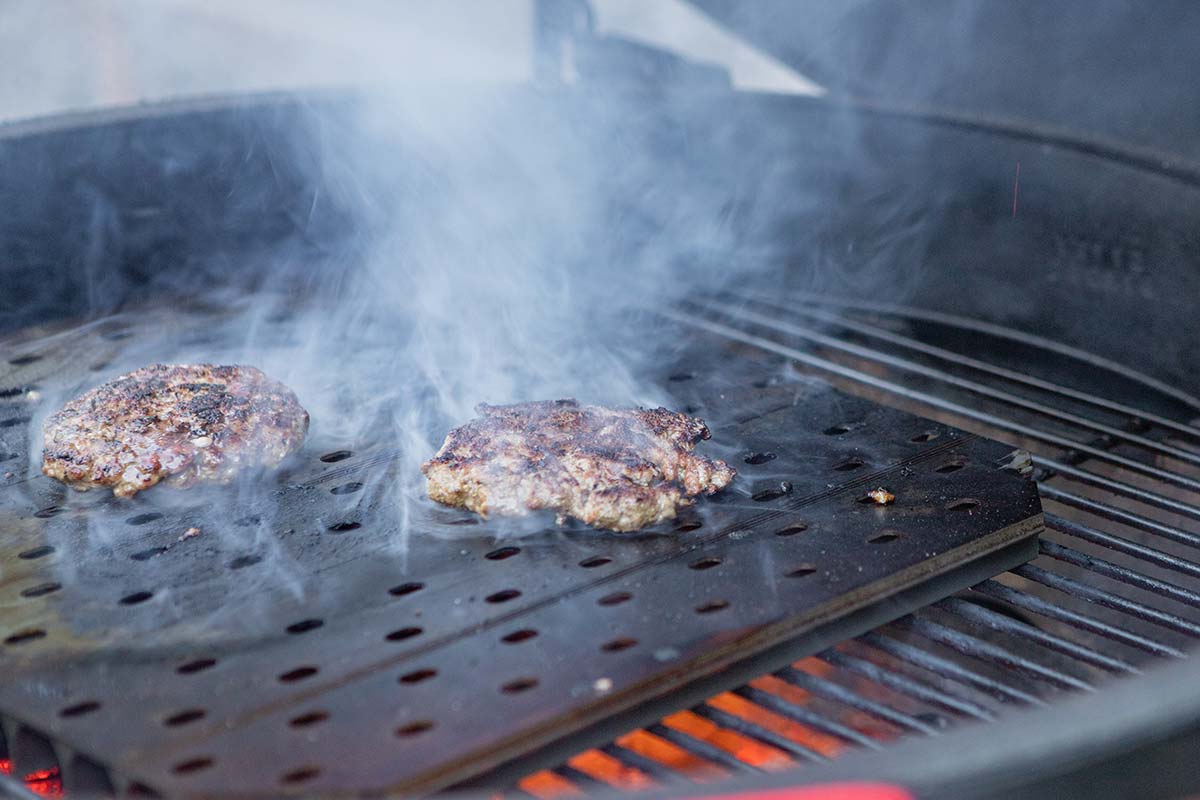
Grilling the Smashburgers
For the smashburgers, we divided each pound of ground beef into four balls. Season the top and bottom of each ball liberally with something like Killer Hogs AP Rub or Butcher BBQ Grilling Addiction.
I'm using a set of upside down GrillGrates on my Big Green Egg, but you can also use a cast iron skillet on your grill or a stand-alone griddle.
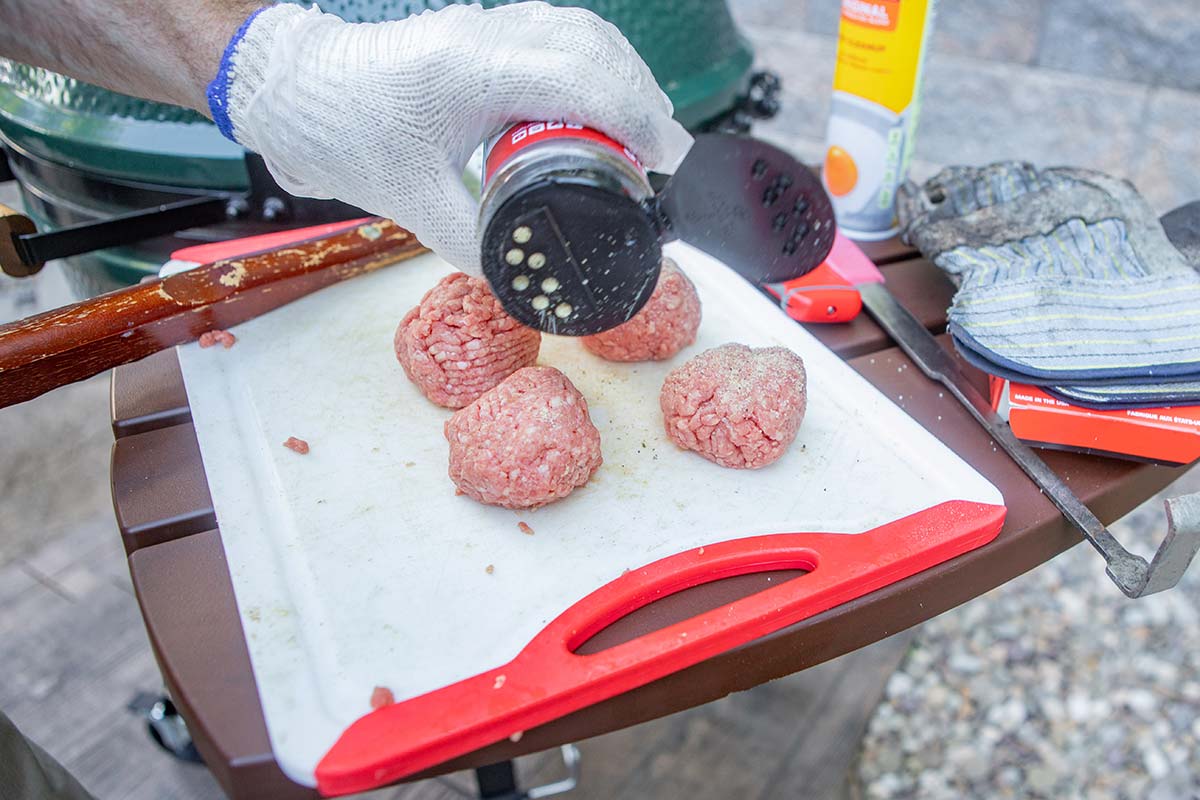
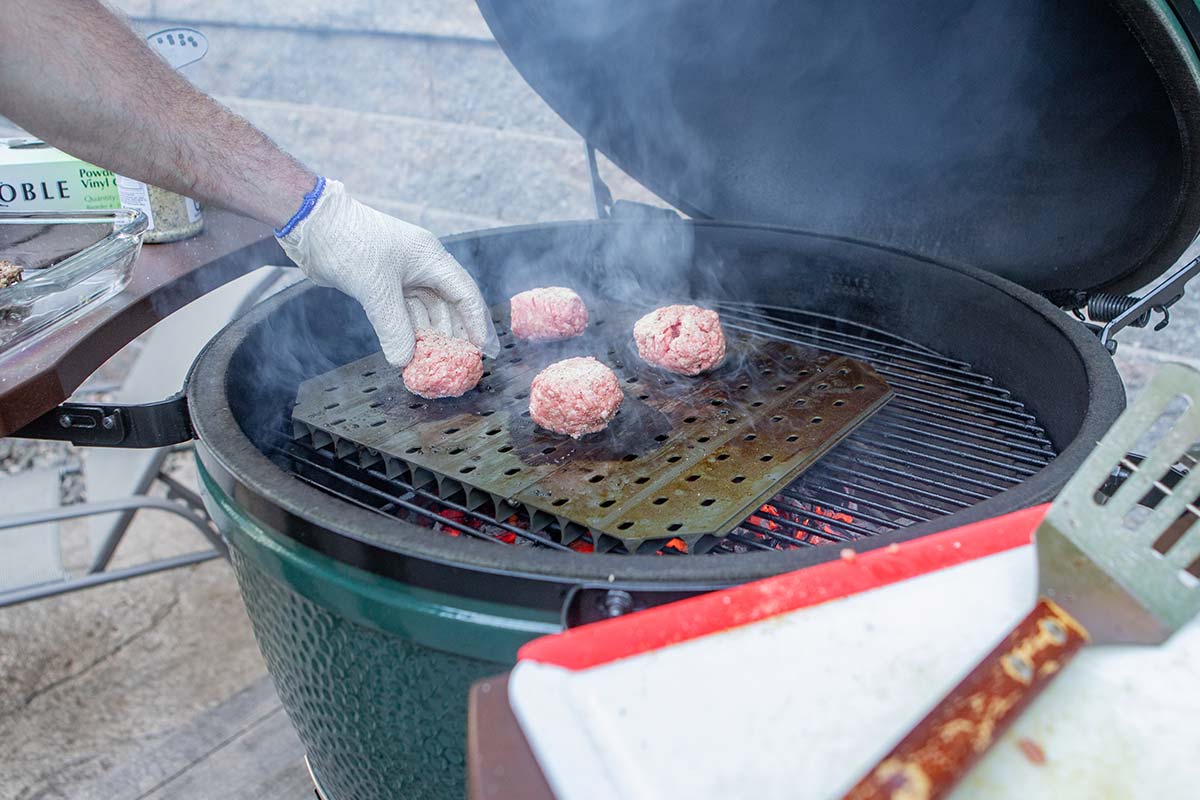
Set the balls on the cooking surface and press them flat with a spatula, no more than 1/4” thick. If the surface is very hot, it will only take a couple of minutes to brown the first side. When they are ready, flip them over and smash them again. Let them cook until they are done and transfer them to a pan.
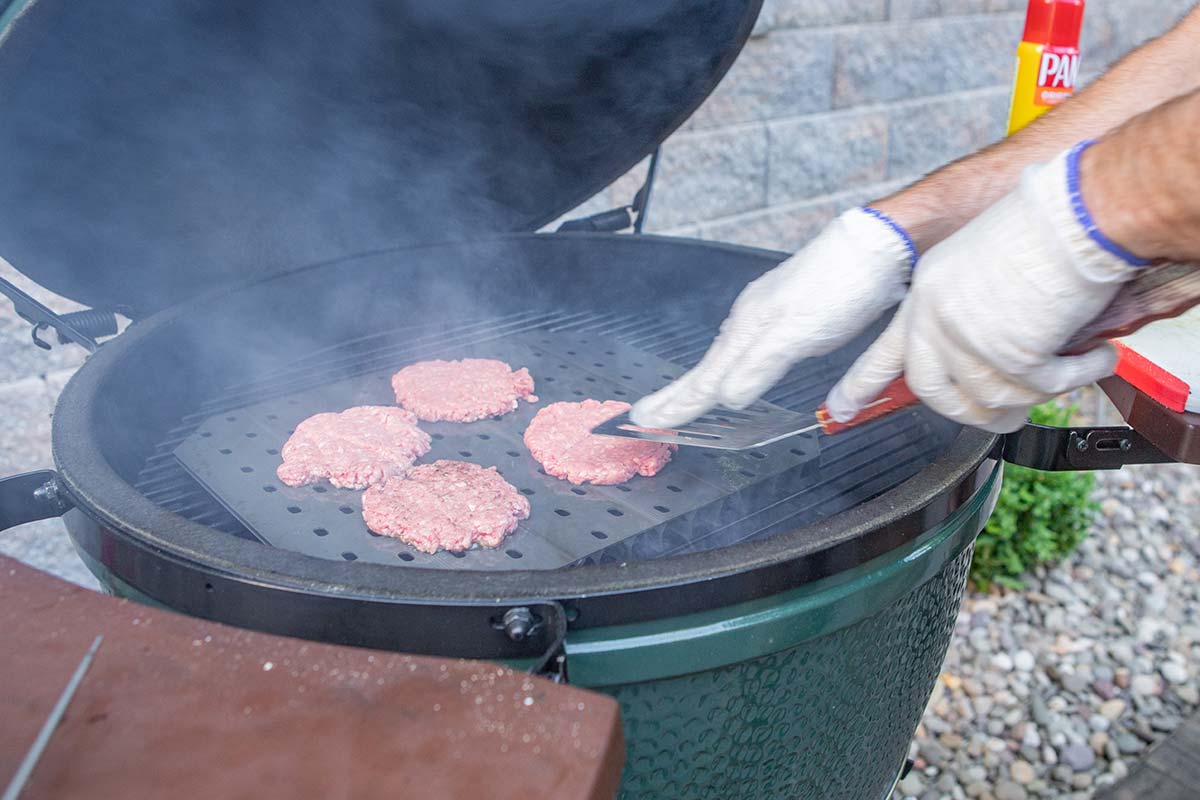
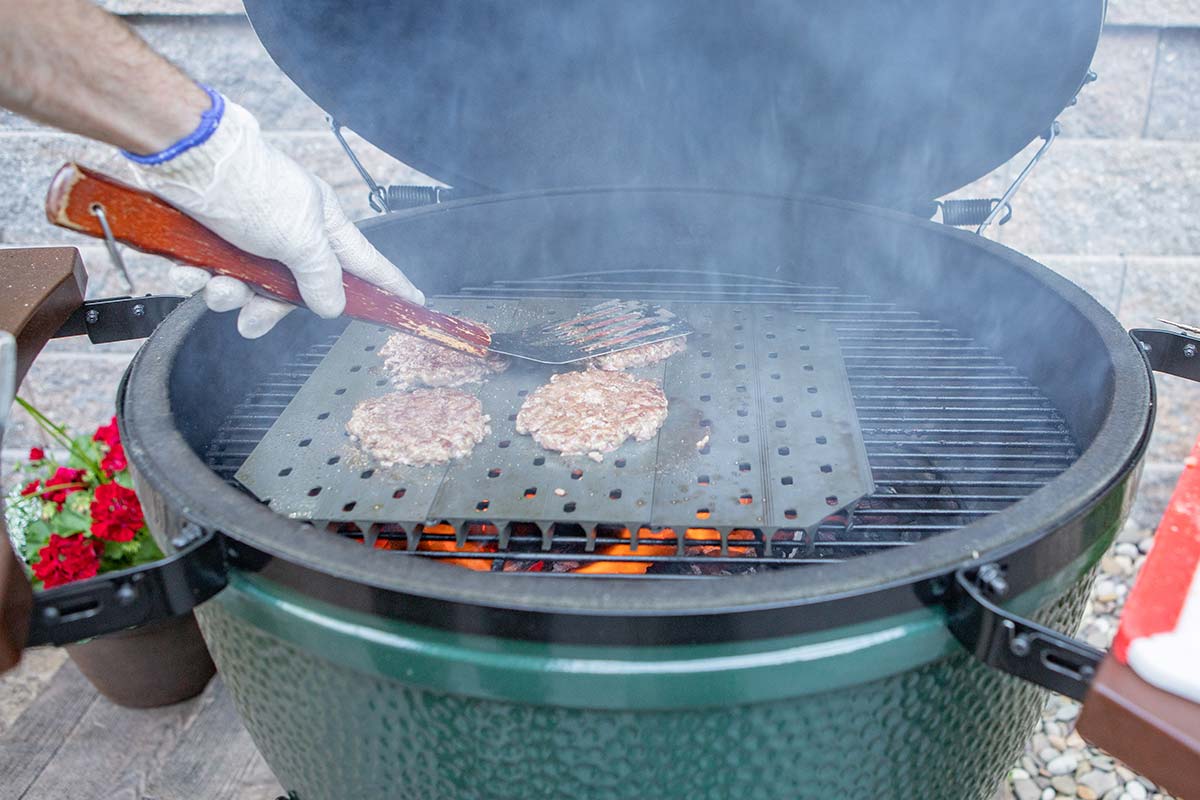
Cover the burgers with American cheese as they are finishing on the grill or set the pan in an oven on low until the cheese is melted.
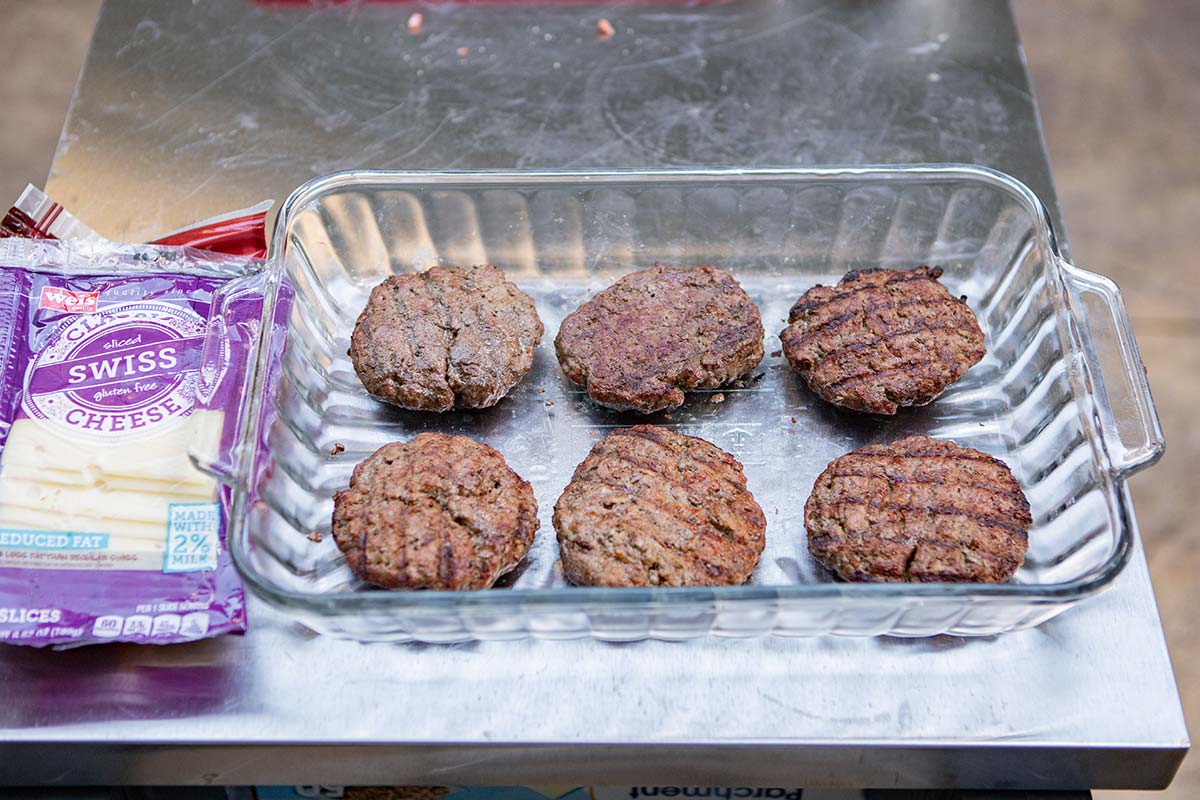
When Are They Done?
We recommend following the USDA guidelines of cooking ground beef until it reaches an internal temperature of 160 degrees F (well-done) because the meat has been ground and potentially contaminated throughout the burger. However, if you are careless and take them past 160 degrees, they can quickly turn dry and unpleasant to eat. That’s why I always like to use my instant-read thermometer when grilling burgers, so I can easily remove each one as it finishes.
Personally, I like to remove them from the grill 5–10 degrees under the target temperature, as they will likely rise a few degrees from carryover cooking, and I'd rather be a bit on the low side than to overcook them. However, remember that you violate the USDA guidelines at your own risk.
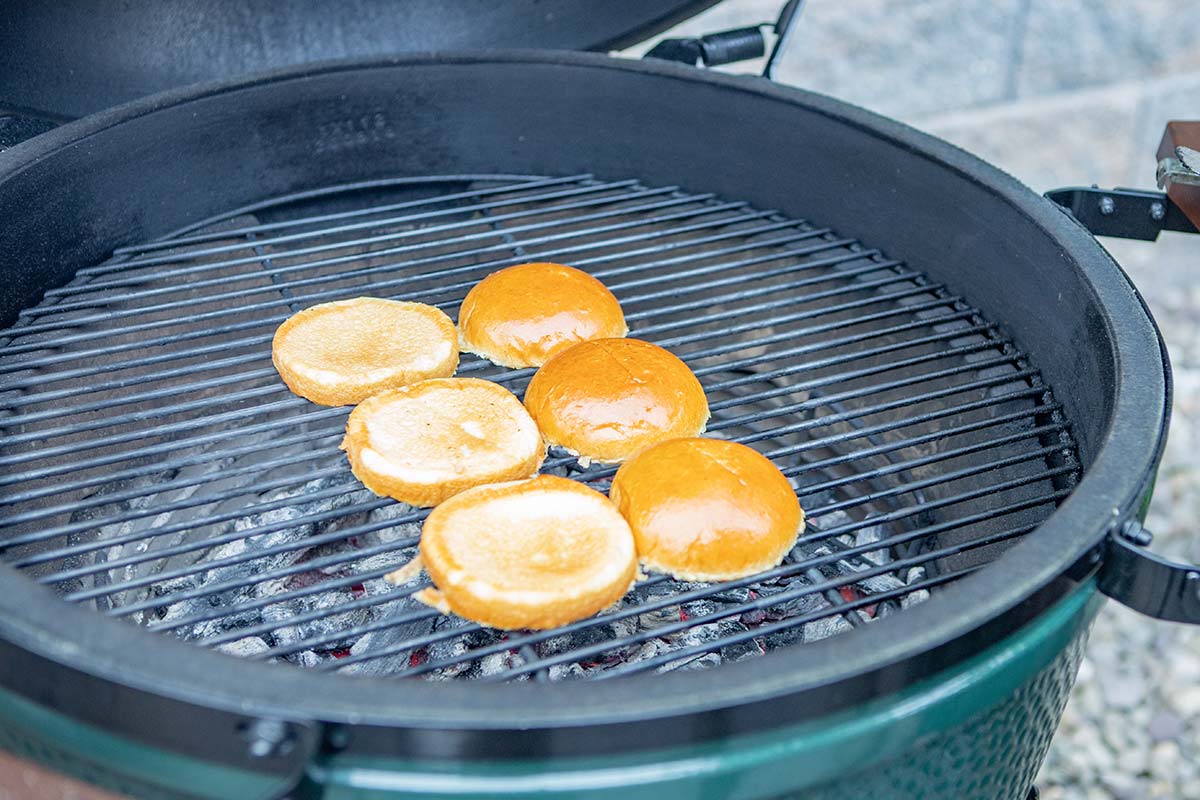
Toasting the Buns
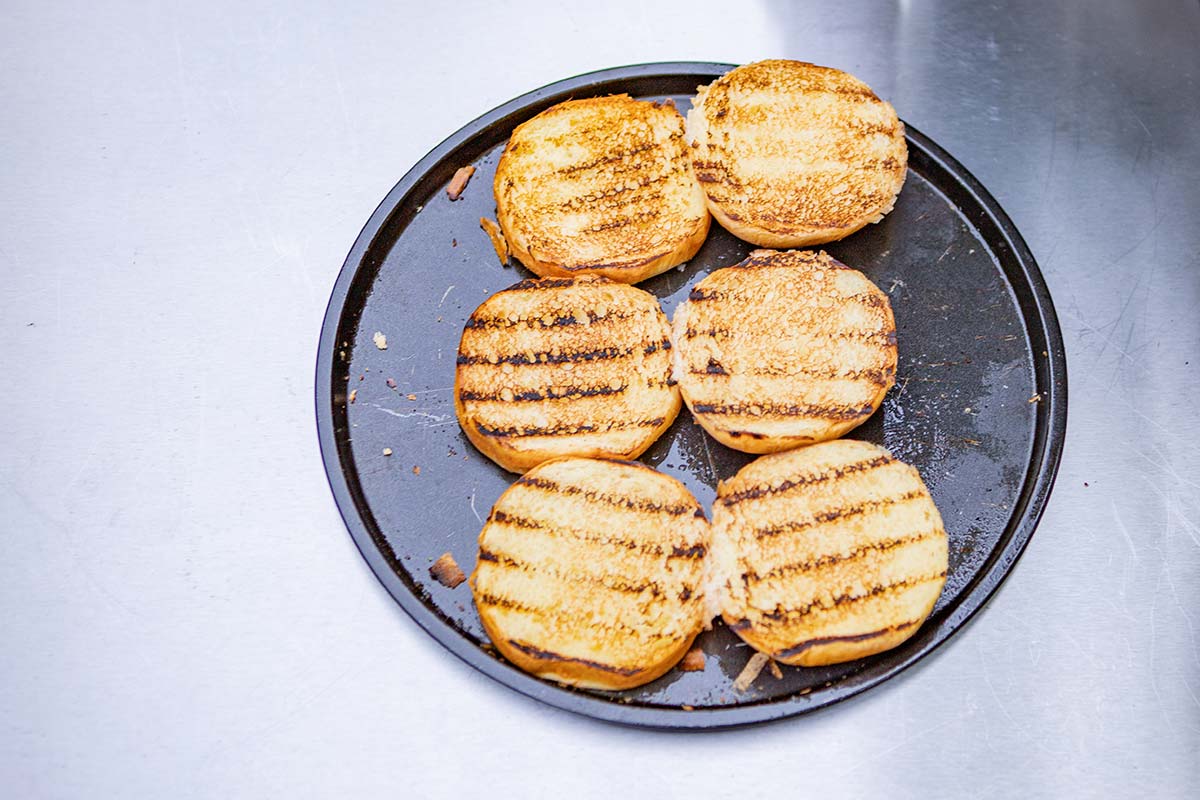
After the meat is off the grill, oil or butter the buns and toast them face-down on the grate for a few seconds.
Assembling the Sandwiches
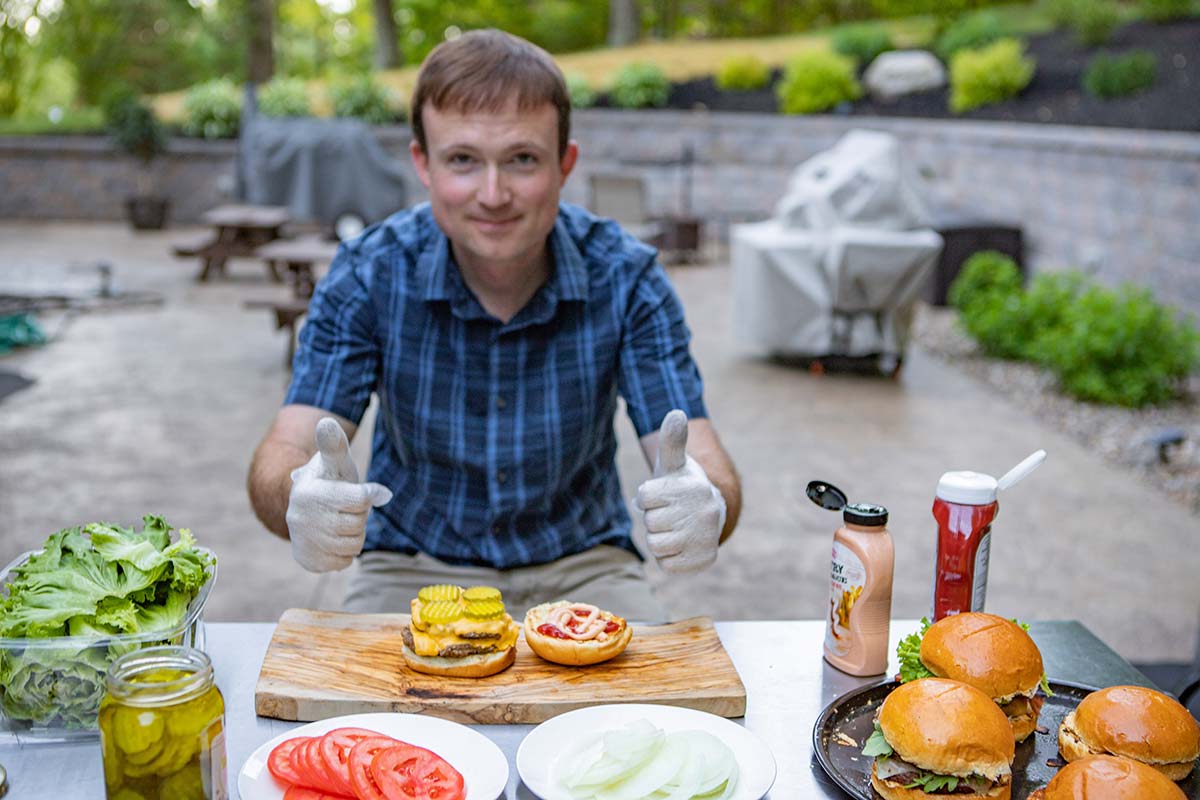
As you're grilling the burgers, it's nice to have a helper preparing the toppings, then as soon as the burgers are done and the buns are toasted, you can start making the sandwiches. You will find the lists of the toppings we used in the order we layered them above.
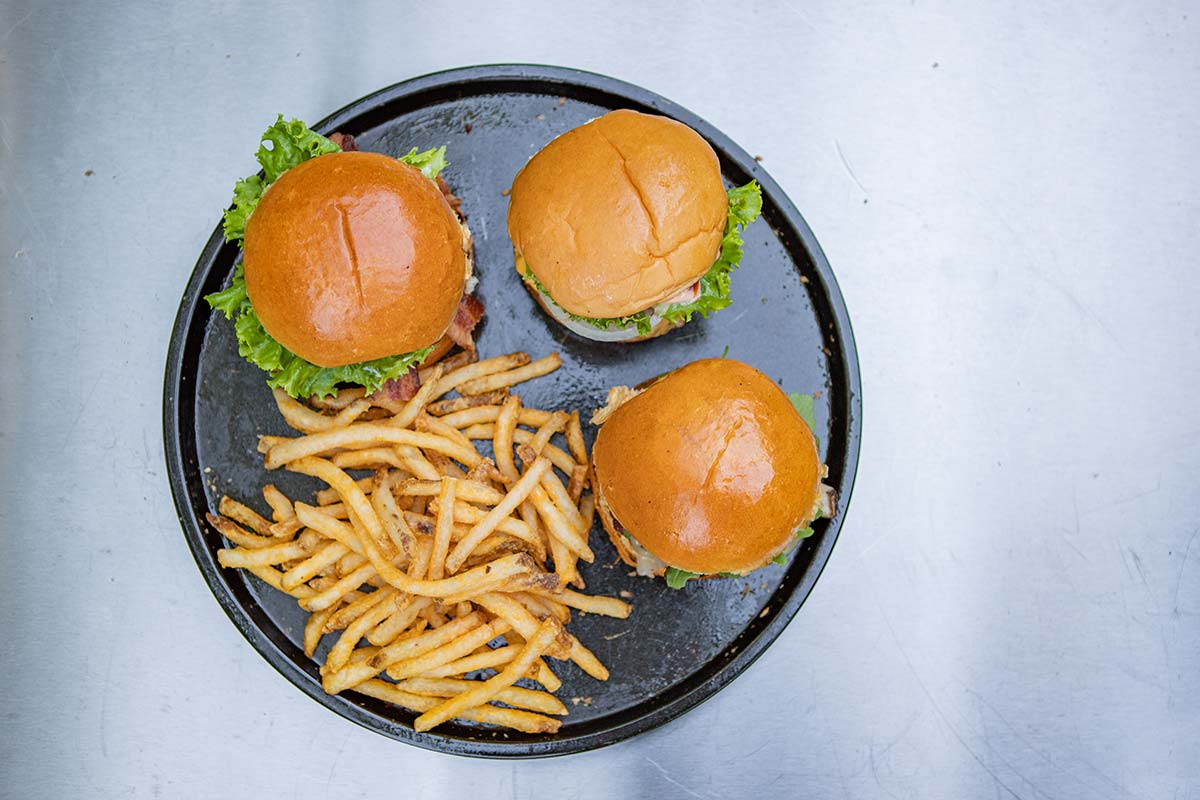
Crispy shoestring fries served with ketchup or fry sauce and a big glass of sweet tea complete this meal quite nicely in my opinion!
Firing the Egg for Direct Heat
Here are the tools I use to Fire my XL Egg:
- Nature–Glo Lump Charcoal
- Wax fire starter square
- Lighter/match
- BBQ Dragon Fan (optional for getting the fire hot in minutes)
- Smokeware 3-in-1 Ash Tool
I use the Kick Ash Basket, which contains the charcoal and makes it easy to shake out the ashes and tiny pieces of charcoal after or during a cook, giving the remaining coals in the firebox more oxygen.
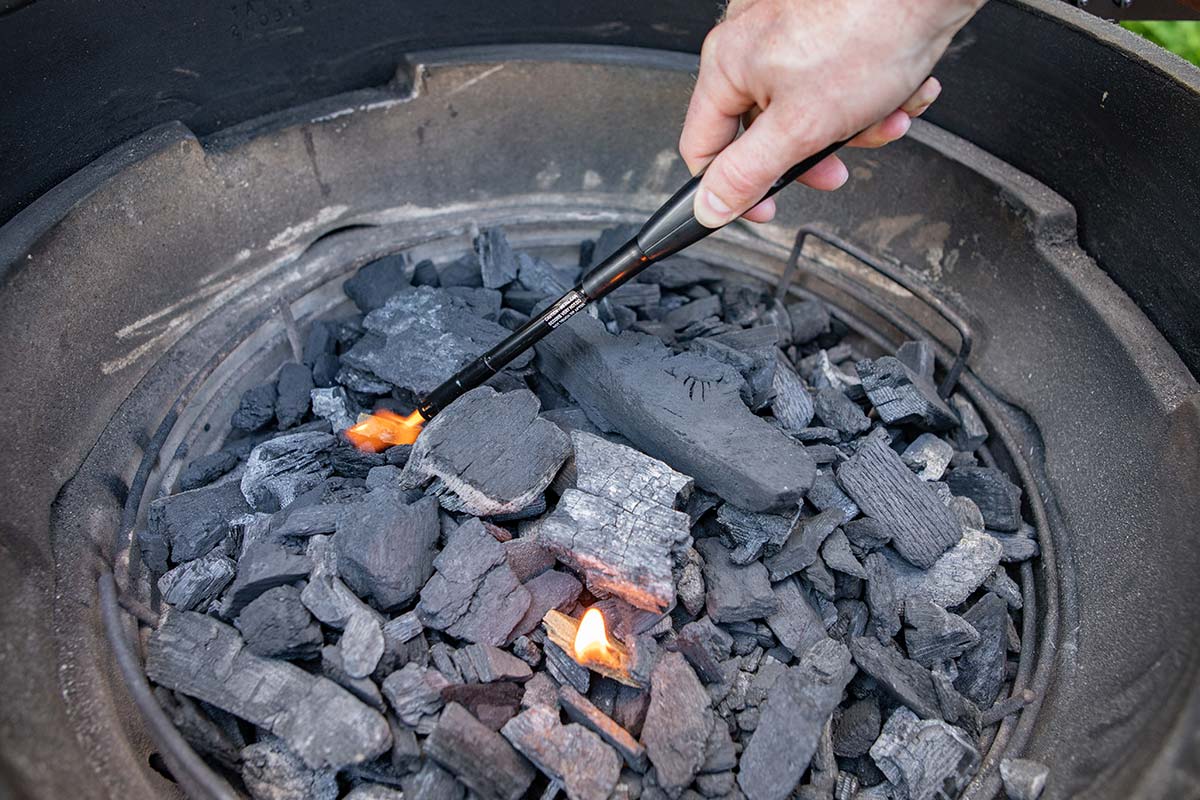
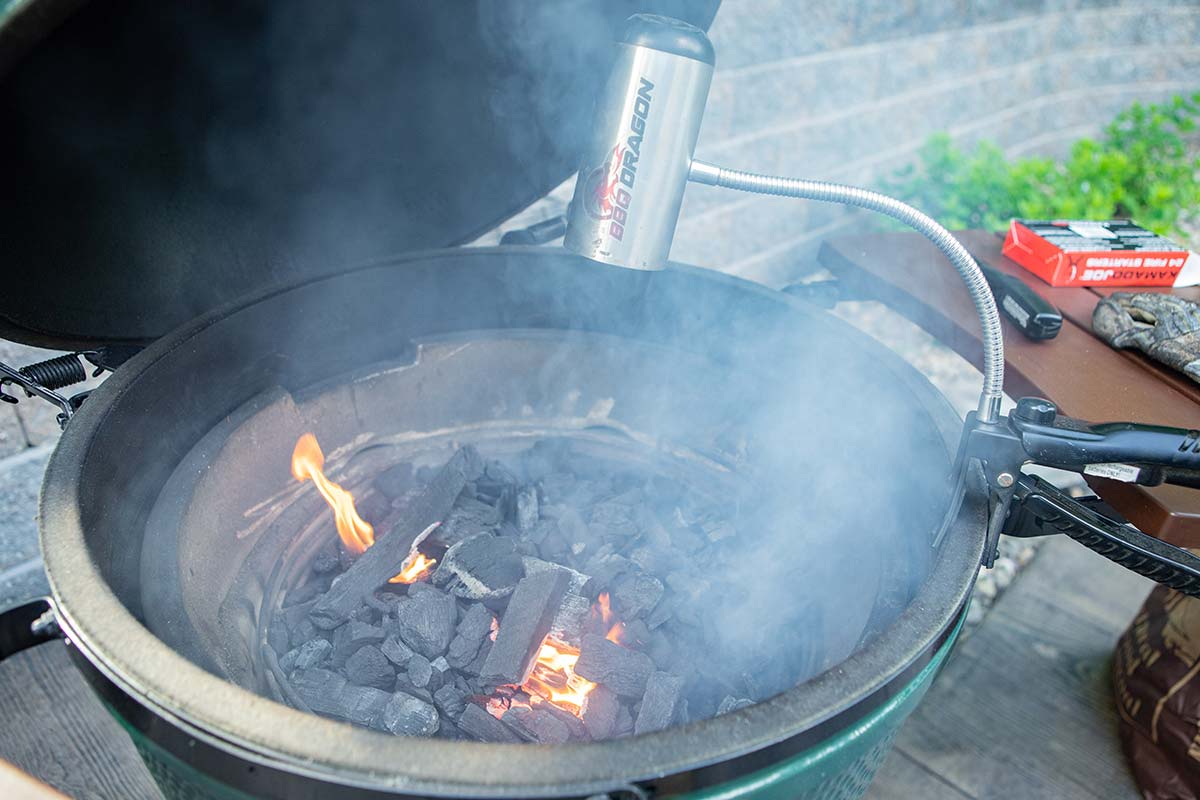
Here are the steps I use to fire the Egg for direct heat:
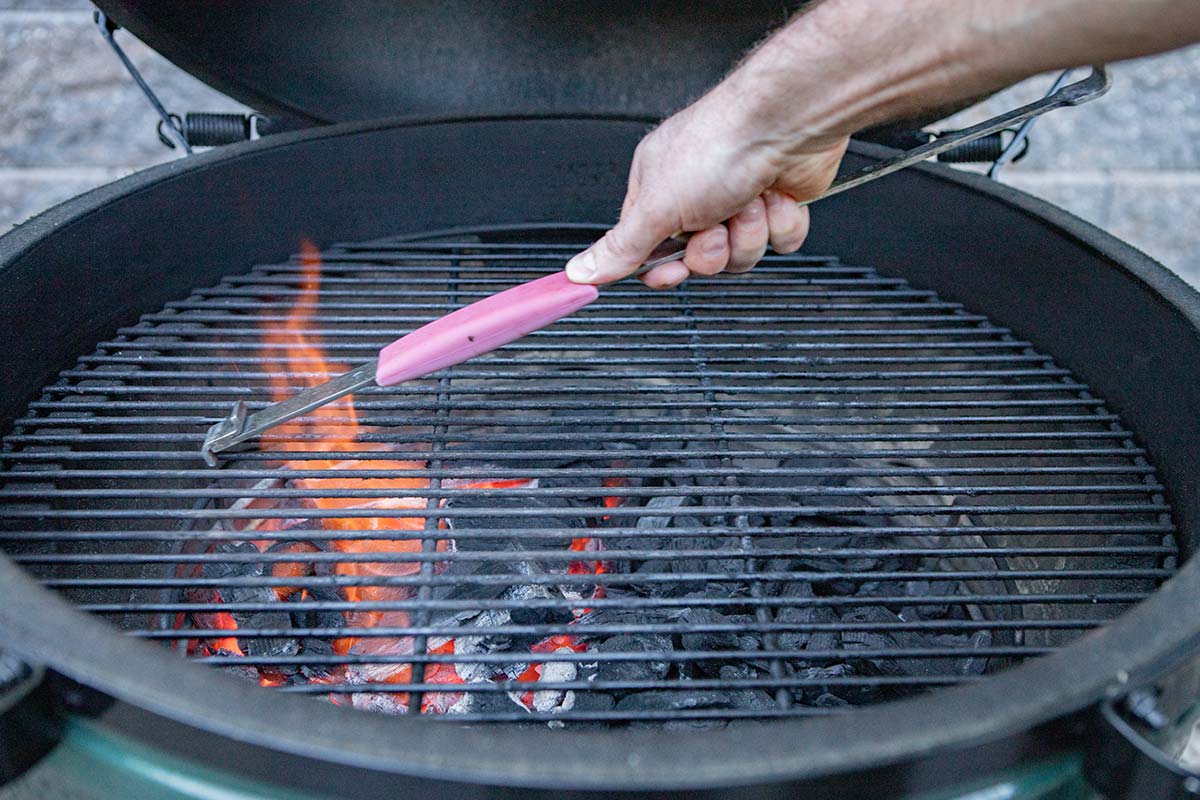
- Shake out the ashes and top off the basket with new charcoal. Nestle 2 or 3 fire starter squares into the charcoal. (For this cook, I wanted the fire on the one side, so I only lit the left side and 2 squares was plenty.) Light the squares and make sure the charcoal is arranged so it will light quickly.
- Open the bottom vent all the way and leave the lid open for a few minutes to get it started. Use the screen vent in the bottom to keep embers inside the grill.
- If you have a BBQ Dragon Fan, clip it onto the rim of the grill and fan the flame. In about 6–8 minutes that area will be ripping hot. Remove the fan and mix the charcoal, if necessary, to spread the heat evenly in the area you'll be using. Add the grill grate, then close the lid and open the top vent.
- Stabilize the temperature in the grill. For this cook, we're shooting for 350–400 degrees F, so once the temperature is close to what you’re looking for, slide both vents to around 1" open and then adjust the top vent as needed to stabilize it.
- Clean the grate with the Smokeware Ash Tool (and a brush if needed).
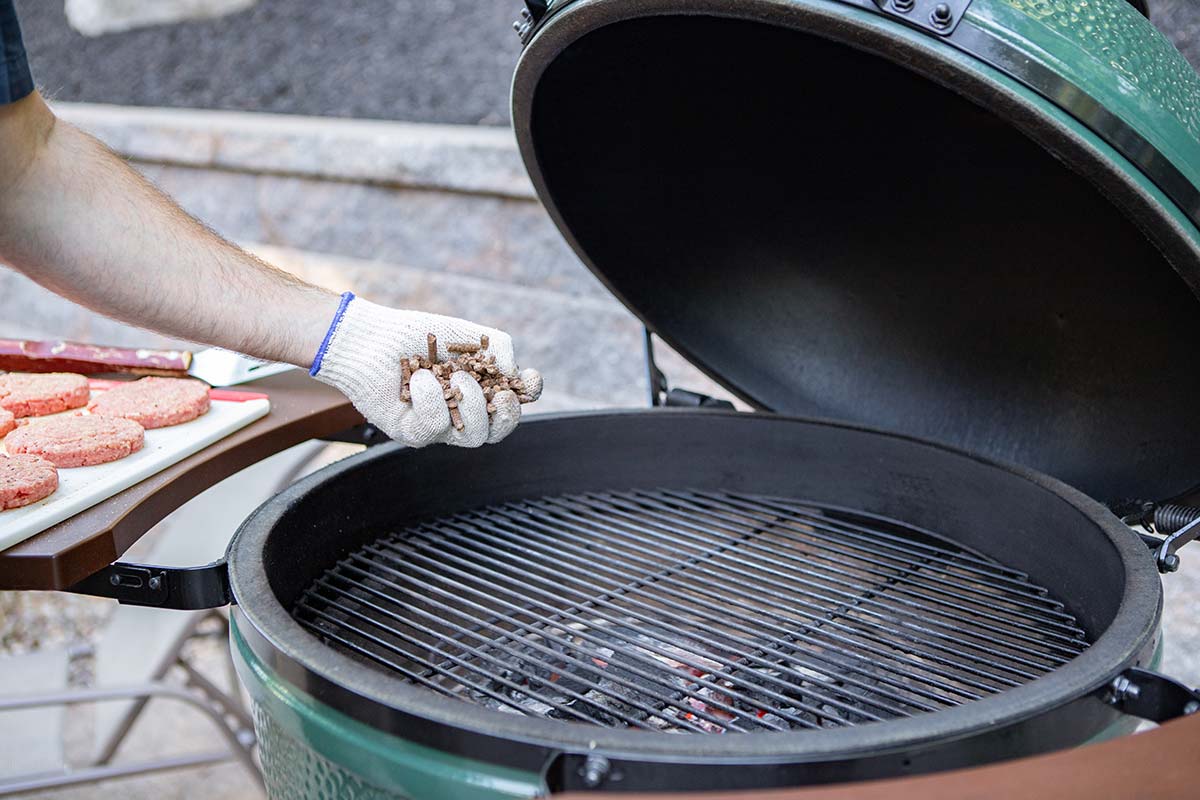
- Just before putting on the burgers, throw a handful of smoking pellets onto the fire for some extra smoke flavor.
Note: The Egg is designed to cook with the lid closed. If you keep the lid open, the fire may get hotter than you want it, and the fire can also discolor the handle on the outside of the grill when the lid is open.
Is your patio calling for a Big Green Egg?
Mastering Temperature Control in the Egg
It will take some time to master temperature control, but it works on this principle: Give the grill more air to raise the temperature and give it less air to lower the temperature. This is done by adjusting both the top and bottom vents.
If you understand this principle, you can figure out how to make it work in any scenario. Depending on how you fired the grill, you may need to adjust the vents differently. Keep in mind a higher cooking temperature requires more air than a lower one. For most cooks, you'll be running with the vents between 1/4" (a pencil thickness) and 1-1/2".
What if I can’t get the temperature up to where I want it?
If the grill doesn’t climb up to the temperature you need with the vents all the way open, you’ll need to fire it hotter. Here are some ways to do that:
- Add more charcoal if needed
- Leave the lid open longer to get it hotter or use a BBQ Dragon Fan to fan the flame.
- If you require an extremely high temperature, light the charcoal and blow the Dragon through the bottom vent with the lid closed and the top vent open to get the grill over 600 degrees.
Remember it takes more time to heat the walls of the grill than it does to only heat the air inside the grill. If the grill itself is not hot yet, you’ll loose a lot of the heat when you open the lid, so there are some advantages of letting it heat up for 30 minutes before cooking. This is mainly a concern for bigger cuts of meat or when you want to cook at really high temperatures.
Once the grill is up to temperature and you have it dialed in, it should take very little adjustment to finish the cook. If you have any question or are struggling to maintain temperature in your grill, feel free to call or visit our store for free advice on how to master temperature control.
Do you need any supplies or tools for your summer barbecues? In our retail store we carry a wide variety of smokers, grills, charcoal, pellets, sauces and seasonings, and many other outdoor cooking supplies to help you cook for your guests with 100% confidence. Call us at 717-355-0779 or visit us at 140 W Main Street in New Holland, PA (store hours at the bottom of this page).
About the author: Lavern Gingerich is a writer and the digital marketing manager for Meadow Creek Barbecue Supply.

